Showing posts with label Stampin' Up!®. Show all posts

Monday, October 5, 2026

SUNFLOWERS FOR A FRIEND

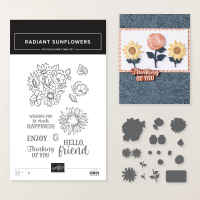
This week I am featuring the Radiant Sunflowers Bundle.  Last week's video used this bundle for one of the cards also.  If you missed that video, visit my post dated 10/1/26.

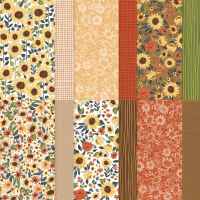
Today, I have another Fun Fold Card.  It uses the gorgeous Sunflower Fields Designer Series Paper (DSP).  Isn't it pretty?

Today's fun fold is very simple, and when you open the right panel of the card front there is a smaller card on the inside that also opens.

The inside of the smaller card is where you can write your message. To decorate it, I die cut a flowerpot from a scrap of DSP using a Radiant Sunflower die.  The Radiant Sunflower stamp was colored with Stampin' Blends.

To create the card front you simply cut the front of the card up to the fold 1-1/2" from the left edge.  The left edge is then adhered to the back of the card, so it stays stationary when you open the right flap.

Since the pretty DSP is the star of the show on this card, I wanted to minimize how much of it I covered.  So, I just added a stamped sentiment from Radiant Sunflower stamp set and tucked a few small stamped and die cut leaves to set it off.  The sentiment is die cut with a die from the Radiant Sunflower dies.

A tiny yellow bow made with ribbon in my stash draws your eye to the sentiment.

When you open the flap on the right, this is what the inside of the card looks like before you open the small inside card.

The flower on the front of the inside card was stamped with the Sunflower stamp from Radiant Sunflowers and then colored with Stampin' Blends.

For detailed directions and a cutting and scoring diagram for the fun fold download the PDF tutorial at this link.

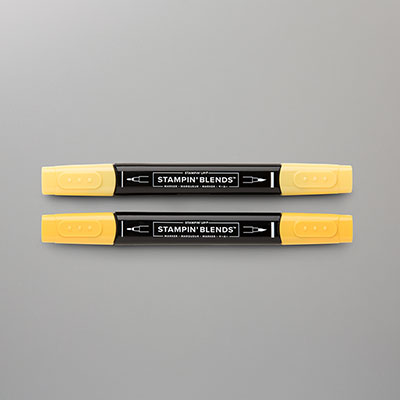
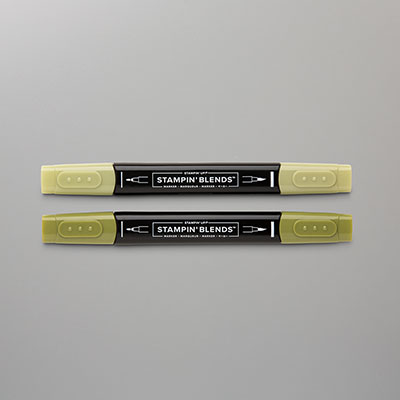
A list of the products used is shown below.

Product List
Monday, September 28, 2026

WE ARE FAMILY - AUTUMN FIELDS

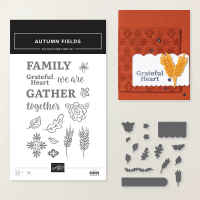
This week I am featuring the Autumn Fields Bundle.  I purchased this bundle to use in an Autumn Sampler that I made recently for a class, but I also wanted to see how I could use it for a card.

The sentiments and greetings in this bundle are large and bold so for my first card with this bundle, I decided to focus on a couple of the sentiments.

If you are a scrapbooker the sentiments in this stamp set would be great for scrapbook pages!  Can't you just picture this "we are FAMILY" on a scrapbook page surrounded by pictures of your family?  Check out the bundle in the product list below to see all the images and dies that are included.

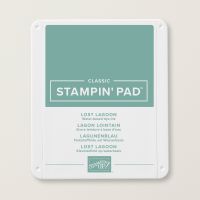
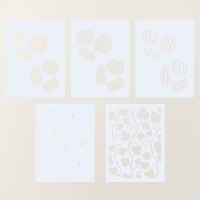
The background for today's card was created with a decorative Painted Pumpkin mask.  I used the mask to create an ombre background of leaves using Pretty Peacock and Lost Lagoon ink.

I used three of the small flowers from the Autumn Fields Bundle to add some pops of color.  The curvy Pretty Peacock row of leaves and the FAMILY Basic White die cut sentiment strip were made with dies from the bundle.  

I purposely made the background for the card front a little larger than I needed so that I could trim off a strip and use it to decorate the inside of the card.  Three more little flowers surround the sentiment from Fabulous Sayings.  This sentiment stamp set was a Product of the Month a few months ago, but obviously any sentiment could be used.

If you are not familiar with the Product of the Month, it is a product that is new each month and can be purchased for $5 when your order reaches a value of $75.  These products are only available while supplies last and sometimes run out even before the end of the month.  September's Product of the month is this beautiful Specialty Designer Series Paper called Luxe Foliage.


Isn't it pretty?

Use this link to download a tutorial with all the details to create today's card.

Below is a list of the products that were used on the card.

Product List
Thursday, September 24, 2026

ELEGANT LEAVES WITH BABY WIPES

While the leaves on Monday's card were in bold traditional fall colors, the leaves on today's card are anything but traditional.  They have a pretty, softer vibe, and I'm not sure they even exist in nature.  
I revived an old technique that I hadn't used in a long time so wanted to experiment a bit with color.  The technique is Baby Wipe Stamping.  With this technique you use a folded Baby Wipe to create an ink pad by adding drops of various ink colors on the baby wipe.  Then you use that baby wipe as your ink pad to ink your stamp.

If you are new to stamping and haven't seen this technique before it's a lot of fun.  Watch this video for lots of tips and tricks.

As I mentioned in the video, my original intent was to make all the leaves using the Baby Wipe Technique, but when I assembled the four leaves on the card front, they all just blended together, and it didn't really showcase them very well.
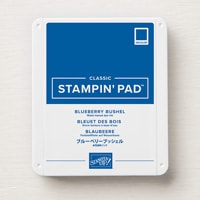
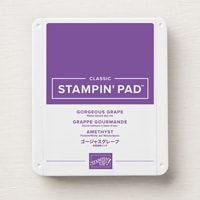
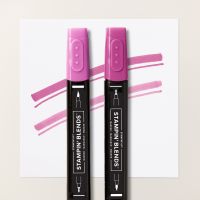
So, I did a reset and stamped the three smaller background leaves with simple two-step stamping.  I used the same colors that I had used on the Baby Wipe--Gorgeous Grape, Blueberry Bushel and Bubble Bath--but made them each a solid color.  That helped the large, center Baby Wipe leaf to stand out more.


The solid potion of the two smallest leaves was stamped-off so that the tone-on-tone veins would be clearly visible.  The medium-size leaf was stamped with Bubble Bath and Gorgeous Grape.

When you make your Baby Wipe ink pad, you can use it several times, so I had fun with the inside of the card and the envelope flap.


I stamped several leaves on the edge of the message layer and the flap of the envelope.  As long as I left plenty of white space between the leaves, I loved how it looked.

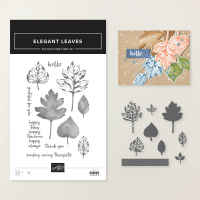
The sentiments on the front and inside of the card are both from the Elegant Leaves Bundle.  


A list of the products I used is shown below.  Click on any image to learn more or make a purchase.


Product List