
For my last Easter Bunny card this week, I have a Fun Fold card that uses the Country Gingham Designer Series Paper from the January - April Mini Catalog.

This is a relatively easy Fun Fold where the Stylish Shapes Die cut with the bunny is attached to a fold on the inside of the card base. When the card is all closed up, the bunny peeks through the same circle die cut on the front of the card base.

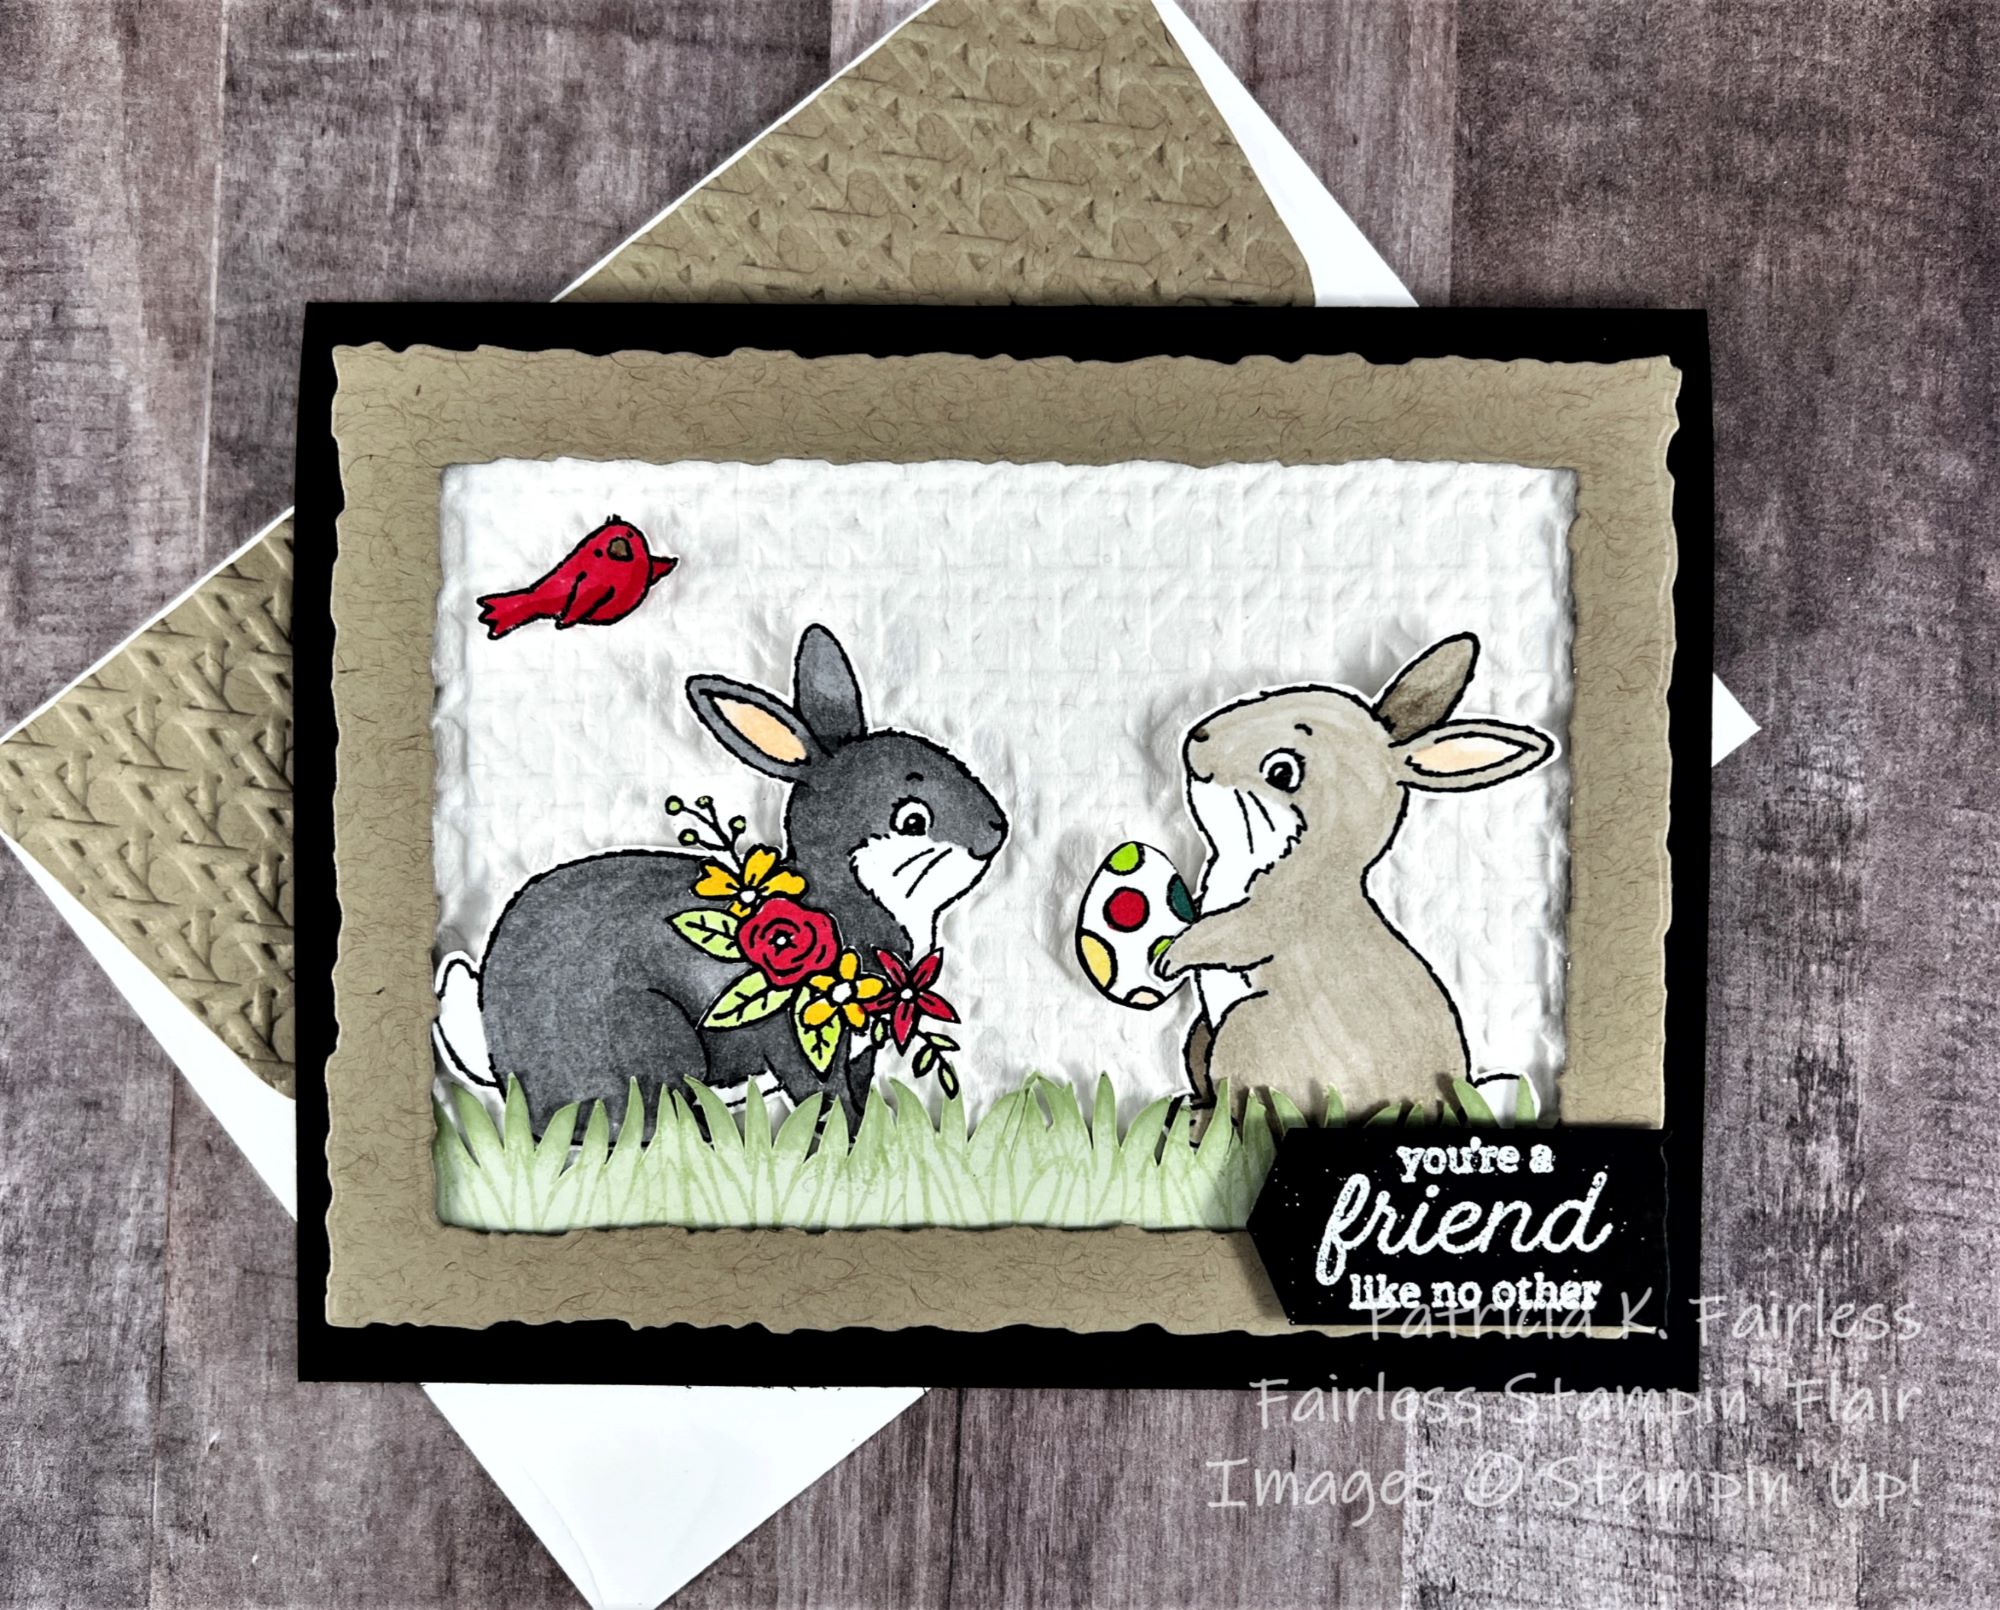
My bunny was colored with Smokey Slate Stampin' Blends.

Before I adhered Mr. Bunny, I used my Blender Brush to add a little Petal Pink Color behind him. I then stamped a row of eggs across the bottom of the circle and also stamped several others on scraps. I colored the eggs with various Stampin' Blends Colors and fussy cut a few of those on the scraps. Mr. Bunny picked his favorite egg and is hugging it tightly so no one can steal it from him. To do that, I just slit above and below his arms with a craft knife and slipped the egg behind his "arms". He was then adhered to the circle with dimensionals, and a few of the fussy-cut eggs were scattered around him.

When you open the Petal Pink Gingham card front, this is what you see first.

The circle focal point with Mr. Bunny and his egg collection is adhered to only the right flap on the inside of the card. When you open the fun-fold fully, this is what you see.

The design of this fun fold has plenty of room for your favorite sentiment and also a written note!
If you would like more details on how to make this card, please use this link to download a FREE TUTORIAL.
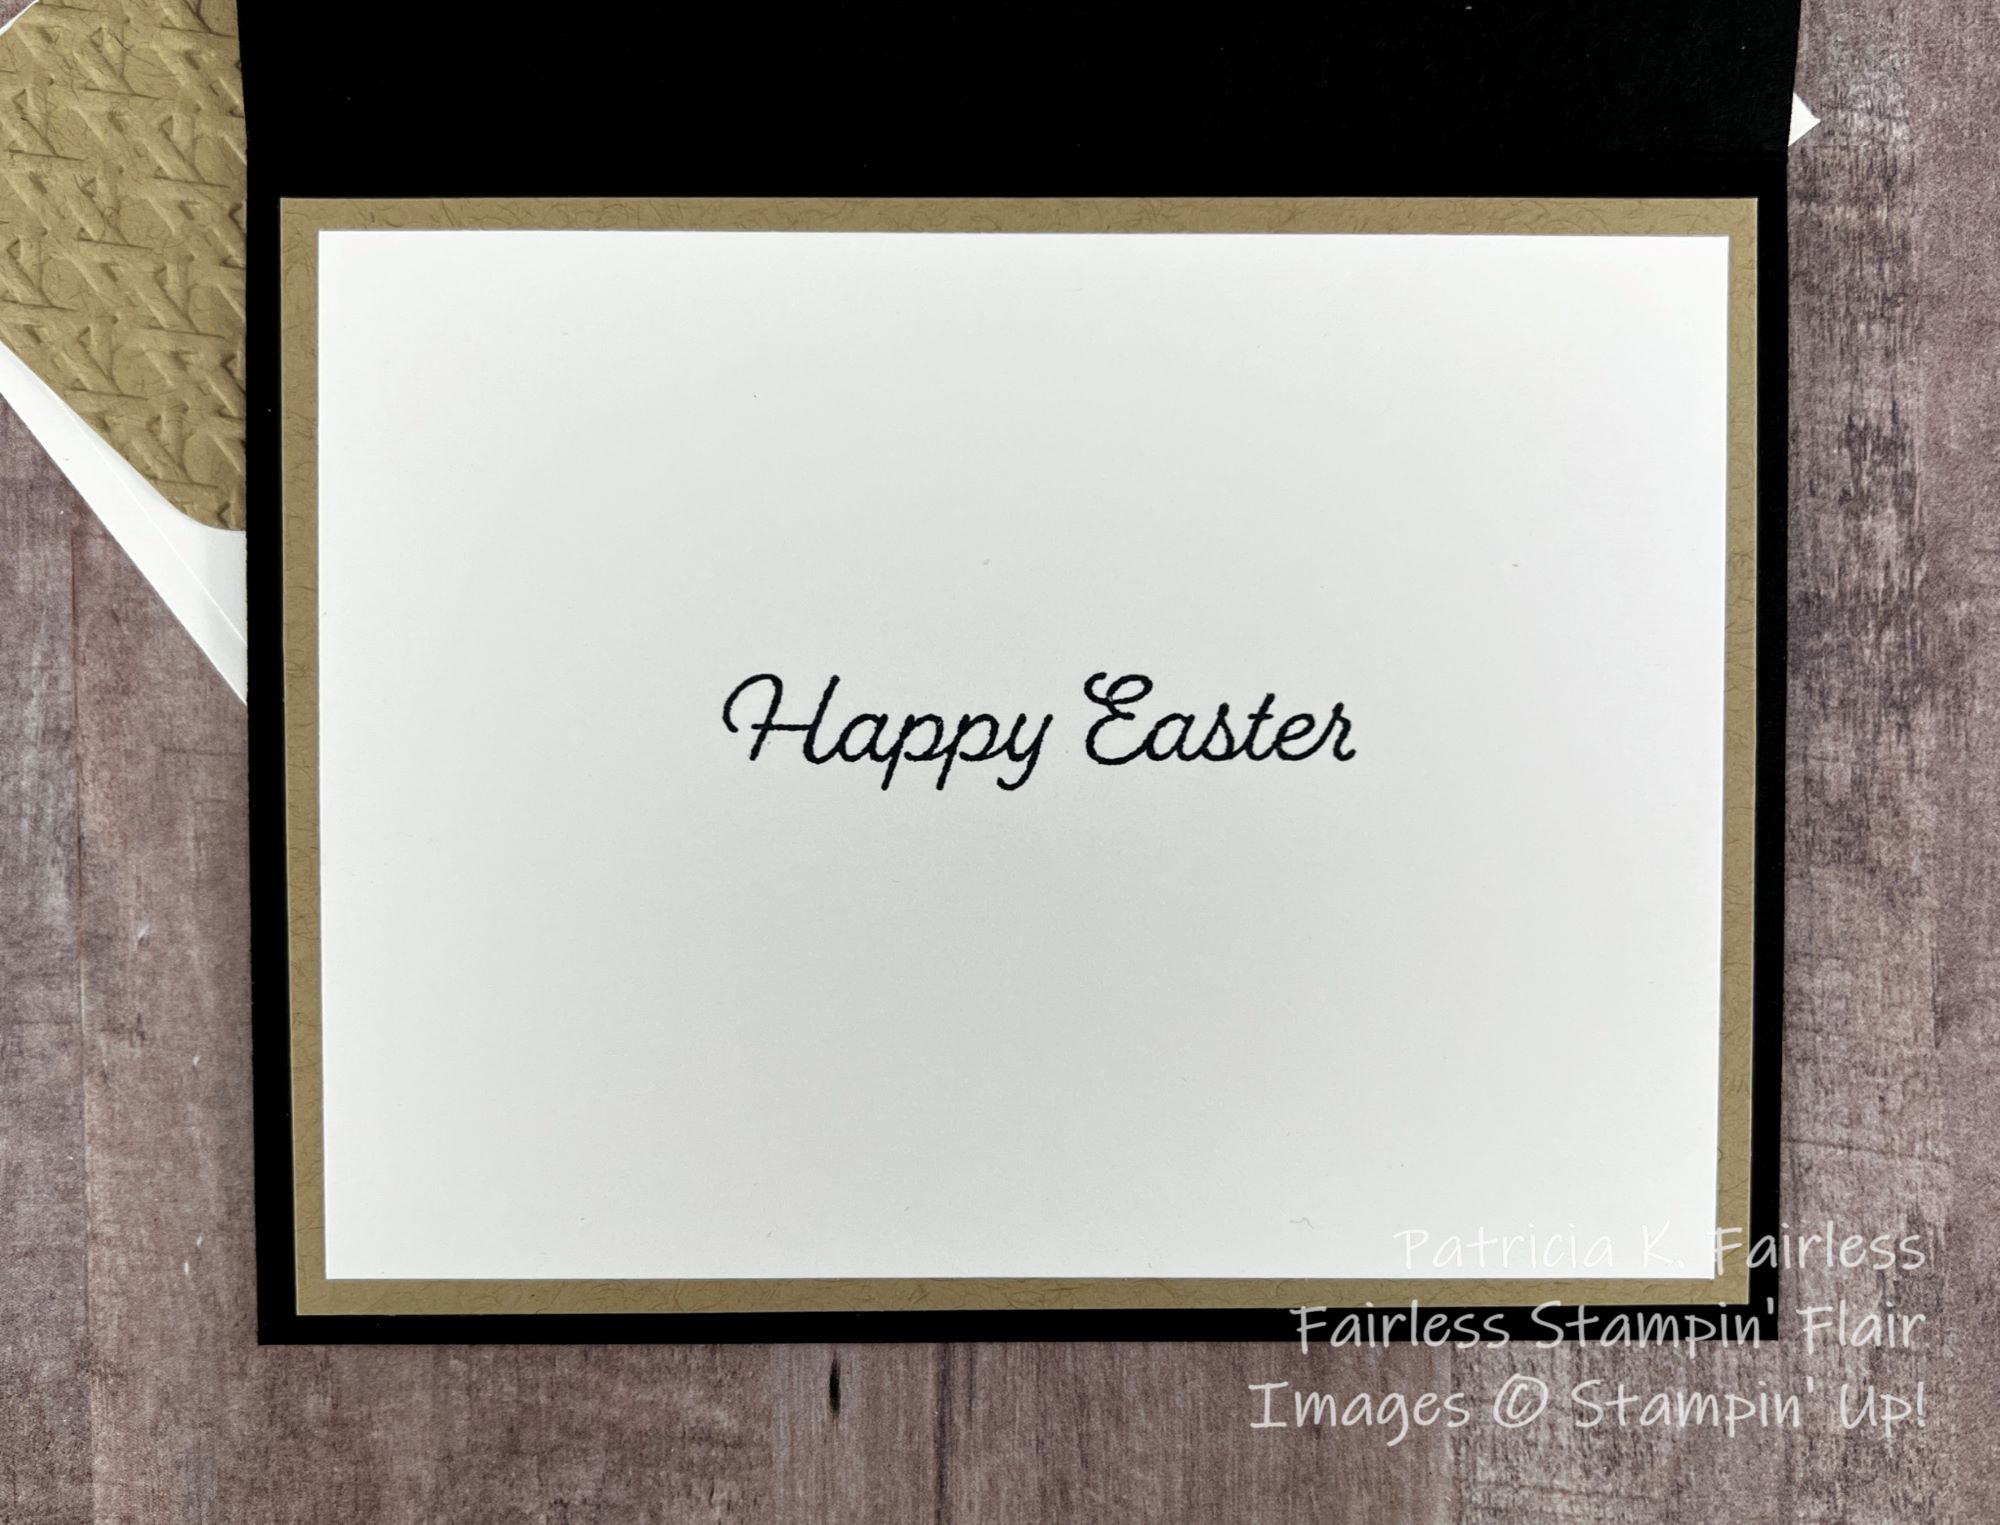
For more information on the products used, click on any of the images in the list below. This will take you to my Stampin' Up! store where you can see product details and purchase your favorites. The inside sentiment is from a very old, retired stamp set called Glorious Gift.
If you have any questions about today's card, please leave me a comment and I will do my best to answer your questions.
Product List")


 Designer Series Paper")


 Crinkled Seam Binding Ribbon")


")