Saturday, December 31, 2022

A GOLD RUSH

It is almost impossible to believe, but this this is my last regular blog post for 2022.  I'm wrapping up the week with an elegant card using the Delicate Desert Suite.  If you have enjoyed this week's sneak peeks for this beautiful Suite, next week Thursday, January 5, you will be able to order it!  

This card is all about beautiful gold accents and, sadly, the photos just do not do the card justice.  In 2022 I never was really able to figure out how to best photograph shiny and sparkly items--and believe me I've done a lot of research and a lot of practicing, but it is still a skill I need to keep working on.

The frame on today's card is made from the Gold & Rose Gold Metallic Specialty Paper.  This is some of the most beautiful metallic paper I have ever seen, but photographing it well is difficult.  Even Stampin' Up!'s photo in the Annual Catalog doesn't do this paper justice.  It needs to be seen in person to see how pretty it really is.


The center background paper is from the Dry Brushed Metallic Specialty Paper from the Delicate Desert Suite.  I feel the above photo does a fairly decent job of showing how pretty this paper is, but when it becomes available on January 5, you are going to want to see it for yourself.


The desert flower is stamped with Soft Succulent ink with just a tiny hint of gold hiding in the shadows. This took some experimenting to get it to look like what I had pictured in my head.  I first tried using the colored embossing technique but with gold rather than clear embossing powder.  However, that was just too much gold, and I lost much of the Soft Succulent color. I also tried embossing the flower with gold and adding Soft Succulent with Stampin' Blends, but that was too much gold, and I lost the beautiful shadowing of the flower.

What finally gave me the result I was after was to stamp the flower with Soft Succulent and then use a VersaMarker Watermark Pen (non Stampin' Up!) to add a small amount of VersaMark ink in the shadowed areas of the flower.  I then added a very tiny amount of gold embossing powder, by pinching some powder between my fingers (like you would add a pinch of salt to a recipe) and sprinkling it on the flower.  Between applying very little VersaMark ink and very little gold embossing powder, I got the little bit of gold accent I was after while maintaining the Soft Succulent color.  It isn't difficult to do once you figure out the "recipe" and the effect on the flower is very pretty.


To make the Gold Border for the inside Very Vanilla cardstock, I used the "scrap" from the front frame.  I die cut the front frame from a piece of 5-3/8" x 4-1/8" Gold Metallic Cardstock.  I used both the larger Frame Die with the smaller Frame Die nestled inside it to cut the front frame.  This left a narrow piece of "scrap" around the outside of the large frame, and a beautifully die cut center piece to use on another project someday.  I adhered my Very Vanilla cardstock to the large piece of "scrap" leaving approximately a 1/8" sparkly gold border around my Very Vanilla.  A strip of Dry Brushed Metallic Specialty Paper was added on the left side of the Very Vanilla to finish the inside.

I've listed the sneak peek products I used from the Delicate Desert Suite below:
  • Delicate Desert Suite - Item #160537
    • Desert Details Bundle - Item #160532
      • Includes the Stamp Set and Coordinating Dies
    • Dry Brushed Metallic Specialty DSP - Item160837
To see which current products were used on this card, see the Product List below.

If you would like a tutorial with all the details on how to make this card, please download a copy using this link.

As we approach the end of 2022, I reflect on the blessings this little Fairless Stampin' Flair business has given me. It has led me to meet new people and form new and stronger friendships. I hope that those of you that follow me have been inspired by the cards I share.

I wish you all a Very Happy New Year, and I look forward to getting to know you better in 2023!


Product List

Wednesday, December 28, 2022

DESIGNER SERIES PAPER DESERT SAMPLER

I created today's card to showcase the pretty patterns and colors in the two Designer Series Paper (DSP) Collections included in the Delicate Desert Suite.  I'm calling it my Desert Sampler.


I used the interesting diamond shaped die from Desert Details Dies to cut a sample from each DSP design and then created a pattern on a Basic White cardstock mat.  It sort of reminds me of a colorful quilt.


Since I didn't want to cover up the colorful pattern, I used Vellum cardstock for my sentiment.  The sentiment from Desert Details stamp set is heat embossed with Gold Embossing Powder and die cut with a circle die from Stylish Shapes dies.  A smaller Basic White circle was also die cut and adhered behind the Vellum.  This allowed me to pop the sentiment up with dimensionals over the Pale Papaya Faux Velvet Ribbon and the die cut Soft Succulent border die cut.  By using the smaller circle, the dimensionals could be hidden behind the vellum.


Three Gold Faceted Sequins add little bling to the card front.

For the inside of the card, I die cut 3 additional "diamonds" to provide some interest.

The beautiful Dry Brushed Metallic Specialty Paper adds some shimmer and shine.

If you would like a tutorial for my Desert Sampler Card, please use this link to download a free copy.

The sneak peek products used on today's card include the following:

  • Delicate Desert Suite - Item #160537
    • Desert Details Bundle - Item #160532
      • Includes the Stamp Set and Coordinating Dies
    • Faux Velvet Pale Papaya Ribbon - Item 160535
    • Gold Faceted Adhesive-Backed Sequins - Item #1560536
    • Dry Brushed Metallic Specialty DSP - Item160837
    • Delicate Desert DSP - Item 160521

For a list of currently available products that were also used, please refer to the Product List below:

Product List

Monday, December 26, 2022

THE DESERT FRAMED

Well, I have already figured out that this week my challenge is going to be to type "Desert" and not "Dessert".  With so many Christmas goodies everywhere I think I have Dessert on my brain!

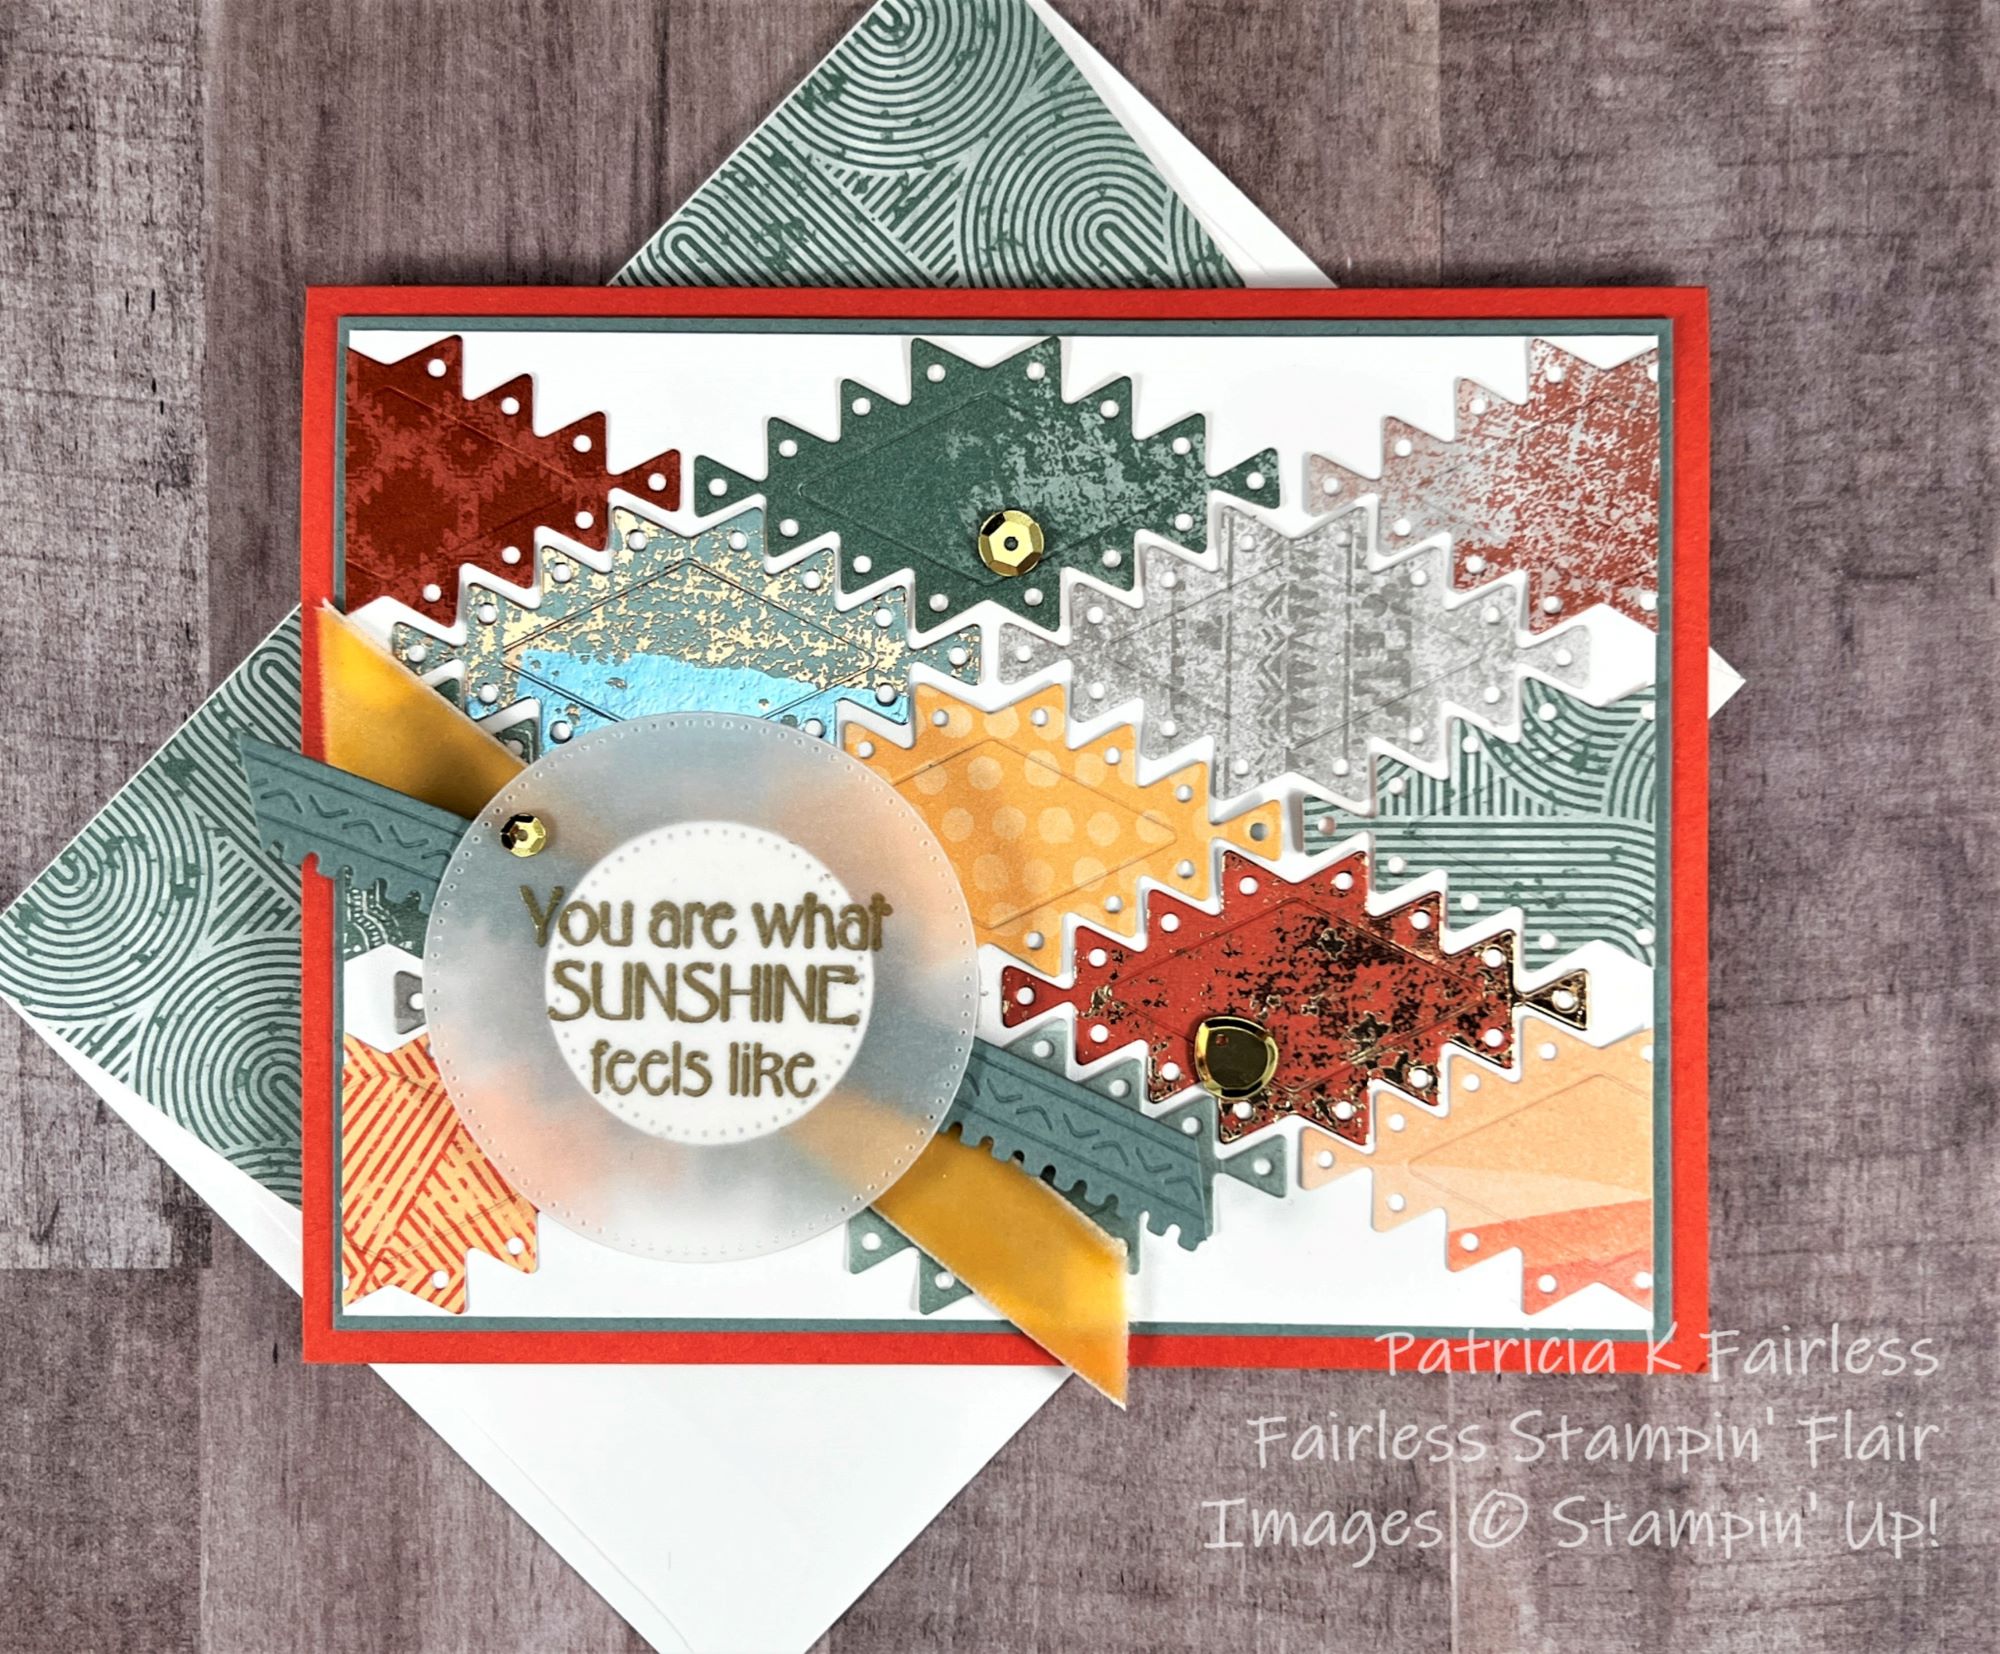
I've called today's card "The Desert Framed".


I had fun experimenting (that's another way of saying I goofed.) with the frames dies that are part of the Desert Details Bundle.  The coordinating dies that come with this bundle have two different frame dies.  I also used the Delicate Desert 12" x 12 Designer Series Paper (DSP) that is part of the Suite.


I first used both the largest outer frame die and the smaller inner frame die nested together to cut the single piece of DSP.  Then I realized that I should have used only the largest die because I really just wanted that scene as my background.  The plan in my head didn't have two separate pieces for the background.  

Well, my boo-boo, led me to rethink my card.  I decided to die-cut a couple more pieces of just the "frame" from Thick Basic White cardstock to add some thickness to the frame portion, so it was raised up a bit from the rest of the DSP. 

After cutting an additional two frames, I got tired of die-cutting, so, decided to adhere the two Thick Basic White and the DSP frames together to see how it looked.  When I laid the center DSP piece within the frame I wasn't really satisfied with the variation of height between the frame and the background.  It still seemed too flat. 

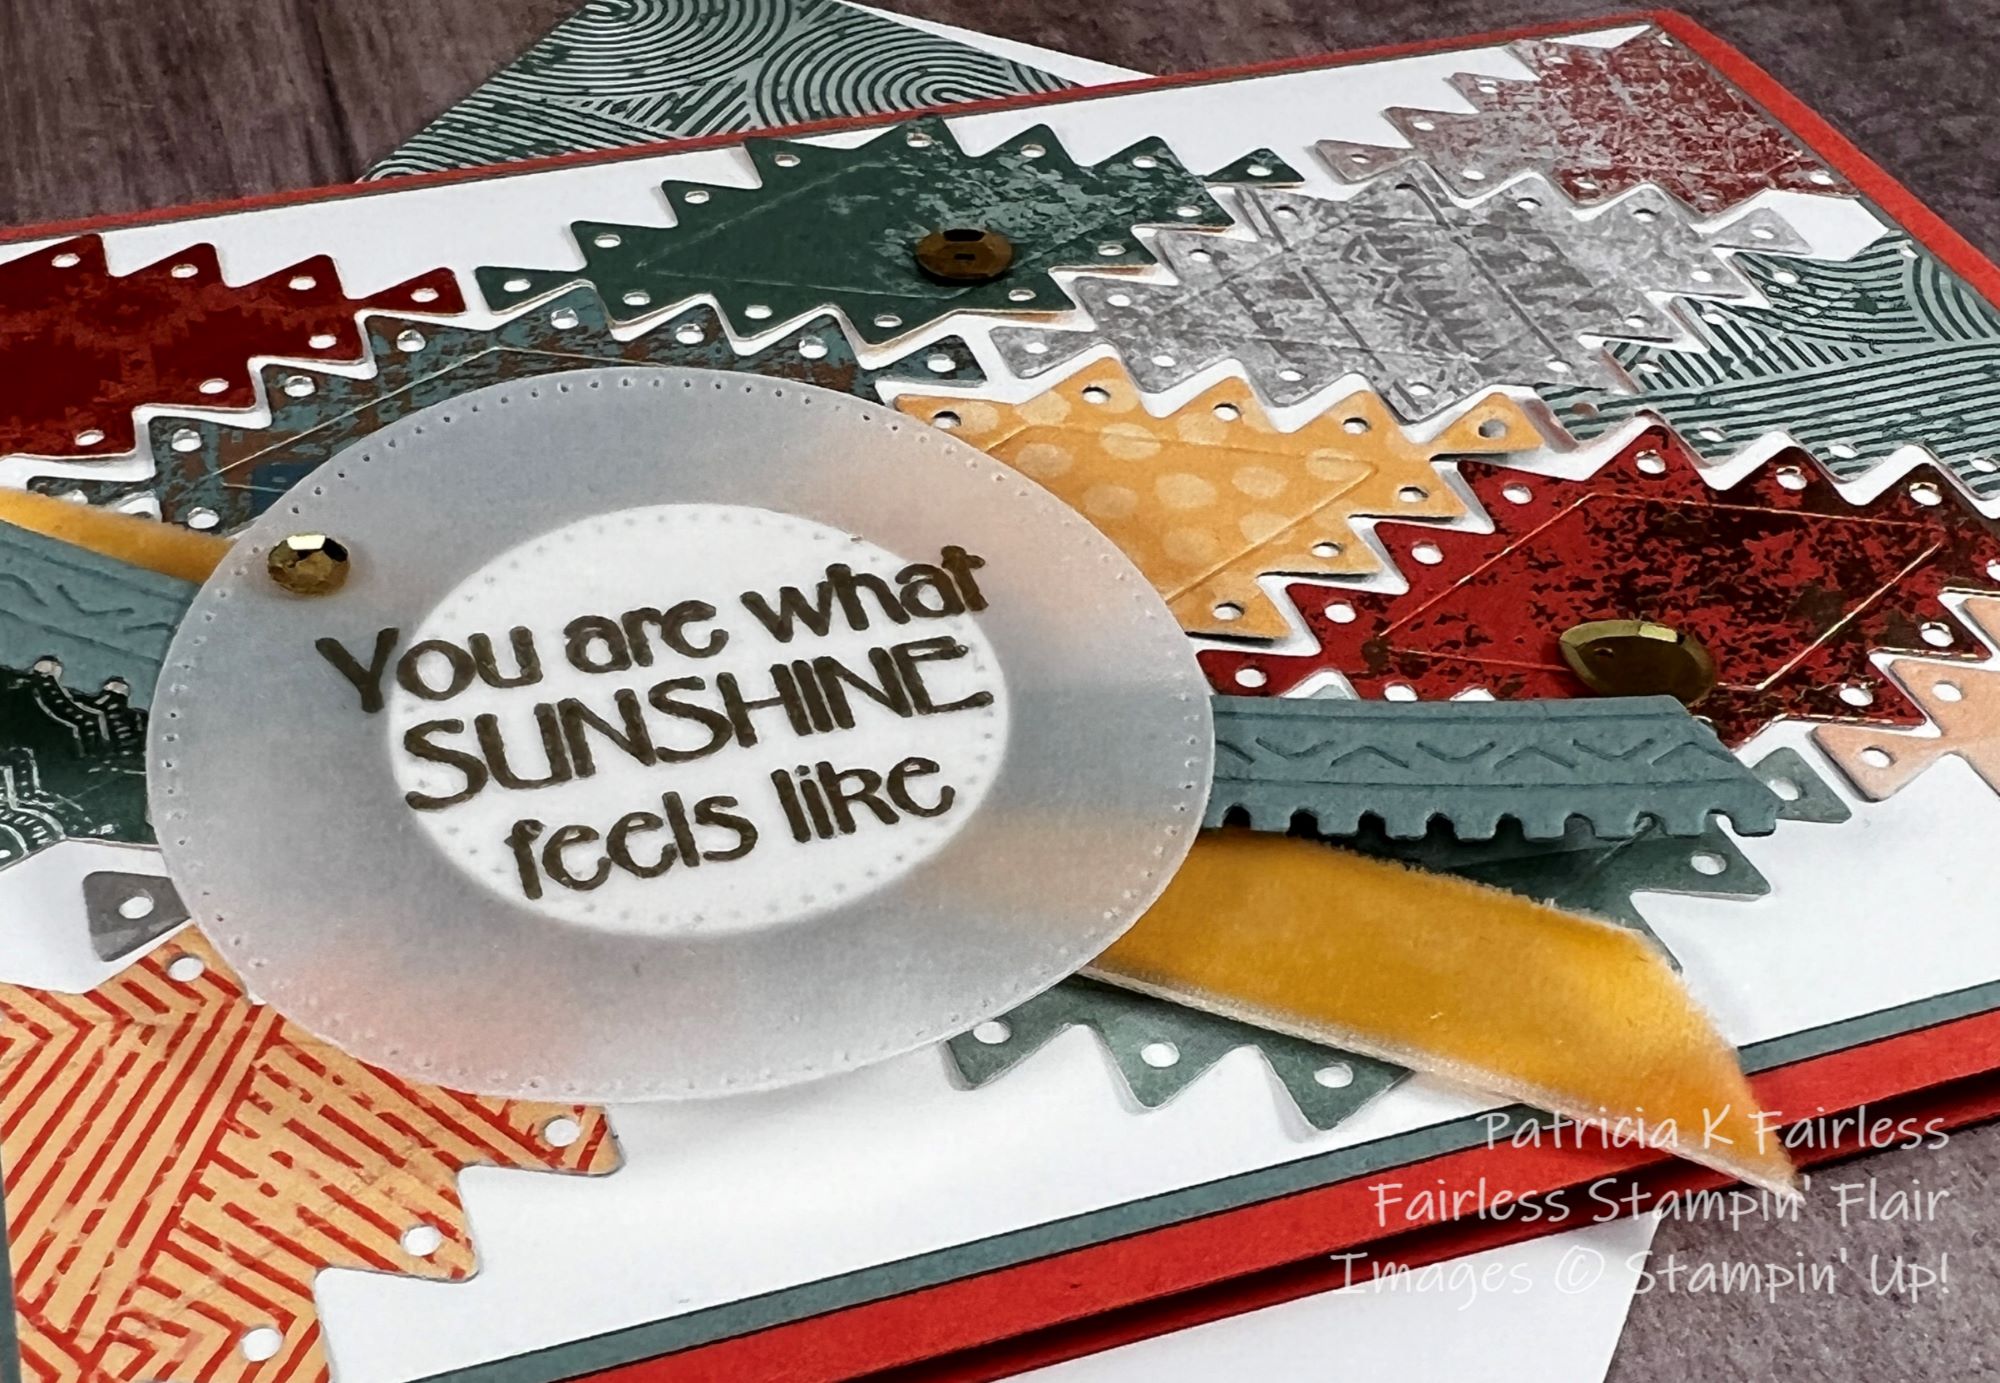
Rather than die cut more frames (did I mention, I was tired of die cutting at this point?), I wondered what it would look like if I used a sponge dauber and added a little shading around the edge of the inner background DSP piece.  I used Soft Succulent Ink on the Soft Succulent part of the pattern and Pale Papaya on the Pale Papaya portion of the pattern.  That did the trick!  It made it look like the frame is thicker than it really is!  And it was faster than die cutting and gluing more layers together.  


Next, I went to adhere my frame assembly to the front of the Basic White card base.  Hmmm...  I wasn't very happy with that either!  It looked like it was sitting out in the desert all by itself and it didn't look like it belonged.  It looked lonely!

So that meant more thinking and experimenting.  I wondered how a color wash on the front of the Basic White Card Base would look.  But I wanted it to look like it was an extension of the scene, so I made a couple of pencil marks on the Basic White front panel to show me where the color change needed to occur.  Then I used my Water Painter to color wash Soft Succulent and Pale Papaya ink on the front Basic White Panel in approximately the same area as those colors on the DSP.  I liked that better.  What do you think?


The Large Flower was stamped with Pale Papaya ink and the "bush" was die cut from a piece of patterned Soft Succulent DSP.  I used the inside scraps from those Thick Basic White frames for the flower and also to cut an extra bush to give the DSP bush a little more substance.


I didn't put too much thought into the inside of the card.  I was "thought-out".  I simply stamped a Pale Papaya flower and double matted it.

As you can see, this card evolved as it went.  Sometimes our original "plan" just doesn't work, or like me, I "goofed" and had to figure out how to salvage what I'd done.  It's always a pleasant surprise and I love it when a mistake results in something better than the original plan.  It was a bit of a journey getting there, but in the end, I am very pleased with my evolution card.  What do you think?

If you would like a tutorial for this card, you can download a copy at this link.

The information on the Sneak Peak Products is as follows.  A complete list of currently available products that I used for today's card is listed at the end of this post.

  • Delicate Desert Suite - Item #160537
    • Includes the Desert Details Bundle, 2 Designer Series Paper Collections, Faux Velvet Pale Papaya Ribbon & Gold Faceted Sequins
  • Delicate Desert DSP - Item 160521
  • Desert Details Bundle - Item #160532
    • Includes the Stamp Set and Coordinating Dies

The above products will be available on January 5, 2023.

Product List
1/4" Copper Trim
1/4" Copper Trim
[144179]

Sunday, December 25, 2022

GLORY TO THE NEWBORN KING!

Hark the Herald Angles Sing.  Glory to the newborn King!  This was one of Mom's favorite Christmas carols.  She had many favorites but said that she always loved this one when she was young -- "because it was peppy!"

Normally, I don't post on Sunday's, but because it is a very special day where we celebrate the Newborn King and all that He did to change the world, I didn't want to miss the opportunity to wish you and all those you love a VERY MERRY CHRISTMAS!

This week I will be sharing cards made with another sneak peek suite from the Spring Mini Catalog called Delicate Desert.  Now, this certainly isn't a Christmas themed stamp set, but I thought I would see if I could use it to make a Christmas Card.

What do you think?  Does this work for Christmas?  It is Cherry Cobbler and Old Olive (i.e. Red & Green), so if nothing else, at least the colors are traditional Christmas colors.

I'm not sure exactly what this desert flower is, but I'm going to call it a Christmas Rose.  They are beautiful DistINKtive stamps, so the DistINKtive shading makes beautiful quick & easy stamped flowers.

The Desert Details Bundle also includes some great border and frame dies as well as a couple of border stamps that you see on the lower part of this card.

Since I now have one Christmas Card that I can put into my 2023 Christmas Card stash, I can officially say that I have started my 2023 Christmas Cards!  Eleven months from now, I just hope that I can remember where I "stashed" it!


I kept the inside of the card clean and simple with only a Cherry Cobbler stamped sentiment and an Old Olive mat.

A tutorial is available for today's card by downloading a copy using this link.

The information on the Delicate Desert Suite and Bundle is as follows, and a complete list of currently available products that I used for today's card is listed at the end of this post.

  • Delicate Desert Suite - Item #160537
    • Includes the Desert Details Bundle, 2 Designer Series Paper Collections, Faux Velvet Pale Papaya Ribbon & Gold Faceted Sequins
  • Desert Details Bundle - Item #160532
    • Includes the Stamp Set and Coordinating Dies

This Delicate Desert Suite will become available for purchase on January 5.  Come back on Monday, Wednesday, and Friday this week to see more sneak peaks using this Suite of products.  Sale-a-Bration also starts on January 5, so purchase the Desert Details Bundle, and you will be able to choose a FREE Sale-a-Bration item.

Merry Christmas my stamping friends!  I hope you have a wonderful holiday season.


Product List