Friday, November 29, 2024

THE PRINCE OF PEACE

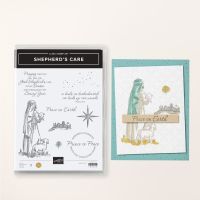
Today I am using the Shepherd's Care Stamp Set to create a new Fun Fold.  Well, there really isn't much in the paper crafting world that is new, but this Fun Fold was new for me.

I have no idea what the official name of the Fun Fold is, but I've named it a Side-Box Fun Fold That's because the part of the card on the left is box-shaped.

Maybe you can see the box a little better in the photo above.  It is really an easy Fun Fold to make, but it is not all that easy to get great pictures to show it off!

I demonstrated how to make this fun fold on my Learning With Friends Video this week.  If you are located here in the US, you were probably busy getting ready for your Thanksgiving Celebration when the video aired, but no worries, you can still watch the replay.


It's a great fun fold to send to someone who likes to display their cards because it stands up wonderfully!

The focal point on the front of the card is adhered to side of the little box section, so that also makes is easy for mailing as it lays flat to tuck in an envelope.

I used Deckled Rectangle and Deckled Circle dies for my focal point.  

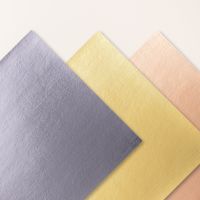
The Designer Series Paper is the beautiful Season of Elegance Specialty Paper, and the gold metallic mats were cut from the Textured Metallic Specialty Paper.  I almost missed this beautiful Specialty Paper in the Annual Catalog.  You can see it better by clicking on the link in the product list below!  It comes in 3 different colors and is oh, so pretty.


The "inside" of the card is actually to the right of the "box-section" of the fun fold, and it is hidden by the front focal point.


Use this link to download the tutorial.  The PDF includes a diagram for cutting and scoring the fun fold, but the video will definitely help to understand how to assemble it!

See the Product List below to learn more or purchase the products I used.

Product List

Wednesday, November 27, 2024

THE SHEPHERD'S PEACE

Today's card was another Coffee Club challenge card.  Our challenge was to use our favorite Technique to create a card.


My all-time favorite technique is the Shaving Cream Technique.  It creates fun, unique, and interesting backgrounds.  It forces me to ease up on my desire for "control".

I demonstrated the Shaving Cream technique when Kathi Ondus and I were creating videos for our Connect to Create series.  It has been at least a couple of years so I probably should make an updated video, but since the technique hasn't changed, the information is still valid.  If you aren't familiar with this Technique, watch the video and see how much fun it is.

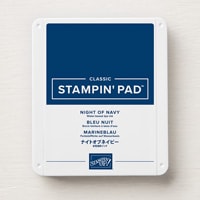
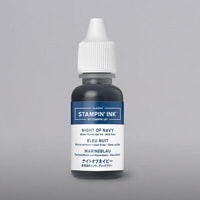
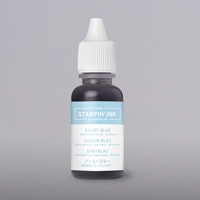
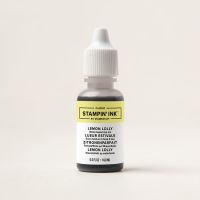
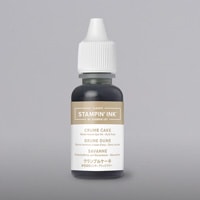
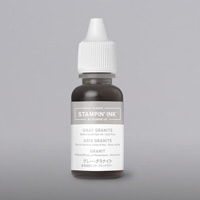
I used the shaving cream technique to create the sky for today's cards.  The Ink Refill colors  used were Night of Navy, Azure Afternoon, Balmy Blue, Fresh Freesia, Lemon Lolly, Crumb Cake and Gray Granite.  Rather than randomly dropping the ink on the shaving cream for this card I was a little more selective about where I placed my ink drops.  I wanted to try to make it look like the star was casting its radiance on the City of David and the Shepherd.  


It took me a couple of tries to get it "close" to what I had in mind.  HINT:  When you lay your cardstock on the pile of inked shaving cream you obviously put it face-down in the shaving cream.  This means your color patterns are reversed when you flip it back over.  

I wanted my light to go from top right to bottom left to shine on my shepherd, but in my first attempt it was shining from left to right.  I didn't think about it being reversed (or mirrored) from the pattern in the shaving cream.


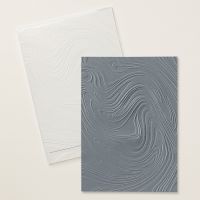
You also don't have complete control over where the colors are going to end up.  I had pictured more yellow up higher in the light beam and more crumb cake towards the bottom, but, well, the ink and the shaving cream had something else in mind.  I actually really like the "surprise" result.  After finishing the technique I used the So Swirly Embossing Folder to add swirls of texture to the background.

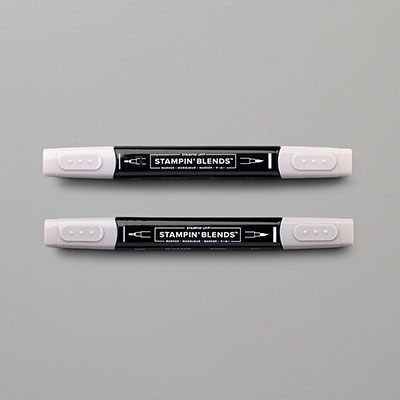
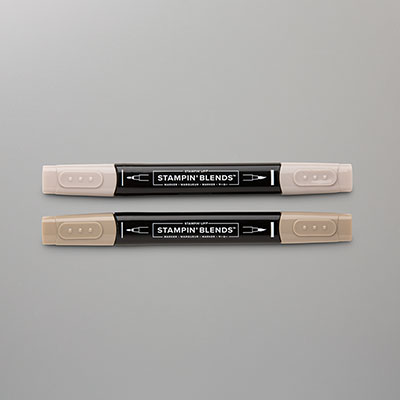
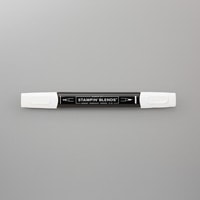
All images were colored with Stampin' Blends and because the Sheperd's Care Stamp Set does not have coordinating dies, the images were fussy cut.  

What do you think?


For the inside of the card I used a couple of the trimmed scraps from the technique sheet.  I always like to make my technique sheet larger that it's finished size because then I can use the scraps I trim off to decorate the inside.

Use this link to download a PDF of the tutorial.  The tutorial includes a link to the Shaving Cream Technique video, so once you download the tutorial you will always be able to easily find the video. 

A list of the products I used is shown below.

Product List
Monday, November 25, 2024

THE SHEPHERD'S CARE

The stamp set that I am featuring this week immediately went to the top of my wish list when I first saw this year's September - December Mini catalog.  I loved the sentiments in Shepherd's Care but also loved that it featured the Shepherds who received the news first that a Savour had been born.

Today's card is basically a "stamps, ink & paper" card that is quick to make and could easily be mass produced.


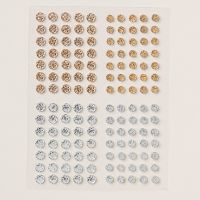
Technically, I suppose you can't call this a "stamps, ink & paper" card because I couldn't resist adding a tiny Rhinestone to the middle of the star -- but I'm a firm believer that a little bling is a good thing!


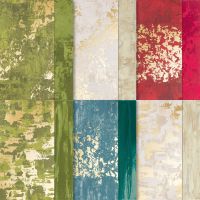
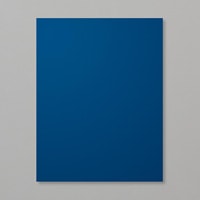
The Dry Brushed Metallic Specialty Paper is a simple way to step up a simple card.  It is gorgeous paper that I thought had retired a long time ago.  But it isn't retired!  It was just moved to an ONLINE EXCLUSIVE!  This is beautiful Specialty Paper that includes this "blue" option and also a Calypso Coral variant.  Both are mixed with gold and gorgeous!


A portion of the Shepherd was stamped in Balmy Blue ink on the inside of the card as well as one of the beautiful sentiments.

For many people Christmas can be a difficult time, and sometimes it is hard to know what type of Christmas Card to send them.  I think this would be a perfect Christmas card for someone that is experiencing loss, sadness or difficulties.  It reminds us that our Good Shepherd, Jesus, is always there for us.

Use this link to download a tutorial for today's card.  Even though it is a very simple card, having the dimensions can be helpful so I still share a written tutorial.

A list of the products used is shown below.


Product List