
My card today utilizes one of my favorite go-to layouts. There is something about the diagonal on the card front that seems to always look fresh -- even though I have used it many times.

To create the diagonal for this card I used my Stamparatus to stamp the "tile" stamp multiple times with Daffodil Delight ink. I then fussy cut it so that the little points and divots really showed.
The flower was made by using the colored embossing technique. We have metallic and basic embossing powder colors, but what if you want a different embossed color -- like Gorgeous Grape? Well, it's easy to do. Just ink your stamp with VersaMark ink followed by the ink color of your choice. WARNING!! Just be sure to ink the stamp in that order. Do not ink the stamp with the colored ink first because then when you add the layer of VersaMark, the colored ink will be all over your VersaMark Pad! Not that I've ever done that before! LOL
After you stamp your image, just emboss it with Clear Embossing Powder, and you will have a beautiful glossing shine!

This bundle does not include coordinating dies -- only the label punch -- so I fussy cut the flowers. I stamped the complete flower with Granny Apple Green ink first and fussy cut that. Then I stamped it again using the colored embossing powder technique with Gorgeous Grape ink and clear embossing powder. For this layer I only fussy cut the flowers. The two small flowers were adhered directly to the Granny Apple Green and then the two large flowers were popped up with dimensionals.
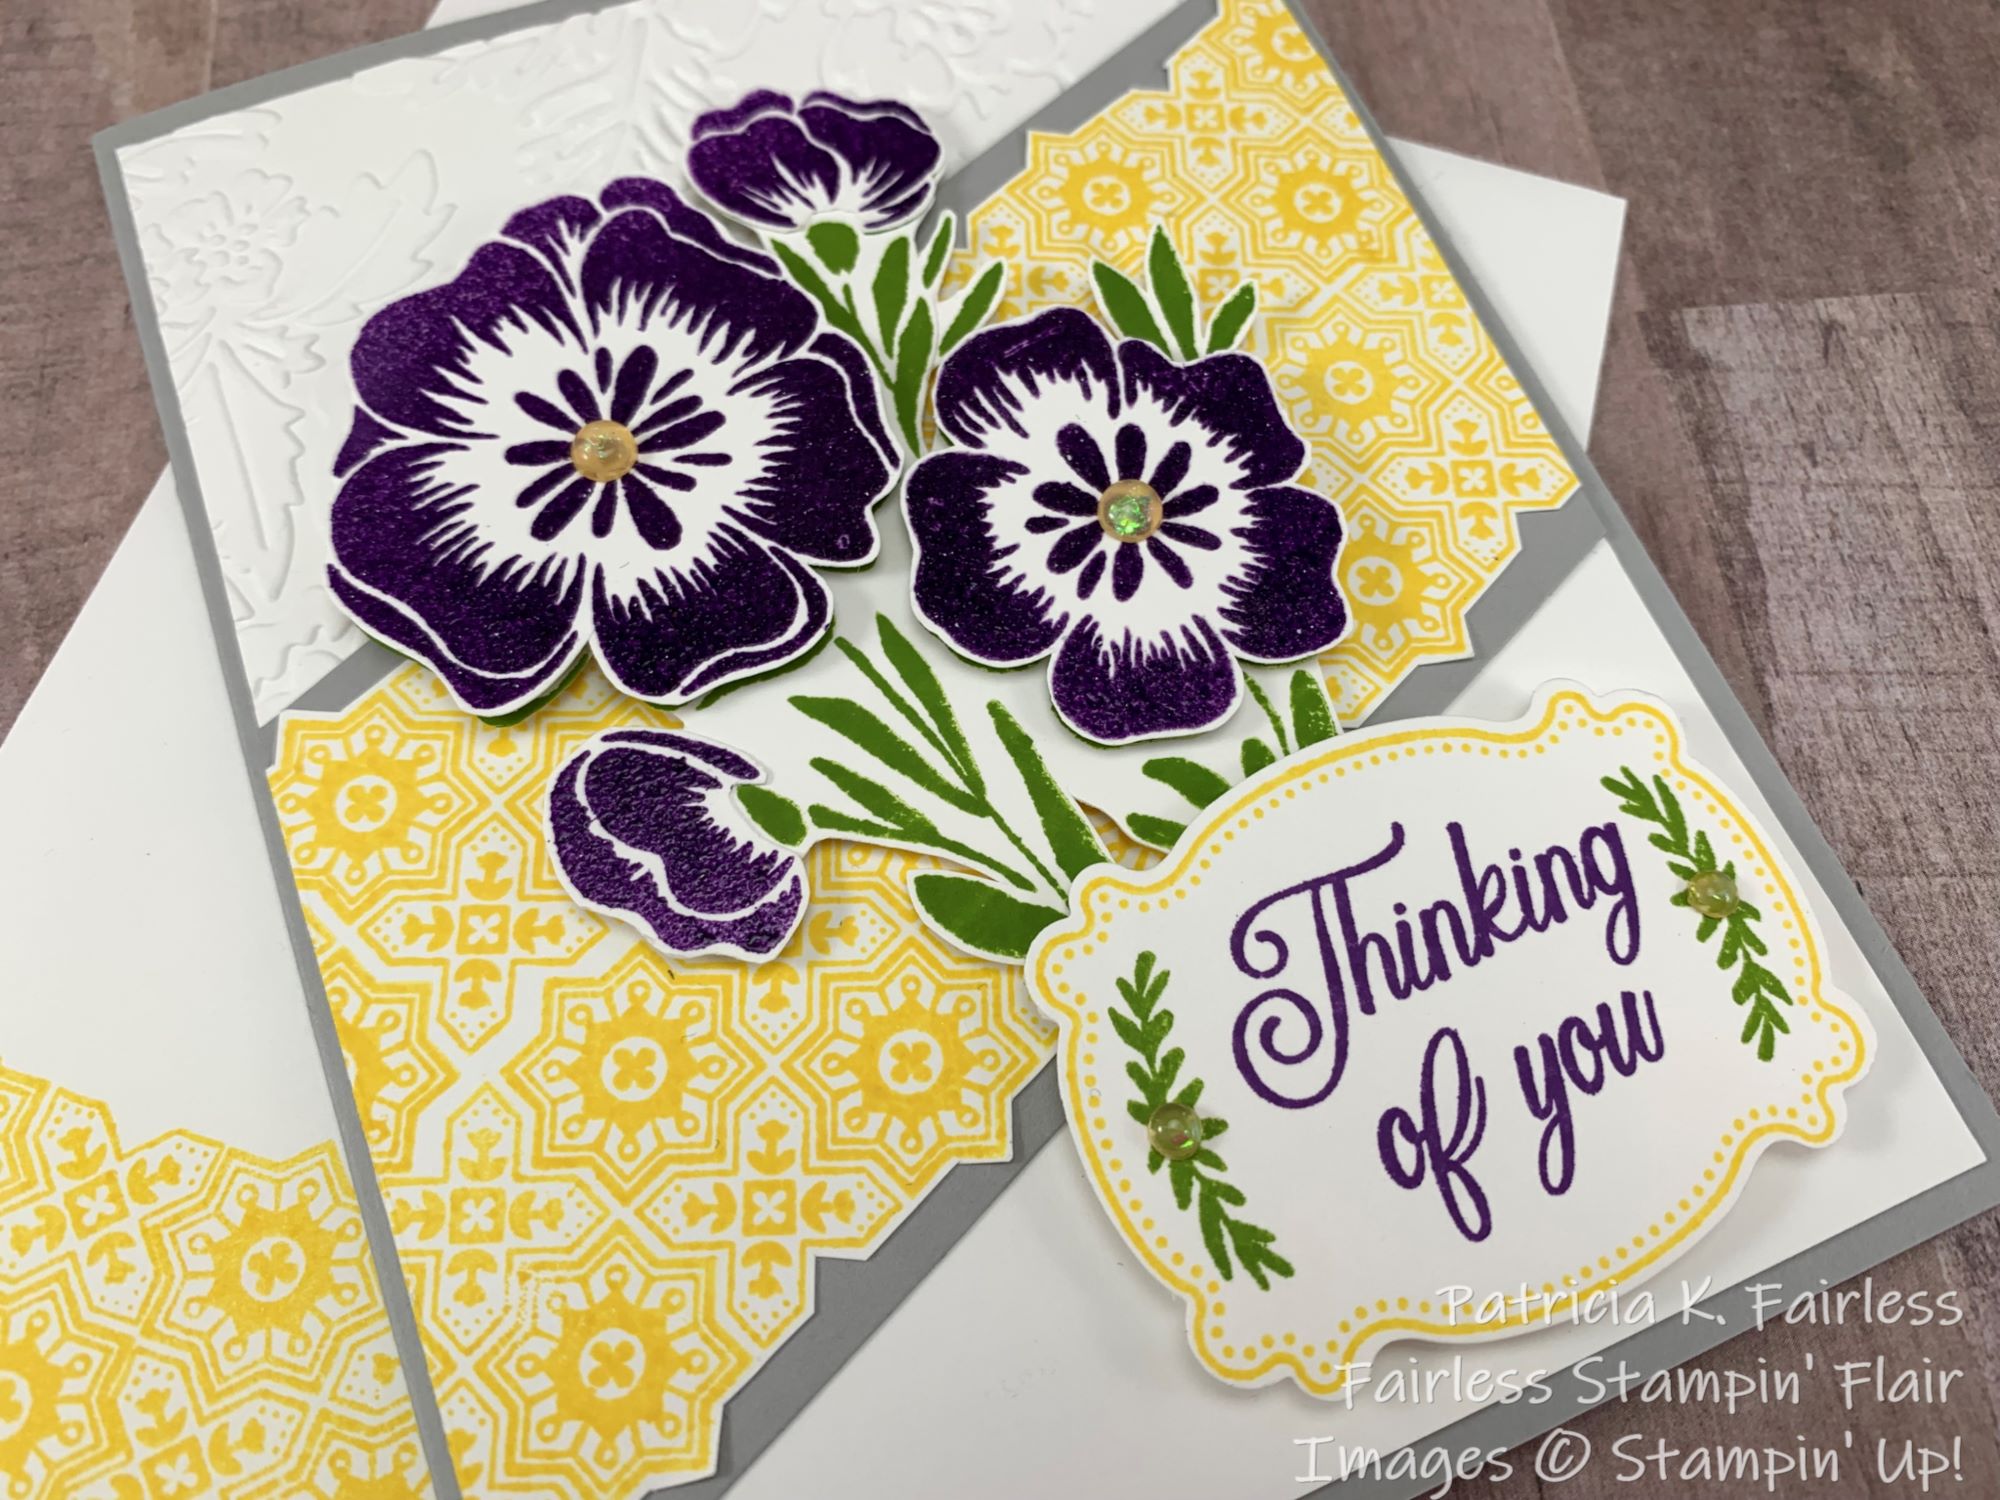
I could have used the Quatrefoil Embossing Folder (which is part of the Product Suite) to emboss the top half of the card, but I decided to use the Pretty Flowers embossing folder because I thought the flowers went very nicely with this Lovely & Lasting flower image.

This stamp set includes several sentiments that all fit perfectly on the Lasting Label. I also love that there is a border that coordinates with the punch as well as several smaller stamps that are designed to work within the design of the border.

For the inside of the card and the envelope I stamped a row of Daffodil Delight Tiles to tie the design to the diagonal on the card front.

If you would like a detailed tutorial for this card that includes all cutting dimensions and step-by-step directions, please use this link to download a copy.
A complete list of the products I used for this card is shown below. To see more details on any of the products simply click on the product image.
If you have any questions, please feel free to reach out to me. I'm here to help!
")


")

No comments:
Post a Comment