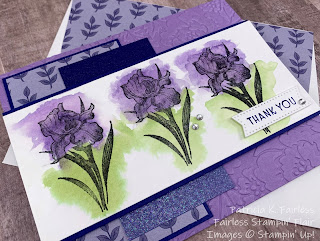
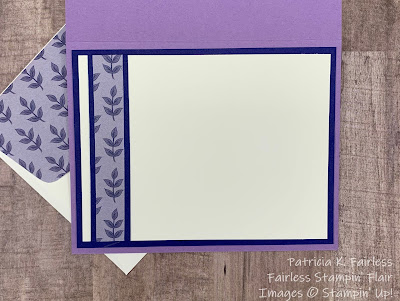
Do you need a quick and easy card? Do you like non-fussy water coloring (aka scribbling)? If so, then this is a card you'll want to make.
I used the Wonderful World Sale-a-Bration Stamp Set for my card, but you could just as easily adapt this design to your favorite flower stamp.
I stamped the Iris flower from Wonderful World three times across the front strip of Watercolor Paper with Black Stazon ink. Since we are water coloring, you definitely want to use a permanent type of ink, so the black ink doesn't "run" when you watercolor over it.
Since watercolor paper has some texture, I did use my Stamparatus just in case I needed to stamp the image more than once to get a good image. Once my stamping was complete, I spritzed the panel with water and also used the large Water Painter Brush to add some water across the paper. By adding water to the complete surface, it helps the ink to flow for the next water coloring step. The last step was to use the medium Water Painter Brush to add a Highland Heather color wash across each flower, and a Pear Pizzaz color wash across the stems. You can see that because the watercolor paper was already moist the ink flowed nicely and created a more organic shape over the images.
If you like very realistically painted images, then perhaps this technique is not for you, but I found it relaxing and fun to let the ink just go with the flow! There was no stress about staying inside the lines.
Wonderful World - SAB Item # 159918 (free with a $100 order).


No comments:
Post a Comment