I saw Sara Douglas, our Stampin' Up! CEO demonstrate this gift card holder a few weeks ago. She made it using a note card, and I wanted to try it with the standard A2 size card.
Since I wasn't sure how "difficult" the little giftbag on the inside of the card was going to be, I pulled out one of my favorite sketches for the card front. These three basic shapes can be arranged in a variety of ways, so this is often my go-to sketch.
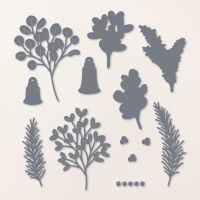
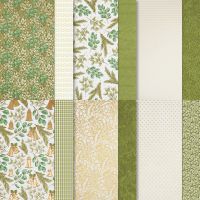
I made quick work of the card front using the Season of Green and Gold Designer Series Paper (DSP). The coordinating dies from the Golden Greenery Bundle (stamp set & dies) makes it easy to die cut various branches from the DSP so there is no stamping required. This is a great feature when you are short on time!
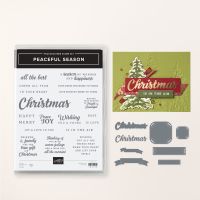
The Golden Greenery stamp set does not include any greetings, so I used sentiments from the Peaceful Season Bundle.
It doesn't show well in the photo, but the sentiment says Joy & Love to You. The sentiment was stamped with VersaMark ink and heat embossed with gold embossing powder on Mossy Meadow cardstock. I then die cut the two layers with dies from the Peaceful Season bundle.
Now to the exciting part of this card -- the little gift card bag on the inside of the card.
Isn't this tiny little bag adorable? It is the perfect size for a gift card. Tuck a little tissue in it and you have a great gift wrapped up in a beautiful card.
Also, my concern about creating the little bag being difficult was all for nothing. It is super easy to create.
I demonstrated making this gift card in my Learning with Friends Video this week. Take a look and you will see just how easy it is!
When I was stamping my sentiment on the inside of the card I had an OOPS moment, but it turned into a happy mistake. I just restamped the sentiment on a separate piece of cardstock and die cut it with another of the Peaceful Seasons dies. Then I adhered the die cut to the inside of the card. It certainly isn't necessary to do this, but I actually like the end result better than if I had just stamped directly on the Very Vanilla panel. I'm thinking I should do this more often. It is also a great way to use those little scraps of cardstock that tend to accumulate.
If you would like a written Tutorial with all the cutting dimensions and step-by-step assembly directions, you can use this link to download a PDF. The link to the YouTube Video is also included on the tutorial, so you will be able to easily locate the video when you need it.
A list of products used is shown below. Click on any of the images to learn more about that product or to place an order.
Product List






No comments:
Post a Comment