For today's card I used several different designs from the Earthen Elegance Designer Series Paper. In fact, everything you see on this card with the exception of 3 narrow strips of Cajun Craze cardstock is from the Earthen Elegance Designer Series Paper (DSP).
I started by creating the background with the Basic Border Dies and used a narrow strip of Cajun Craze cardstock between the two different DSP patterns.
The little shelf is made from a 3rd DSP pattern also sitting on a Cajun Craze strip.
The two flowerpots are two more varieties of the Earthen Elegance DSP.
The handles on the shorter pot are made from a scrap of the same Pretty Peacock DSP design and the sentiment is stamped with Cajun Craze ink on a scrap the same speckled pattern as was used for the right left of the card front.
The ferns in the pot were stamped with Cajun Craze ink on Basic White and die cut with the coordinating Earthen Textures die.
A piece of linen thread was wrapped four times around the shelf assembly and tied in a bow.
Three copper-colored Brushed Metallic Dots finished the card front.
To decorate the inside of the card I stamped the Cajun Craze ferns again and then die cut the short pot from a scrap of the same DSP a was used for the tall pot on the card front.
It may seem like there are a lot of bits and pieces to this card, but when you let the Designer Series Paper do the work for you, it makes it easy to create a beautiful card.
For my Friday card, I have combined the Dainty flowers with the Basic Border Dies.
This particular border makes a zig-zag border that reminds me a bit of Rick-Rack.
I first covered by Thick Basic White card base with one of the subtle background designs from the Dainty Flowers Designer Series Paper collection. This one is Blushing Bride, and I think it makes a quick and easy way to make a pretty feminine card.
The greenery was made with one die cut vine which I cut in half to make the leaves. Two stems for two of the flowers were also die cut with the stem dies from Dainty Delight Dies.
The underlayment for the flower on the right was die cut from Basic White and then colored with Pear Pizzaz and Blushing Bride using my blending brush. The three flowers were also cut from Basic White and colored with both Blushing Bride and Polished pink using my blending brush. I left some white on each flower which seemed to add a softness to the flowers.
A Polished Pink Bow and some Polished Pink Opal Rounds added a bit more femininity to the card front.
The front sentiment, also from the Dainty Delight stamp set, was die cut with a perfectly sized die from Harvest Dies.
For the inside of the card, I used another floral stamp from Dainty Delight. The sentiments are from Happy Labels and Celebrating You. The Blushing Bride mat adds the finishing touch.
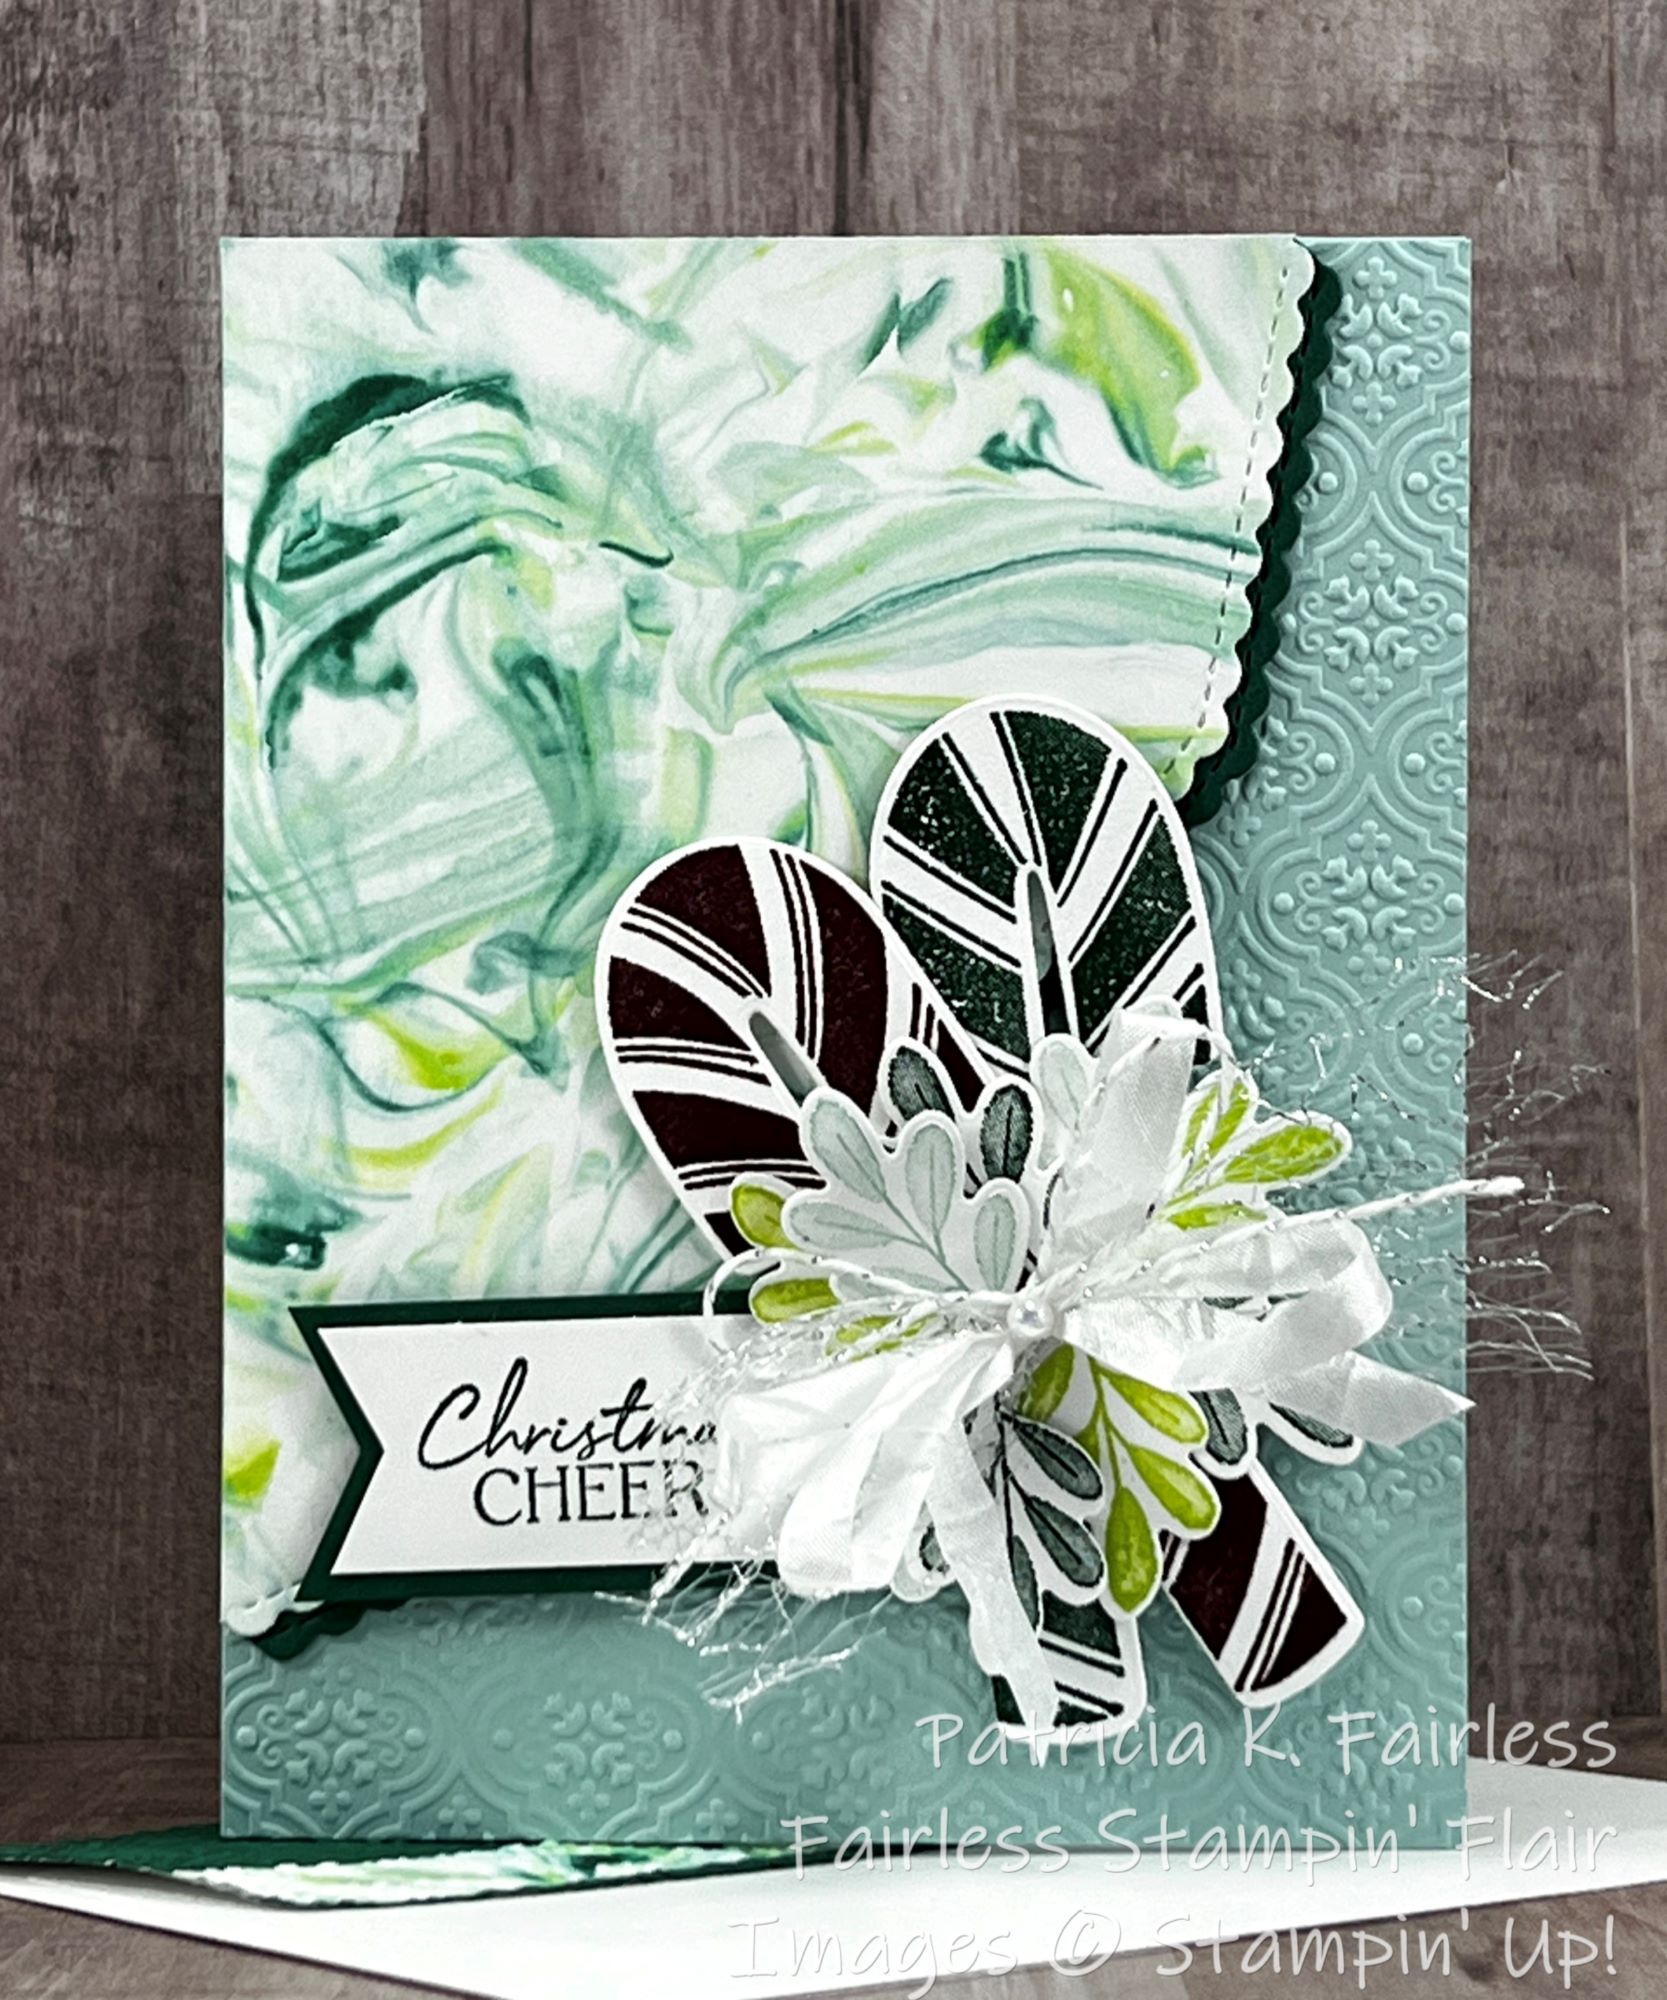
Candy Canes and Shaving Cream... It doesn't sound like a very logical paring, does it? Well, on today's card, it makes perfect sense!
I used the Shaving Cream Technique to provide a background for the Candy Canes. If you follow me regularly, you know that this is my favorite Technique. I love that you never know exactly how it is going to turn out when you start adding ink to a pile of shaving cream. Every time you dip your paper in the inked and swirled pile of shaving cream and pull it out, it is like a brand-new reveal! It looks different every time!
You may have seen my video that demonstrates this technique, but if not, take a look!
It is so much fun and each time I wipe the shaving cream off from the cardstock, I love to see what my new creation looks like!
Today's Shaving Cream Background was made with Pool Party, Parakeet Party and Shaded Spruce Reinker colors. I used the Basic Border Dies to die cut the corner shape from the completed Technique Sheet and then using the same die to cut a second piece from Shaded Spruce Cardstock for a narrow, scalloped border. This assembly was adhered to the front of the embossed Pool Party card base.
The Candy Canes were stamped with Merry Merlot and Shaded Spruce and die cut with the coordinating dies. Several of the leaf branches were stamped with Pool Party, Parakeet Party and Shaded Spruce and then die cut with the coordinating dies from Candy Cane Dies. After arranging a bouquet of stems on top of the candy canes, a faux bow made from Metallic Mesh Ribbon and White Crinkled Seam Binding (cinched together with White Bakers Twine) was adhered on top of the branches. A single Iridescent Pearl is placed at the center of the bow.
The Christmas Cheer sentiment from Sweet Candy Canes is stamped with Shaded Spruce on Basic White and layered with a Shaded Spruce mat.
To decorate the inside of the card, I used some of the leftovers from my Shaving Cream Technique Sheet.
I had a large enough scrap left over to die cut a candy cane and a narrow strip. I used the candy cane for the inside of my card and placed it to the left of the Shaded Spruce sentiment.
To finish it off I added a few more leaf sprigs and some Merry Merlot Berries (from the Merriest Moments Stamp Set & Coordinating Dies).
The leftover strip was used to trim the embossed Shaded Spruce that I had used to cover the envelope flap. You can see a little peek of it behind the card.
I hope you have enjoyed the Sweet Candy Cane cards this week. As I mentioned on Monday, the Striped Die was what initially drew me to this bundle, but once I started playing with it, I liked it so much that I decided to make it the featured bundle for my November Stamp Camp-to-Go. So, you DEFINITELY have not seen the end of the ideas for this bundle!
If you like the ideas and would like to join our November Stamp-Camp-to-Go, contact me to learn more. The last day to RSVP for the November kits will be Wednesday, November 2, 2022. You can email me at fairlessflair@gmail.com.
If you have enjoyed this week's Sweet Candy Canes cards this is the featured bundle for my November Stamp Camp-to-Go class. If you would like to participate, please sign up for my Newsletter to receive all the details!
The following list shows all the products used to create this card (except the shaving cream).