Monday, September 22, 2025

CUTE LITTLE SNOWMAN FROM FESTIVE FRIENDS

I have a really cute Online Exclusive Bundle that I am going to share this week.  It is called Festive Friends.  The images are adorable, and the dies in the bundle are awesome!

Today, I'm using the cute little snowman.  


He's a happy little guy that loves his colorful hat.  He is also enjoying his calm setting in the woods under a beautiful starry sky.  The die cut pine trees were made with Festive Friends dies, and the dark starry sky is from the Modern Christmas Specialty Paper Collection.  

If you are a fan of black and white with accents of gold you will love this designer series paper (DSP).  It is called Modern Christmas, but it also includes several designs perfect for year-round use.


The MERRY CHRISTMAS greeting is from the Jolly Holly stamp set.  It was die cut with a Traditional Labels Die.  This die set has amazing label dies in different shapes and sizes.

Touches of gold were added with a tiny bow on the greeting, and the "stars" on the top of each tree are the oh-so-shiny Flower Accents.

The two background banners were die cut with the Party Banners Dies. 

I kept the winter scene going on the inside of the card.  This sentiment is also from the Jolly Holly stamp set.

Use this link to download a FREE TUTORIAL with all the necessary details to make this card.

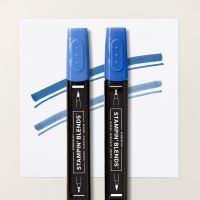
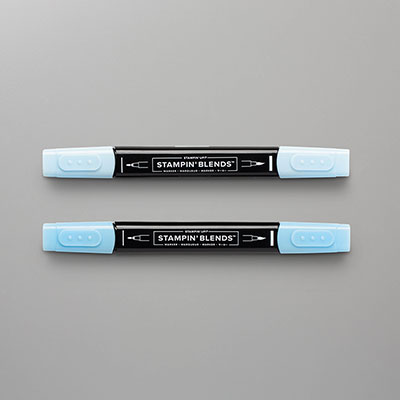
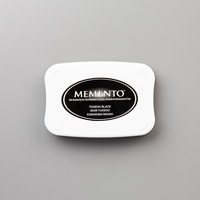
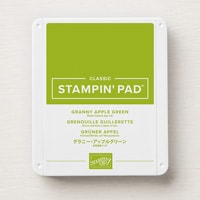
A list of the products used is shown below.  Click on any of the images to learn more about a particular product or to shop in my Stampin' Up! store.

Product List

Friday, September 19, 2025

A CHRISTMAS SKETCH

Today's card ended up being totally different from what I had pictured in my mind.  Sometimes, we just have to pivot and go in a different direction.  

Today is my last card for this week with the Traditions of Christmas Suite.  My plan was to use the large floral bouquet stamp that is included in the Christmas Greenery Bundle, but it was just not working with the rest of the card.  I haven't given up on creating a card with it, but it just can't be this card.

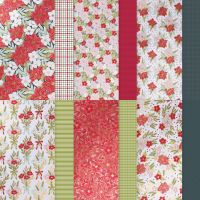
So rather than having the stamped image as the focal point, I decided to showcase the pretty Traditions of Christmas Specialty Paper and layer a couple of the awesome Traditional Labels dies to create a greeting focal point.

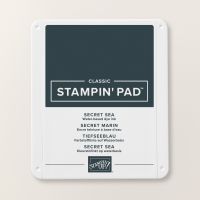
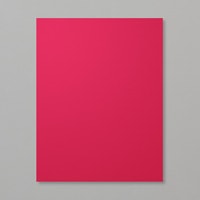
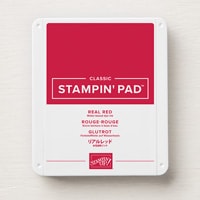
The colors of the card, Pool Party, Secret Sea, Bubble Bath and Real Red were selected from the designer paper.

Even though the dies in the Traditional Labels dies are not obviously meant to layer (they are all different shapes) many of them do layer very nicely together -- like these two used for the greeting.  I really appreciate the variety of shapes and sizes in this die set!

For the inside of the card and the envelope flap, I used the same designer series paper pattern as was used on the card front.  This ties everything together like you planned it that way.

Do you love a curvy sentiment as much as I do?  It sure makes it easier to stamp it "straight"!  😂

I hope you have enjoyed the Traditions of Christmas Suite this week. 

What is your favorite style of Christmas Cards?  Are you a traditionalist? Modern Style? Cute cards that make you smile?  Or do you just like to do a little of everything?

Use this link to download a tutorial for today's card.  The card layout is based on my Fairless Stampin' Flair Sketch #4.


Below is a list of the products used on this card.

Product List

Wednesday, September 17, 2025

TWO SEASONS WITH CHRISTMAS GREENERY

When I've created cards using products from this Traditions of Christmas suite previously, I mentioned that I thought some of the products in the suite could easily transition to seasons other than just Christmas.  I hope today's cards help to demonstrate what I was thinking.

This first card that I made today was created for Christmas but keep reading and you'll see below how I turned it into a "non-Christmas" card.  

For the card front I used the Traditional Wreath embossing folder.  It is a beautifully textured wreath with tons of dimension, but the "greenery" does not "scream" Christmas.  There are no pine boughs but rather just simple leaves appropriate for any time of year.

The bouquet was quick and easy to create.  In fact, so easy that I even surprised myself!  It was made using two-step stamping which I often struggle with.  With some two-step stamps I have trouble aligning the "2nd step" stamp with the first stamp.  But with this set I had NO TROUBLE at all--even on the first attempt. 

I had actually stamped the outline image twice because I assumed I'd need the first one to practice getting the 2nd layers aligned.  That's why I had an extra stamped outline image to make a non-Christmas card.

On Monday's Blog Post I mentioned how much I like the Traditional Labels dies.  I want to explain how I used this particular die to create the little Cherry Cobbler Border.  No, there are not two layering dies in this shape that are slightly different in size.  These layers were made using the same die!  And until I die cut the Basic White cardstock, I didn't realize the possibilities!  

When you cut cardstock with this die it creates a tiny little border that is mostly "loose" from the center portion of the die cut.  It is only attached at 4 places--in those little corners.  So I carefully snipped it loose.  I then die cut a 2nd piece from Cherry Cobbler and left the tiny border attached.  Voila!  I had a nice, bordered layer!

Since I rarely throw "scraps" away -- like the tiny little white border piece, I used it as a frame for my Merry Christmas sentiment on the inside of the card.


Doesn't that give it a nice finishing touch?  My mom would have said, "It just does something to it!"

The designer series paper (DSP) on the front, inside, and envelope is from the Traditions of Christmas DSP collection.

Here is my "non-Christmas" version of the same card.

Does it look like this card was made with "Christmas" products?  I don't think so.  I intentionally used the exact same design for the card.  I wanted to keep them as similar as possible -- even down to using plaid designer series paper (DSP).  This plaid DSP is from the Timeless Plaid Collection.


I just changed up the colors and sentiments.  Even the Sparkly Sequins are from the Traditions of Christmas Suite -- just gold rather than red.


What do you think?  Did I convince you this "Christmas" suite isn't just for Christmas?


Listed below are the products used for the Christmas version of the card.  The products for the birthday version are listed on the Tutorial.

Product List