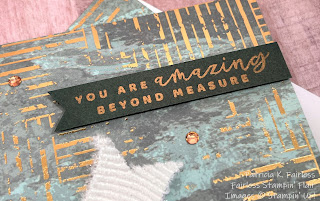
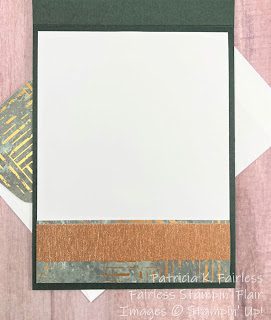
Today's card is a super simple card that will probably take less than 15 minutes to make -- and that includes the time to get your supplies out!
The Designer Series Paper (DSP) does 90% of the work for you. Whenever you need a quick card get out that stash of DSP and pick out a couple of your favorite coordinating patterns or colors.
The top of this card uses the Textured Chic DSP to cover the top two-thirds of the card base. The bottom third of the card is covered with the GORGEOUS gold paper from the Gold and Rose Gold 6" x 6" Metallic Specialty Paper.
You may have missed this Specialty Paper in the Annual Catalog, and if you have, you need to take a look. There are four 6" x 6" sheets of each color for only $5. If you have not seen this paper in person, you may wonder what is different about this paper? Maybe you already have the Gold or Rose Gold Foil and think you don't need any more foil paper. But until you have seen this metallic cardstock in-person, it is really difficult to understand how beautiful it is. There is visual texture on this metallic paper like no other Stampin' Up! foiled paper.
It is super difficult to explain what this beautiful paper looks like. The best I can do is say it is like a cross between Brushed Metallic and Glimmer Paper, and the sparkle is unbelievable.
Not only is it difficult to describe, but it is also difficult to photograph. Here are a couple of different shots of the card where I was really trying to capture the sparkle and texture of the Gold Metallic Paper.
I'll be honest, neither of these photos does it justice.
After I adhered the two pieces of DSP on the Evening Evergreen card base, I die cut a couple of leaves from Evening Evergreen with the Chic Dies and simply adhered them below the knot in the Frayed Ribbon. I adhered the stem ends directly using liquid adhesive, but to give the opposite end a little bit of dimension and pop, I used a trick I learned a year or so ago.
If you have been stamping for any amount of time, you realize that sometimes dimensionals are just not feasible due to the fact that there is no space for even a snipped and trimmed down dimensional without it showing from the side.
My trick is that I take my glue dots and roll them into a little ball or a little needle-shape, and then I tuck those under the die cut. The rolled-up glue dots give the die cut just enough lift, so they don't lay totally flat.
I hope you have enjoyed my cards this week and more importantly I hope you have learned a couple of tips and tricks that you didn't know!
If you would like a tutorial for today's card, you can download a free copy by clicking on this link.
A complete list of the products I used is shown below.


No comments:
Post a Comment