Showing posts with label Textured Chic Designer Series Paper. Show all posts

Wednesday, October 5, 2022

CELEBRATE CHRISTMAS PINES

Today's card uses one of my favorite layouts for showcasing Designer Series Paper.

I've made the exact same card with two different Designer Series Paper (DSP) collections to show you what a difference a simple change of paper can make.

The first card uses the Celebrate Everything DSP collection which is a host selection from the Fall Mini Catalog.


The second card uses the Textured Chic DSP collection from the current 22-23 Annual Catalog.


You can see that both use the exact same layout and elements, but the feel you get from each is quite different.  The first is more colorful and whimsical and the second is more reserved and elegant.  

Both cards use Puff Paint to add some snow on the Pine Bough.


Both cards also use the same ornament from the Decorated Pines Dies cut from Gold Metallic card stock from the Gold & Rose Gold Specialty Paper.


I did finish the inside of each card differently.  For the Celebrate Everything card I stayed with the colorful and whimsical theme that was established with the DSP.


For the Textured Chic Card, I could have done the same thing with a strip of DSP, but instead I decided to do a little stamping rather than using the designer series paper.


Which card do you prefer?   Both of these are obviously Christmas Cards, but my goal was to show you that once you create a layout, reuse it.  By simply changing the designer series paper, you can create a very different card for various occasions.  For example, you could change it from a card appropriate for a child's birthday, to a get well or sympathy card just by changing the DSP.  

Sometimes coming up with the layout is the most difficult part of making a card.  Once you have a layout you like, reuse it!  If you like this layout, download the Celebrate Everything tutorial, and keep it so you can reuse it for any occasion.

A list of Products used for the Celebrate Everything Christmas Card is shown below.


Product List

Friday, September 23, 2022

AMAZINGLY QUICK & SIMPLE CARD

Today's card is a super simple card that will probably take less than 15 minutes to make -- and that includes the time to get your supplies out!


The Designer Series Paper (DSP) does 90% of the work for you.  Whenever you need a quick card get out that stash of DSP and pick out a couple of your favorite coordinating patterns or colors.

The top of this card uses the Textured Chic DSP to cover the top two-thirds of the card base.  The bottom third of the card is covered with the GORGEOUS gold paper from the Gold and Rose Gold 6" x 6" Metallic Specialty Paper.  

You may have missed this Specialty Paper in the Annual Catalog, and if you have, you need to take a look.  There are four 6" x 6" sheets of each color for only $5.  If you have not seen this paper in person, you may wonder what is different about this paper?  Maybe you already have the Gold or Rose Gold Foil and think you don't need any more foil paper.  But until you have seen this metallic cardstock in-person, it is really difficult to understand how beautiful it is.  There is visual texture on this metallic paper like no other Stampin' Up! foiled paper.   

It is super difficult to explain what this beautiful paper looks like.  The best I can do is say it is like a cross between Brushed Metallic and Glimmer Paper, and the sparkle is unbelievable.

Not only is it difficult to describe, but it is also difficult to photograph.  Here are a couple of different shots of the card where I was really trying to capture the sparkle and texture of the Gold Metallic Paper.


I'll be honest, neither of these photos does it justice.

After I adhered the two pieces of DSP on the Evening Evergreen card base, I die cut a couple of leaves from Evening Evergreen with the Chic Dies and simply adhered them below the knot in the Frayed Ribbon.  I adhered the stem ends directly using liquid adhesive, but to give the opposite end a little bit of dimension and pop, I used a trick I learned a year or so ago. 

If you have been stamping for any amount of time, you realize that sometimes dimensionals are just not feasible due to the fact that there is no space for even a snipped and trimmed down dimensional without it showing from the side. 

My trick is that I take my glue dots and roll them into a little ball or a little needle-shape, and then I tuck those under the die cut.  The rolled-up glue dots give the die cut just enough lift, so they don't lay totally flat.


The sentiment from Season of Chic stamp set was heat embossed with gold embossing powder on a strip of Evening Evergreen and then popped up on dimensionals.  Champagne Rhinestone Jewels were added on the card front in the typical "triangle" pattern.


I used some more scraps of Textured Chic and Gold Metallic DSP to decorate the bottom of the Basic White Panel on the inside of my card base.

I hope you have enjoyed my cards this week and more importantly I hope you have learned a couple of tips and tricks that you didn't know!

If you would like a tutorial for today's card, you can download a free copy by clicking on this link.

A complete list of the products I used is shown below.

Product List

Monday, September 19, 2022

CHICK FLOWERS

As I was preparing for this week featuring the Season of Chic bundle, every time I typed Chic it came out Chick!  So, for that reason I decided to call today's card CHICK FLOWERS.  I am hoping if I name a card after my typing error it will end the spell and I'll get it spelled correctly the rest of the week!


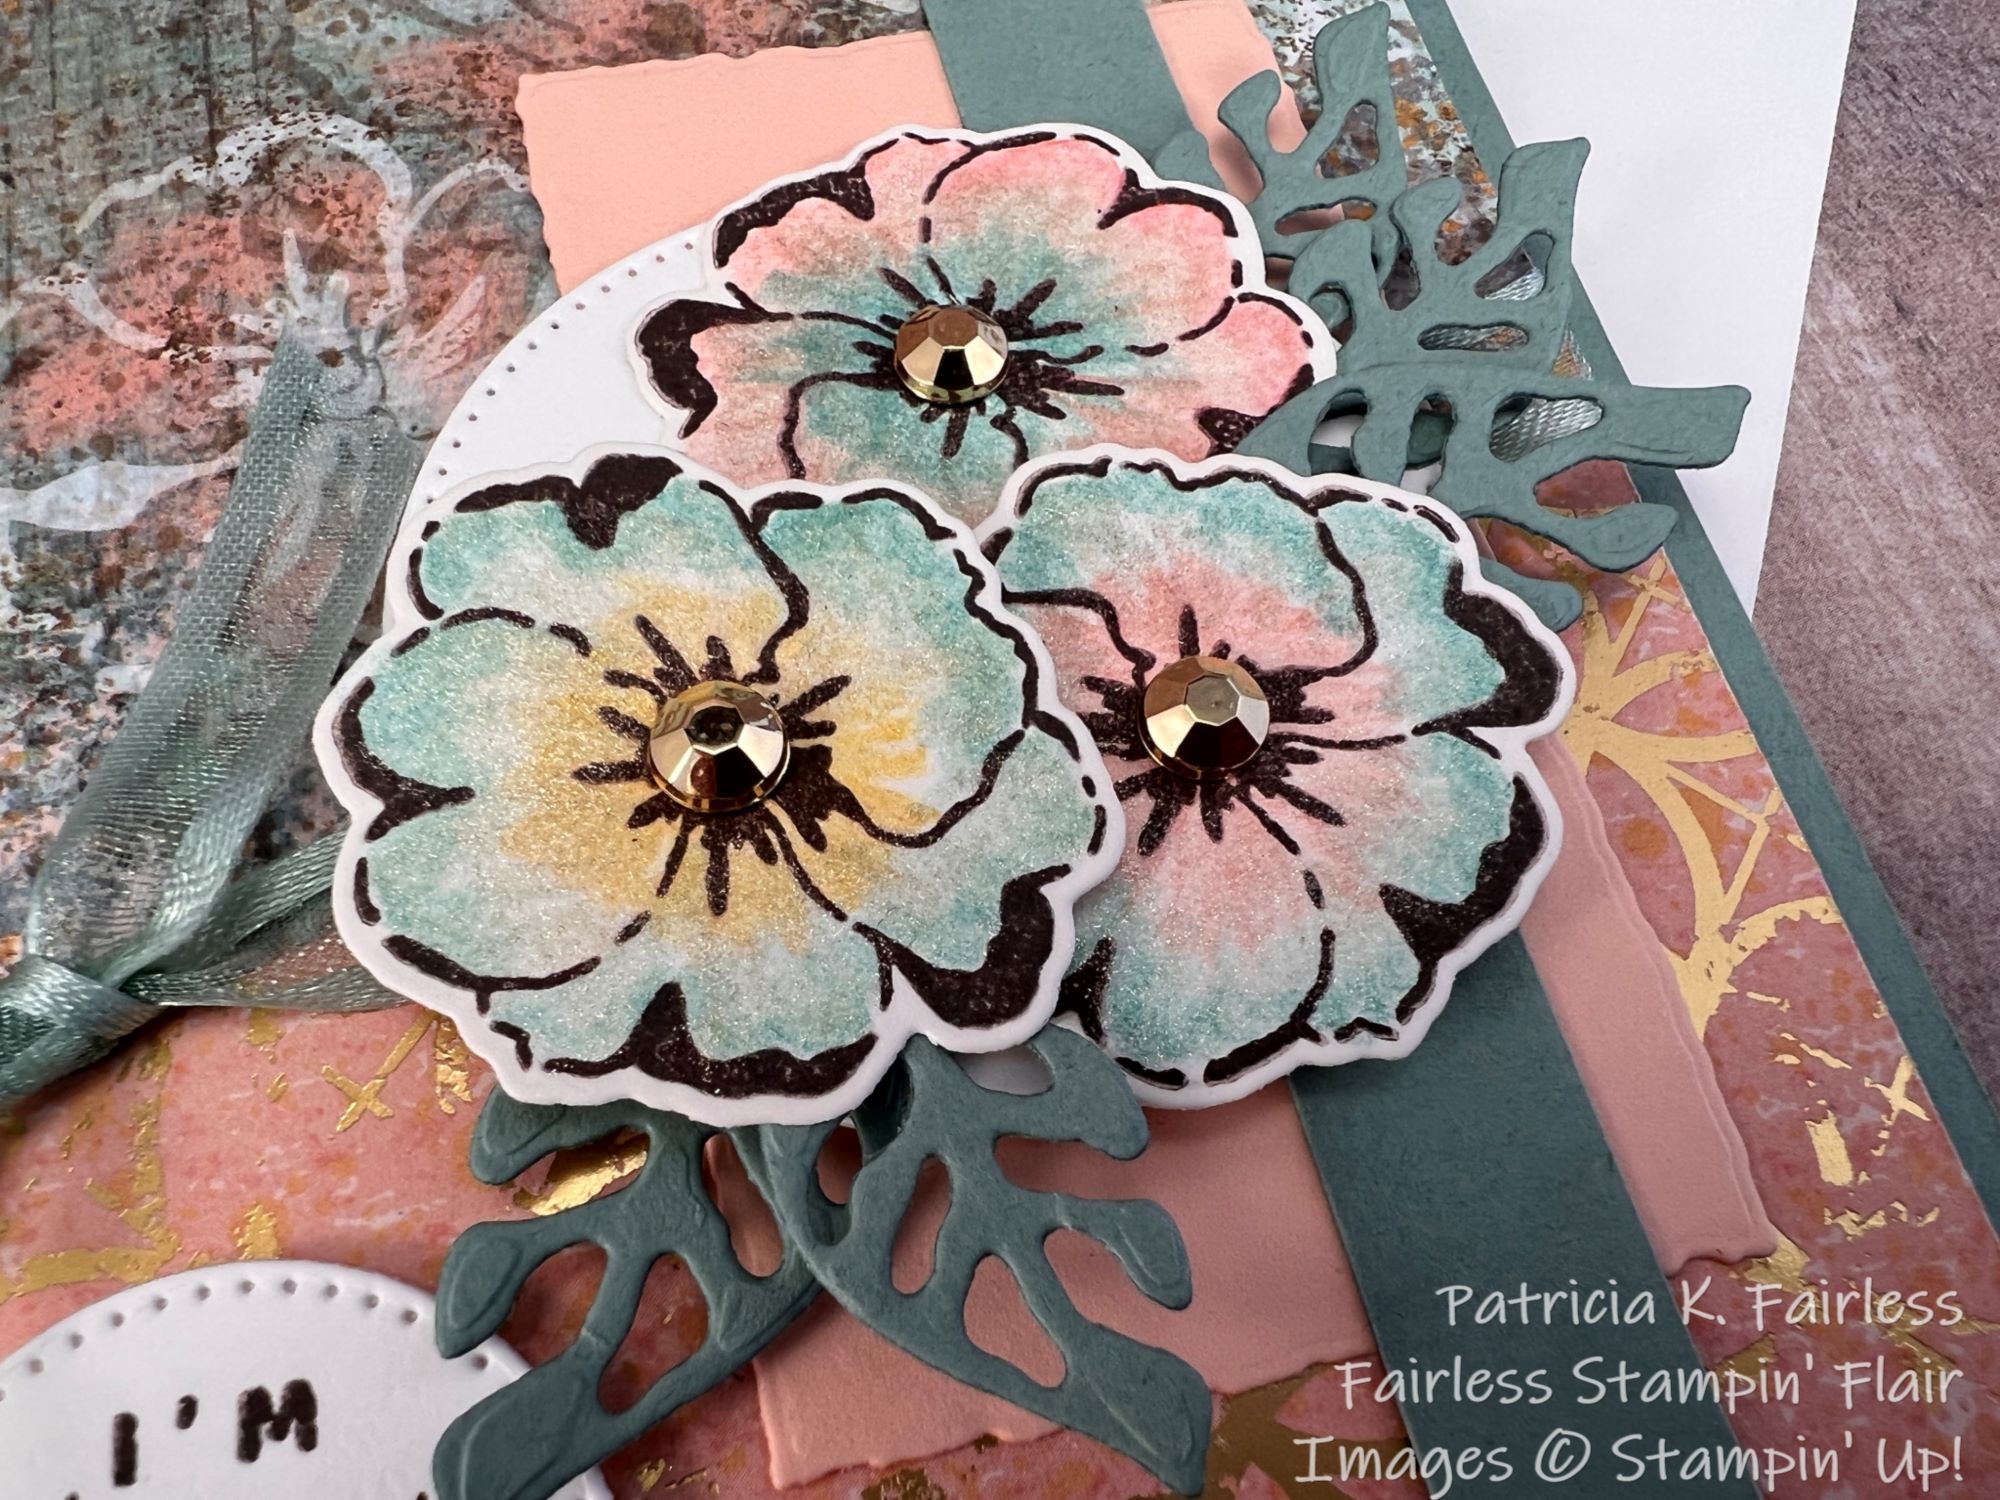
My favorite thing in the Texture Chic Suite might just be the Textured Chic Specialty Designer Series Paper.  This paper is gorgeous.  The colors are beautiful and there is lots of sparkle and shimmer from the gold accents on the paper.  Usually when I have a Specialty Paper that has metallic accents, I have a very difficult time using the opposite side of the paper, but the colors and subtle floral pattern on the top section of today's card is too pretty not to use!  It looks like flowers were painted years ago on the side of an old, worn barn.
 
Each of the paper patterns "coordinate" with one of the stamps in the stamp set -- whether it is the leaves, the snowflakes, or the flowers.  It is so pretty, and I love how Stampin' Up! coordinates their products.

If you'd like a better look at the paper and the stamps included in the Suite, click on one of the images in the product list below for a better close-up!

For today's card I obviously chose to use the flowers.  These flowers were so fun to watercolor with my Watercolor Pencils and a Clear Wink of Stella brush.  If you would like to see how I made them, check out my video on my Fairless Stampin' Flair YouTube Channel.


Wink of Stella works wonderfully to blend the colors and WOW, what a beautiful shimmer it creates!


I also love how the angle on this layout creates a little more interest, but sometimes creating angles can be a little challenging to figure out by only looking at a picture.  So, the FREE TUTORIAL that is available to download at this link includes a sketch with all the dimensions for cutting the angled DSP at the top.

As I was water coloring the flowers for my video, I was having so much fun that I ended up with several extra flowers.  So, I used one of them along with a leftover scrap of the designer series paper to decorate the inside of my card.  I love how the inside turned out almost as much as I love the front of the card.


I hope you enjoyed today's card and that you will come back on Wednesday and Friday to see some additional cards that I made with this beautiful suite of products.

Have a great week!

Product List