It's time to get the Christmas in July party started! So that I don't get stressed out in November & December I start making Christmas Cards in July ! My goal between now and mailing time is to include a Christmas card idea each week using whatever stamp set or Bundle I am using for that week.
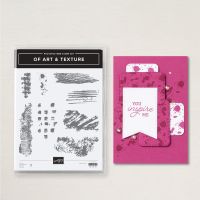
Some weeks this is more of a challenge than others because often the products I'm featuring have nothing to do with Christmas. Kind of like this week's Of Art & Texture Stamp Set.
However, at last month's Stamp Camp in my home, one of my stampers mentioned a stamp set we had many, many years ago. It was a set that had stamps with just different shapes and textures, similar in concept to the Of Art & Texture stamp set I am using this week. She reminded me of all the creative things people came up with using that old set. So, as I sat thinking about ideas for this week's cards, I remembered that conversation, and thought, maybe I can use one of the stamps to make a flower and say it is a Poinsettia!
Now, I admit, it doesn't really look like a Poinsettia! Believe me I experimented with almost every stamp in the set, and this one look the closest to a flower. Just use your imagination that it is a Poinsettia. It's red with a big yellow center! Does that count?
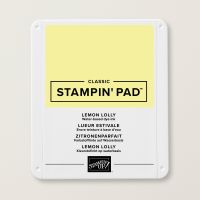
The big yellow flower center was made with a different stamp from Of Art & Texture. I just stamped a scrap of Basic White cardstock multiple times with Lemon Lolly ink and then die cut it with a Deckled Circle die. I used an Early Espresso Stampin' Write Marker to add some speckles to the yellow.
It doesn't show well in the photo, but the center is actually convex in shape.
To make a convex (or concave) shape from a circle, place your cardstock circle on a Paper Piercing Mat (or any foam mat). Starting in the center of the circle rub a stylus in small circles and work outward. Press with medium firmness. The cardstock will start to form a concave shape. In my case, I wanted a convex flower center (puffed upward), so I just laid my circle with the stamped side facing down and then rubbed circles on the backside of the stamped image. Be sure to use the larger end of your stylus so you don't make a hole in the paper. Adhere the convex circle with a dimensional to the center of the stamped image. You now have a puffy flower center!
I used the same stamp from Of Art & Texture that was used to create the checked background on the card front to create a boarder on the inside of the card.
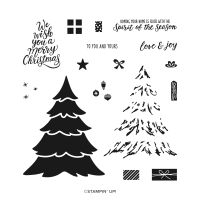
The sentiments on the front and inside of the card are from the Merriest Trees stamp set.
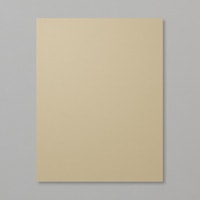
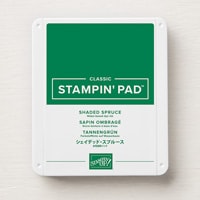
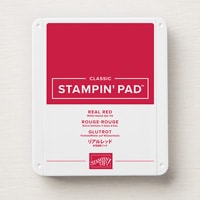
I think it could pass for a Christmas card, don't you? Whenever in doubt use red & green colors. In my case, Shaded Spruce and Real Red. Crumb Cake is always a good complimentary Christmas card color also.Use this link to download a written tutorial with all the details and step-by-set directions.
A list of the products I used is shown below. Click on any image to purchase or learn more about that item.





No comments:
Post a Comment