Showing posts with label Of Art & Texture Stamp Set. Show all posts

Friday, August 23, 2024

CHRISTMAS IN THE FOREST

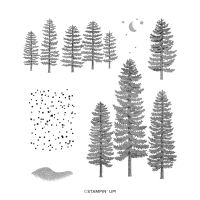
In keeping with my self-imposed challenge to create a Christmas Card with every stamp set that I feature, today I have a Christmas Card for you using the Forever Forest Stamp Set & Dies.


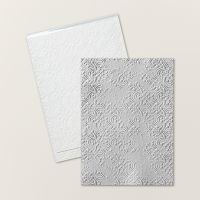
Here in Michigan we associate Christmas with snow.  So, for today's card I started by creating a snowy scene on Night of Navy cardstock by heat embossing with white embossing powder.  The ground cover was made with a stamp from Art & Texture and the snowy sky was created with a large speckles stamp from Forever Forest.


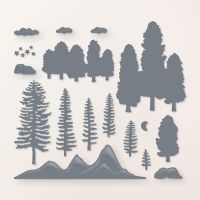
The White Iridescent ribbon provides a transition between the ground and the sky.  Next I die cut a large Night of Navy circle using a Deckled Circles die.  This created a background to set off the white trees which were die cut with two of the detailed Forever Forest Dies.


To provide some Christmas sparkle, Iridescent Sequins were added around the trees.  The sentiment is from a retired stamp set called Hope & Peace.

For the inside of the card I stamped a portion of the large tree grouping with Night of Navy ink and added a sentiment also from the retired Hope & Peace.

Use this link to download a copy of the FREE TUTORIAL.

For information on any of the currently available products used click on the image of interest below, and it will take you to my Stampin' Up! store where you can research and purchase.


Product List

Friday, July 12, 2024

CHRISTMAS ART & TEXTURE

It's time to get the Christmas in July party started!  So that I don't get stressed out in November & December I start making Christmas Cards in July !  My goal between now and mailing time is to include a Christmas card idea each week using whatever stamp set or Bundle I am using for that week.

Some weeks this is more of a challenge than others because often the products I'm featuring have nothing to do with Christmas.  Kind of like this week's Of Art & Texture Stamp Set.

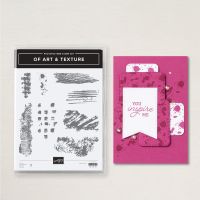
However, at last month's Stamp Camp in my home, one of my stampers mentioned a stamp set we had many, many years ago.  It was a set that had stamps with just different shapes and textures, similar in concept to the Of Art & Texture stamp set I am using this week.  She reminded me of all the creative things people came up with using that old set.  So, as I sat thinking about ideas for this week's cards, I remembered that conversation, and thought, maybe I can use one of the stamps to make a flower and say it is a Poinsettia!

Now, I admit, it doesn't really look like a Poinsettia!  Believe me I experimented with almost every stamp in the set, and this one look the closest to a flower.  Just use your imagination that it is a Poinsettia.  It's red with a big yellow center!  Does that count?

The big yellow flower center was made with a different stamp from Of Art & Texture.  I just stamped a scrap of Basic White cardstock multiple times with Lemon Lolly ink and then die cut it with a Deckled Circle die.  I used an Early Espresso Stampin' Write Marker to add some speckles to the yellow.  

It doesn't show well in the photo, but the center is actually convex in shape.

To make a convex (or concave) shape from a circle, place your cardstock circle on a Paper Piercing Mat (or any foam mat).   Starting in the center of the circle rub a stylus in small circles and work outward.  Press with medium firmness.  The cardstock will start to form a concave shape.  In my case, I wanted a convex flower center (puffed upward), so I just laid my circle with the stamped side facing down and then rubbed circles on the backside of the stamped image.  Be sure to use the larger end of your stylus so you don't make a hole in the paper. Adhere the convex circle with a dimensional to the center of the stamped image.  You now have a puffy flower center!

I used the same stamp from Of Art & Texture that was used to create the checked background on the card front to create a boarder on the inside of the card.

The sentiments on the front and inside of the card are from the Merriest Trees stamp set.

I think it could pass for a Christmas card, don't you?  Whenever in doubt use red & green colors.  In my case, Shaded Spruce and Real Red.  Crumb Cake is always a good complimentary Christmas card color also.

Use this link to download a written tutorial with all the details and step-by-set directions.

A list of the products I used is shown below.  Click on any image to purchase or learn more about that item.


Product List

Wednesday, July 10, 2024

COLOR CHALLENGE FOR THE COFFEE CLUB

This week was our monthly coffee club and our challenge this month was to choose a color from the new 2024-2026 In-Colors, and then look that color up on the Stampin' Up! Color coach and pick one of the suggested color combinations to create our card.

The first part of the challenge, choosing just one of the new in-colors, was the most difficult for me.  I couldn't make up my mind which to use.  Sometimes when the new In-Colors are introduced each spring, I'm a bit unsure how I feel about them.  That was the case with the 23-25 In-Colors, but now after having played with them for over a year, I LOVE them.  

However, with the new 24-26 In-Colors, I had no doubts.  I loved them all from the moment I saw them so choosing one was difficult.  I finally decided to use Shy Shamrock.  So far I have probably used this one the least of the 5, so decided it was time to "get it involved".

Next, it was off to the Color Coach.  Stampin' Up!'s Color Coach provides three suggested combinations for each of the 48 colors in their collection.  

These were the three suggestions on the Color Coach for Shy Shamrock.  Now, just in case you don't like any of these combinations, you can also search the other 49 colors on the Coach to see where they also use Shy Shamrock as a complimentary color.  But I decided to keep it simple and use the bottom one on the Shy Shamrock card.


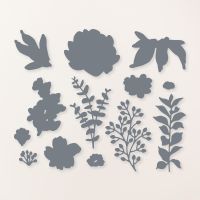
I used a couple of the Of Art & Texture stamps to create a Lemon Lolly and Highland Heather background for my Shy Shamrock stem.   I wanted a little additional texture on the background so  I used a Basic Black Stampin' Write Market to flick some speckles over the stamped images before adhering the stem.  The leafy stem was made with a die from Textured Floral Dies.

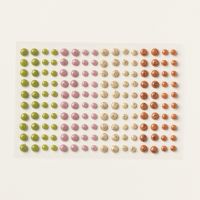
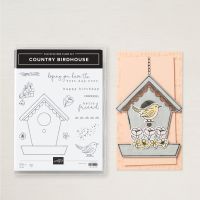
A sentiment from the Country Birdhouse stamp set, a little Linen Thread double bow and some Shy Shamrock In-Color Shimmer gems finish the simple card.  I wonder what the other coffee club members will come up with.  There are 5 of us in the club and 5 In-Colors.  Do you think we will end up with a card in each color?  I doubt it!  


I stamped the same "background" design on the inside of the card.  It actually shows much better here as it isn't covered with the stem.  I also just realized, I forget the speckles on the inside!  LOL

Although this card is so simple that I doubt that you need one you can use this link to download a free tutorial.

A list of the products used is shown below.  Click on any image to learn more about that product.

And don't forget!  July is Bonus Month!


For every $50 of merchandise you purchase during July, you will receive a $5 coupon to be used in August!  Want more information?  Just ask!  I'm here to help.


Product List