For today I decided to combine another new set that I just received. It is the Everyday Arches Bundle which was introduced as an ONLINE EXCLUSIVE in January. I have not used the Everyday Arches Stamp Set on this card--only the dies, but the bundle part of a beautiful suite that also includes this gorgeous Everyday Skies 6" x 6" Designer Series Paper (DSP).
The circular shape on the sketch can be changed to any shape and obviously the width of the diagonal strip can be changed to better suit the focal point you choose.
If you missed yesterday's Learning with Friends watch the replay to see some additional examples of this card layout--and also some important assembly tips.
I have used this layout more times than I can count, but I never get tired of it. It is not as versatile as some of my card sketches, but there is something about that diagonal element that just "speaks" to me.
I hope you like it too and will give it a try. Be sure to watch the video for those important hints to make assembly easy.
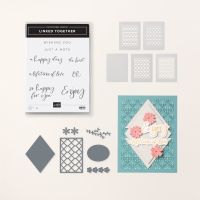
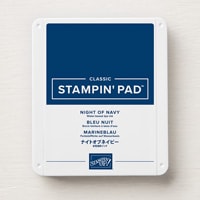
My arched focal point was made by first cutting a piece of the Everyday Skies Designer Series Paper with an arched die from Everyday Arches. Then I adhered the Night of Navy lattice die cut made with the Linked Together die to the DSP and snipped off the areas that protruded.
The Moody Mauve Arch window frame was made by die cutting with two Everyday Arches dies laid one inside of the other. Doesn't it give a pretty view of the beautiful sky though our window?
To finish the inside of the card I just adhered a couple of the DSP strips that were left over from the card front. Adding DSP strips to the message layer and then matting it to a coordinating cardstock color is a simple way to bring the inside of your card to life. It's quick and easy, but more importantly, it doesn't look like it has been forgotten.
Use this link to download a copy of the tutorial with all the necessary dimensions and step-by-step directions.
A list of the products used is shown below.






No comments:
Post a Comment