Showing posts with label Autumn 2023 Card. Show all posts

Friday, October 6, 2023

AUTUMN MAGIC

 Today our stroll through the meadow continues with a beautiful walk in an Autumn Meadow.


The highlight of today's walk is the beautiful shimmering element on the left side of our path.  This focal point was made with a product called Enamel Effects.  I recently purchased the Metallic Enamel Effects Basics and have had a lot of fun experimenting with them.  

In my experimentation I found so many different ways to use this material that I got a bit carried away.  If you have not used them or are unfamiliar with this product, watch this video from Learning with Friends.  In the video I show at least eight ways to use the Enamel Effects, and I'm sure there are even more that I haven't discovered yet!

We stroll along the autumn meadow path, on our right are beautiful fall leaves from the All About Autumn Designer Series Paper.  

Our path is a bit overgrown in the center where some Copper Clay and Wild Wheat branches have sprung up.  These branches were die-cut using two different dies from the Magical Meadow Dies.  The berries on the branches were embellished with more copper and gold Enamel Effects.

The sentiment from So Sincere is also embellished with copper Enamel Effects dots.  I love our Brushed Metallic Dots Embellishments, but with the Enamel Effects product you can achieve a similar look.  And because it is much more economical, you don't need to worry about how many you add to your card!  I counted 26 metallic dots on this card.  I would never use that many Brushed Metallic Dots on one card, would you?  


After making the card front, I had a small rectangle of the All About Autumn Designer Series Paper left.  It was sort of an odd size that I figured could never be used on another card, so rather than toss it, I fussy cut around the leaves in the corner and used it to decorate the inside of my Autumn card.

The sentiment on the front and the inside are from the same sentiment stamp.  I just masked the bottom portion for the card front and then masked the top portion for the inside of the card.  This is a terrific way to "stretch" our sentiments.  To see the rest of the sentiments included in the So Sincere stamp set refer to the Product List below.  This set is from the new Mini Catalog and has many versatile sentiments that I love.

Use this link to download a free tutorial for today's card.  If you watch the Learning with Friends Enamel Effects video on YouTube, you will also be able to download a document that describes all of the ways I found to use this product.  I'm sure there are many more!  

Enamel Effects is also available in a Basics Color Collection which includes White, Black and Red.  Now that I've played with the Metallics, I'm adding the Basics to my wish list!

Product List

Wednesday, September 13, 2023

RUSTIC CRATE BLEACHING

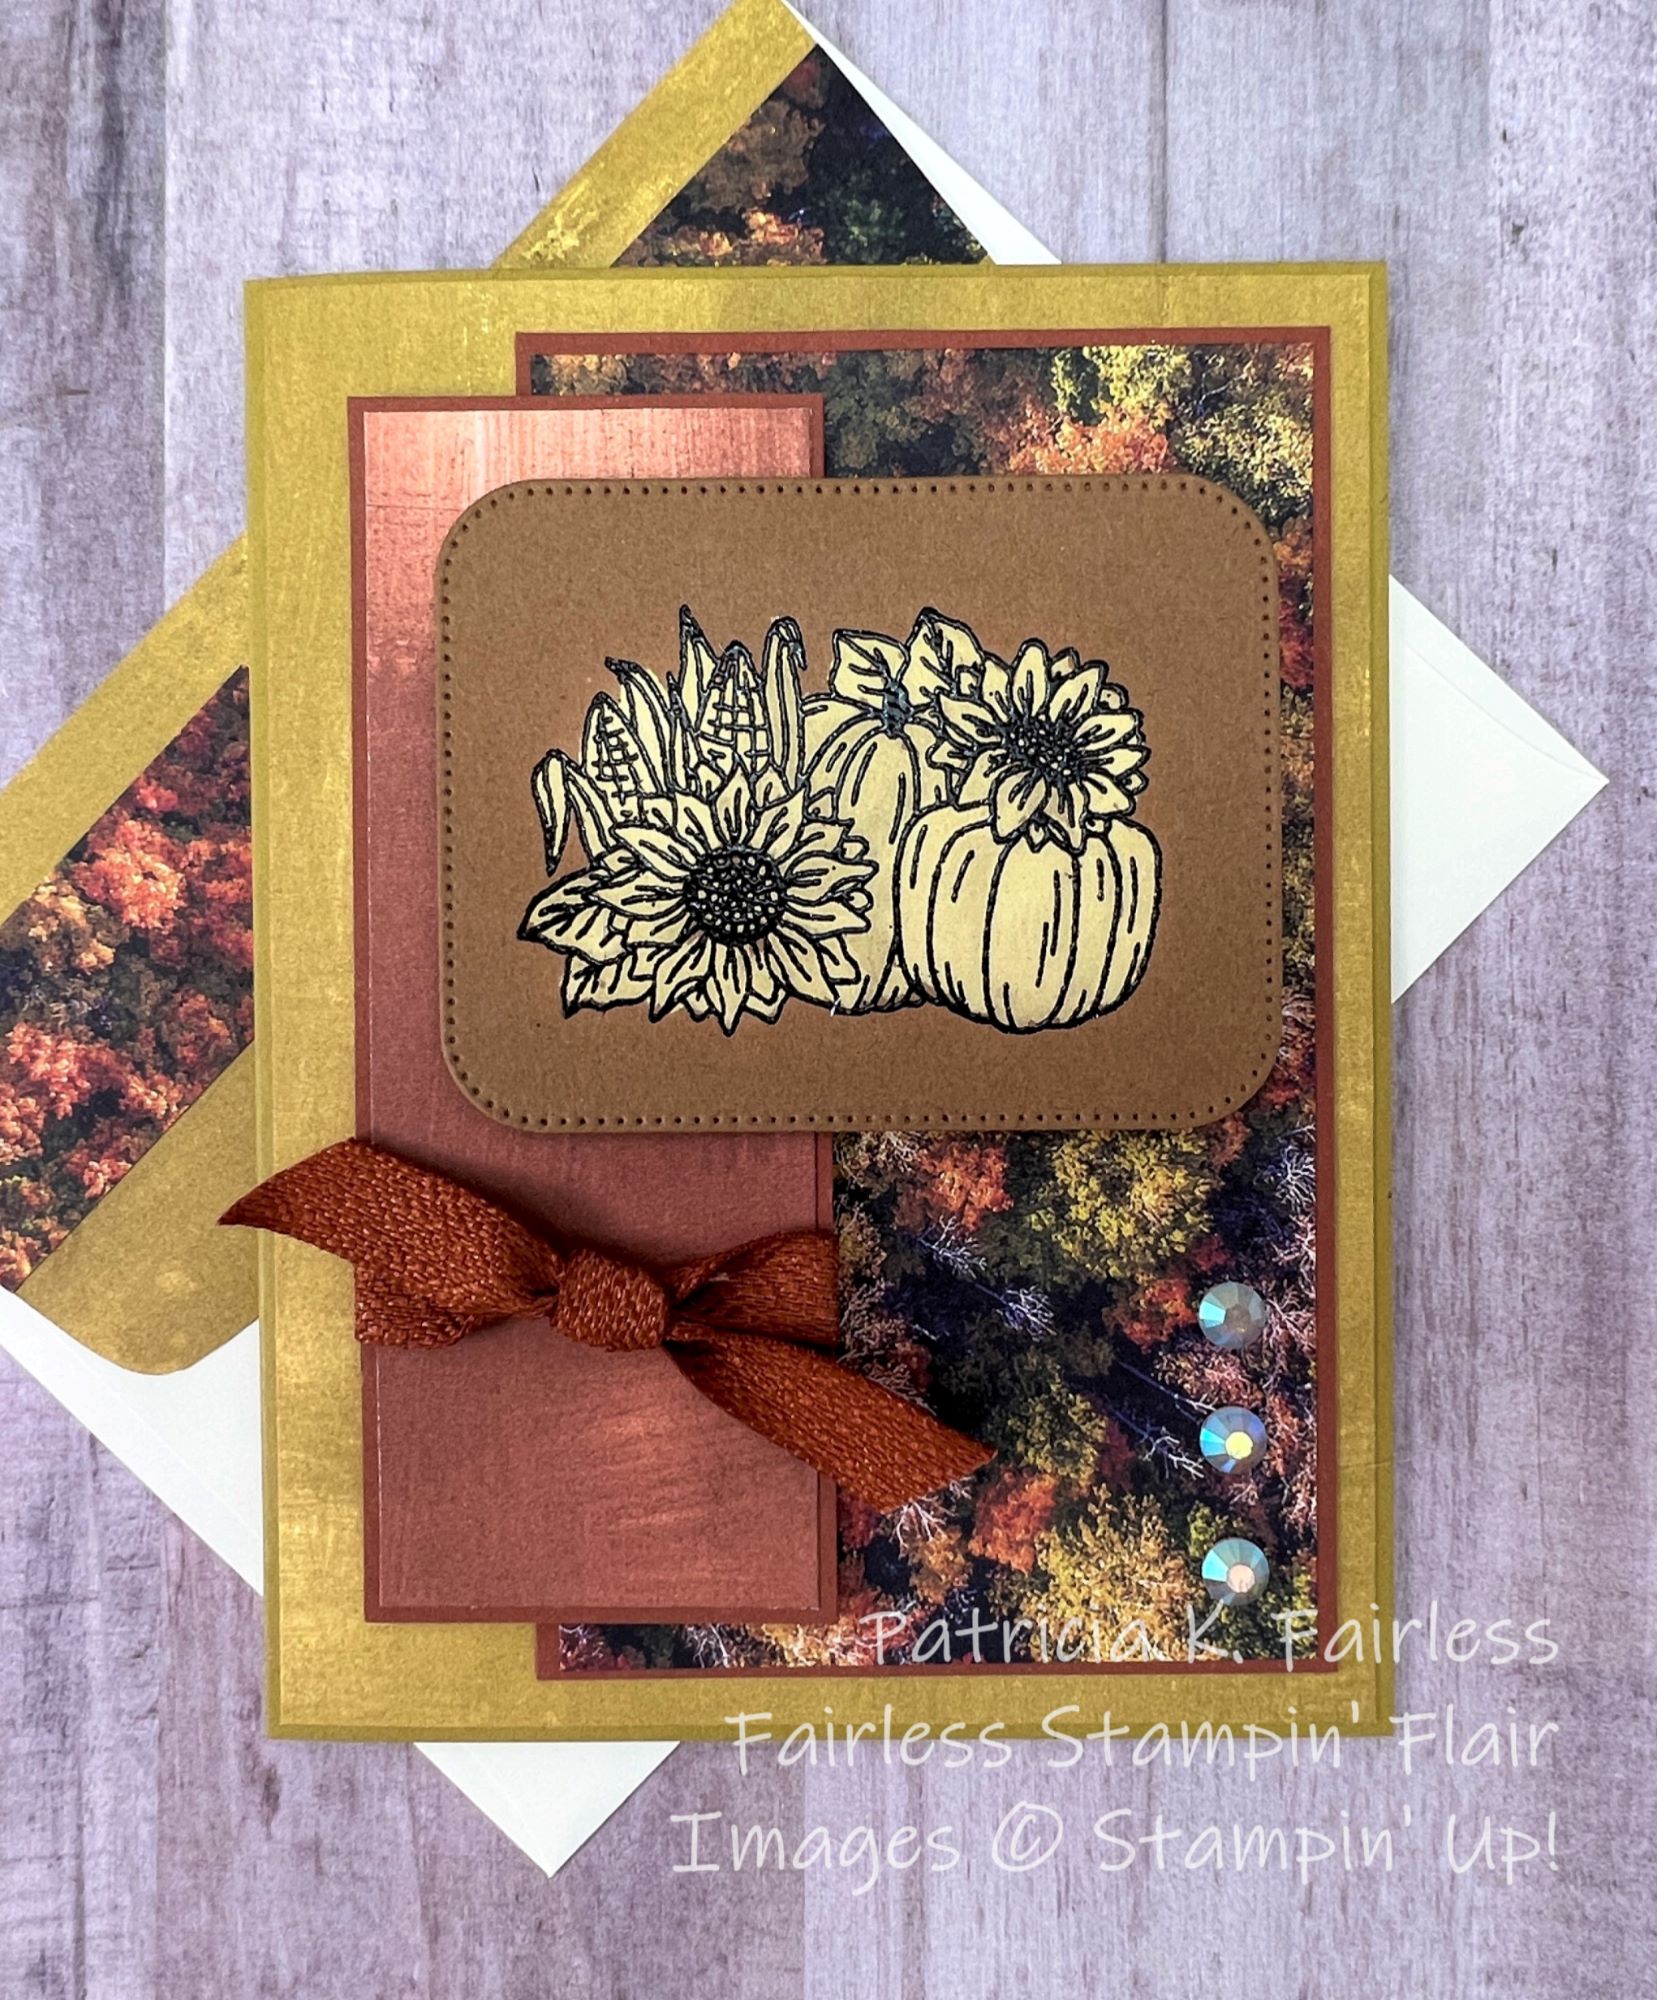
Today I am using the Pumpkin Bouquet from the Rustic Crate Bundle. I am sharing two cards that use the Bleached Images Technique in two different ways.

For the first card I stamped the image with VersaMark Ink on Pecan Pie cardstock and then heat embossed it with Black Embossing Powder.  Regular Household Bleach was then brushed over the image and set aside to dry.  The bleach removed the Pecan Pie color from the cardstock which left me with the "creamy white" image as shown.

For the second card, I used Black Pigment ink to stamp the image, again on Pecan Pie cardstock.  This time I heat embossed it with clear embossing powder.  The end result is the same for both methods so use whatever type of products you have.

After bleaching the 2nd image in the same manner as the first, I colored the image with Stampin' Write Markers.  Normally, my go-to coloring medium is Stampin' Blends, but I found that the colors were not as bright when I used Blends as they were when I used Stampin' Write Markers.  Perhaps the alcohol ink in Stampin' Blends reacts differently with the bleach.

I have a Learning with Friends video on YouTube if you would like to learn more about using each of these bleaching methods.  This video gives you several tips and helpful hints on how to use the Bleached Image Technique.  It will also show you a couple of additional cards that I made using this technique.


Here is a close-up photo of the image on the second card colored with Stampin' Write Markers.


Which do you like the best?  The bleached only image or the colored image?

Each card has a unique layout and uses different Designer Series Paper (DSP).  The first card uses DSP from the Fresh as a Daisy Collection and the All About Autumn Collection.  This All About Autumn DSP is definitely one of my current favorites.  Both sides are gorgeous!  

For the second card with the colored image, I used the Glorious Gingham DSP as I wanted to compliment the colored image not detract from it.

For more information on each of the designer series paper collections, you can click on the images in the Product List below.

To decorate the inside of my cards, I used a simple matted strip of the same DSP as was used on the card front.

Here is the card with the Pecan Pie Glorious Gingham DSP.  The Pumpkin Pie matting gives it a pop of color.

If you would like detailed tutorials for today's cards, please use the links below to download free copies.

Bleached Only Image Card Tutorial

Bleached and Colored Image Card Tutorial


Product List