Showing posts with label Deer Builder Punch. Show all posts

Friday, December 9, 2022

IT'S THE BEST TIME OF THE YEAR

I'm thinking that this may be the last Christmas Card I share for 2022.  If you don't have your Christmas Cards finished (or at least planned) by now, I'm sorry!  You have my sympathy!  That would be too much stress for me!  I still need to get mine addressed and mailed, but I think I have a sufficient number completed.  At least I hope I do!  If I don't -- you still may see another one.

You may consider today's card a little unusual for a Christmas Card.  It definitely isn't a traditional Christmas card, but sometimes, we just need to get artsy and let the creativity flow.

The background was made with the Smooshing Technique.  I used this technique on a card back in May of this year, and I found some leftover technique pieces in my stash that were too pretty to throw away, so I decided to use them.  May was prior to the launch of Connect to Create, so now I feel like I owe you a video on how to do this technique!  I will add it to my list.

The Tutorial for this card does include written instructions on how to do the Technique, so hopefully that will help until we get this technique on our Connect to Create schedule.

The colorful background was made on Shimmery White with Granny Apple Green, Coastal Cabana and Mango Melody Reinkers.


The tree stamped with Tuxedo Black Memento on the right is from the Beauty of Friendship Stamp Set and the two deer were made with products from Peaceful Deer.

The Buck was simply punched from Basic Black cardstock with the Deer Builder Punch.  His Doe was stamped with the Leaping Deer Stamp before also being punched with the Deer Builder Punch. I decided to use the stamp that includes the Oh What Fun script for the doe because I figured, since she was female, she was probably chattier than her Buck.  Buck agreed!  He said he didn't want all that fancy writing all over his body!

Even though it is not a traditional Christmas Card, I'm sure I can find someone to sent it to who will enjoy the fact that it is a little unique!


It doesn't show very well in the photo, but the left edge of the inside panel is embossed with the Wintry 3D Pine Bough Embossing Folder.  This is the same folder that I used for the Basic White panel on the card front.  Since this is a narrow folder, it does not emboss a complete 5-1/4" x 4" piece of cardstock in one pass.  So, for the card front I ran it through the Embossing Machine Twice.  I knew most of the panel would be behind the focal point and so the slight line that was created where the two embossed sections met barely shows  I bet if I hadn't told you, you wouldn't even know.  Am I correct?

Use this link if you would like to download a free tutorial for today's card.

Below is a complete list of the Stampin' Up! Products that were used to create today's card.

If you ever have questions on the cards I share, please don't hesitate to contact me.  My favorite thing to do is to help others learn the tips and tricks of making cards!

Product List

Wednesday, December 7, 2022

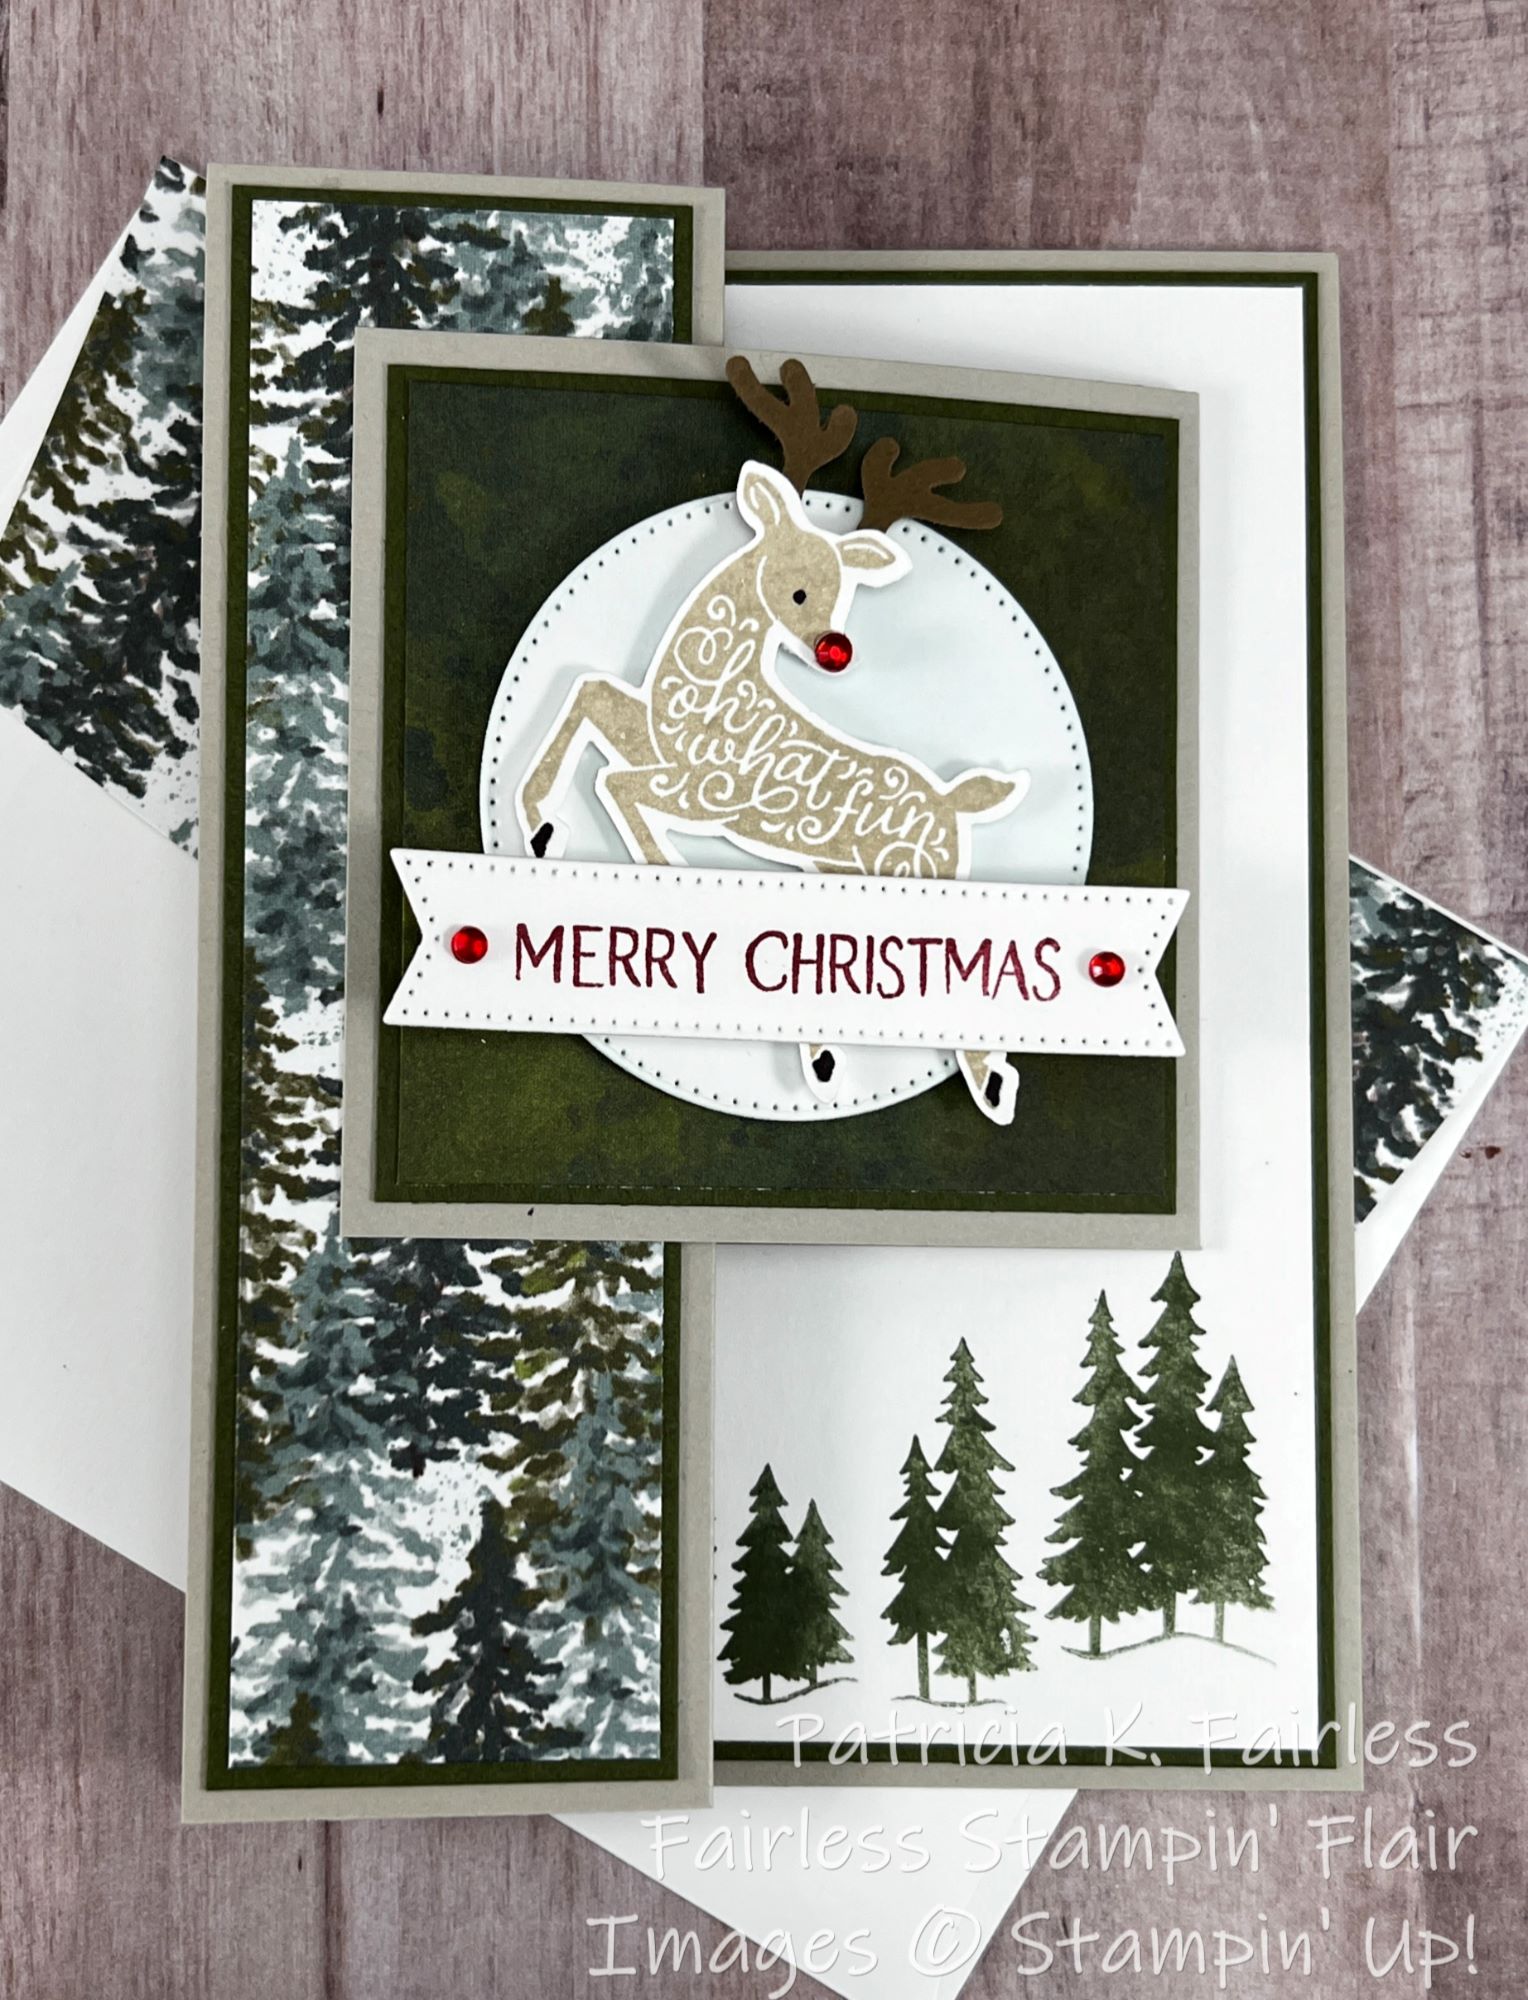
RUDOLPH IS LEAPING WITH JOY

I have a "last minute" Christmas card for you.  This is a fun fold card that looks MUCH more complicated than it is.  If you can score and fold cardstock, you can make this card!  Rudolph is Leaping with Joy at how easy this card is. 

It is also a great fun fold design to use up some of that Designer Series Paper (DSP) that we all tend to "accumulate"!

This card is made with the Boughs of Holly DSP and the Peaceful Deer Stamp Set and Deer Builder Punch.

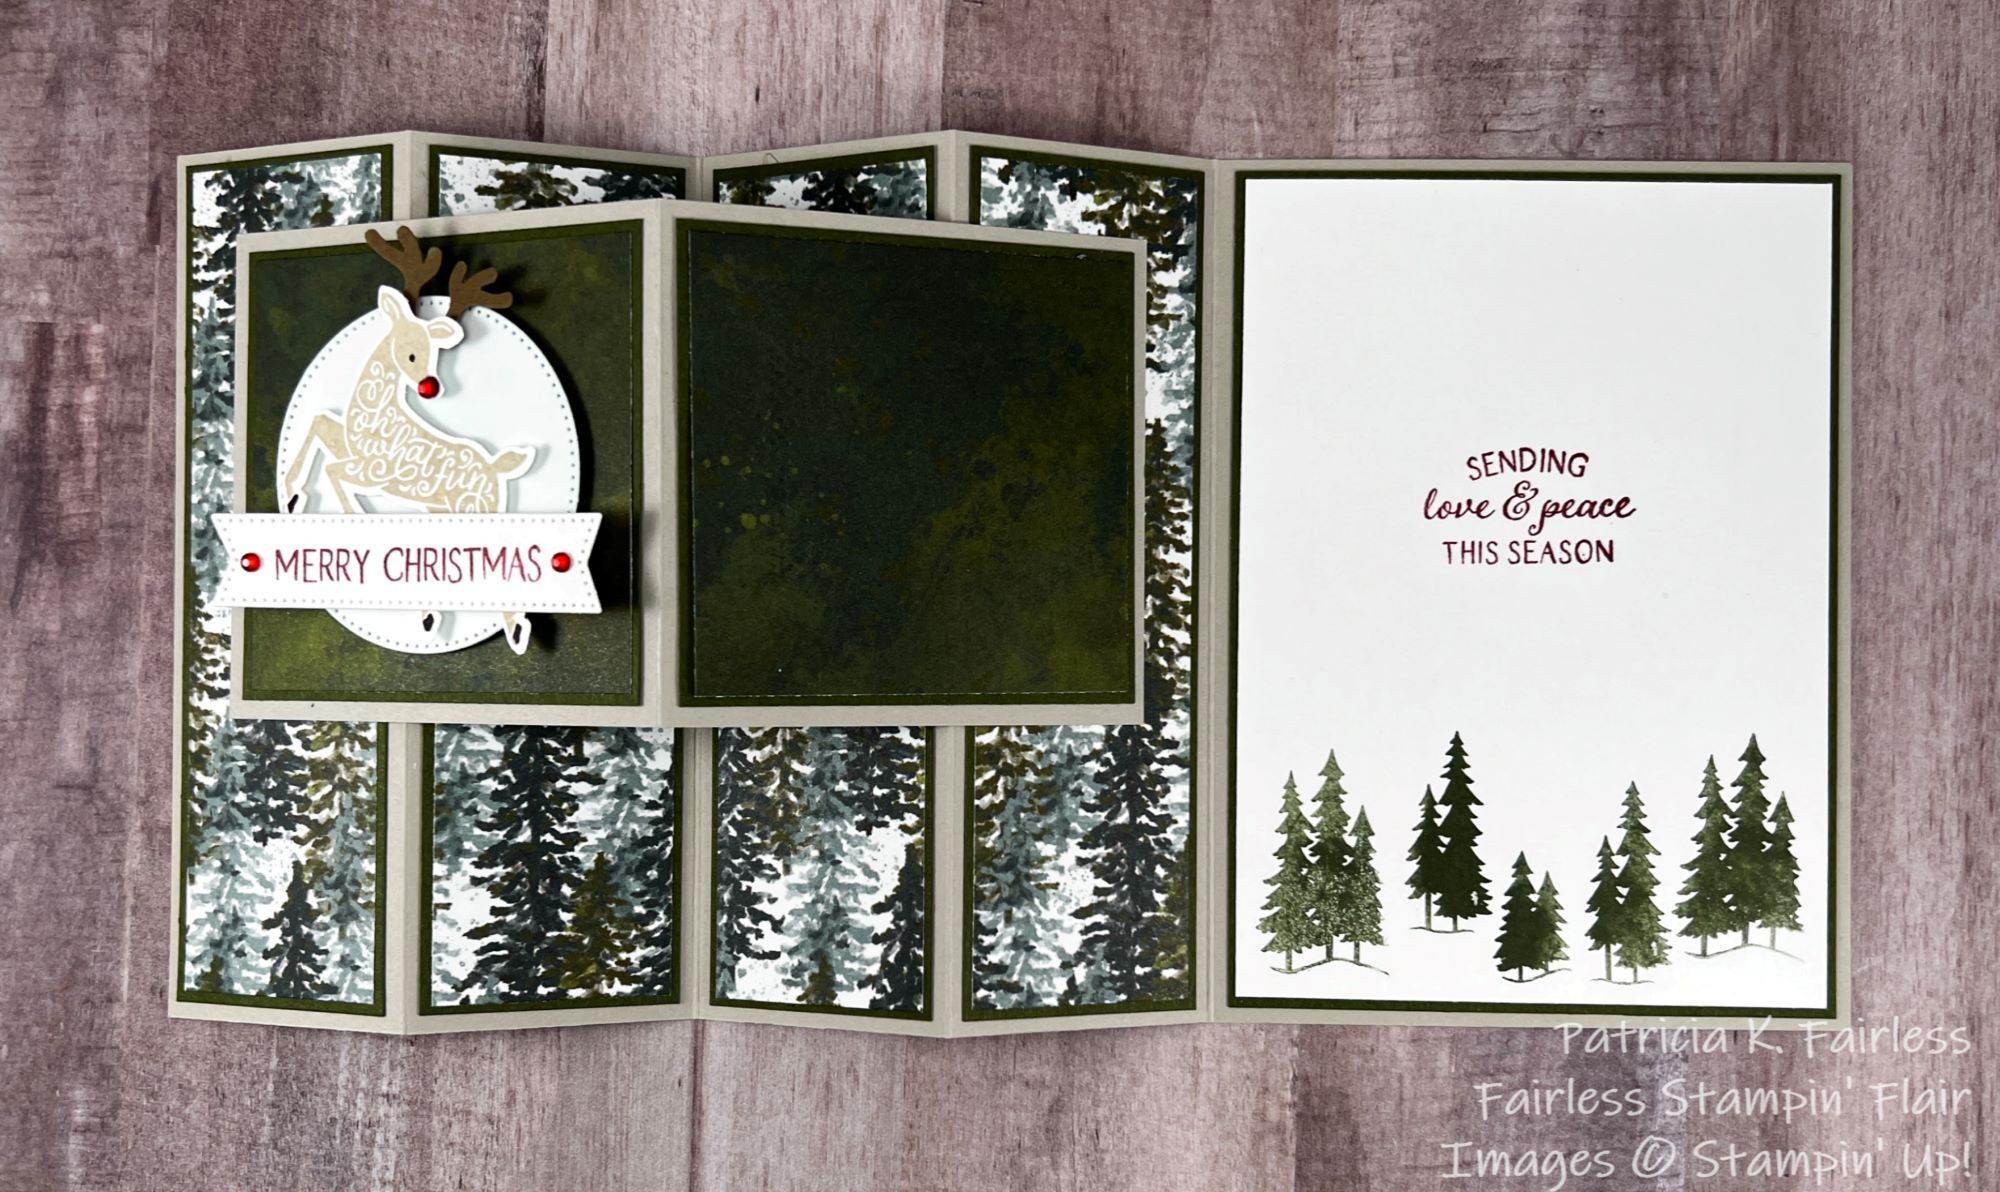
This fun fold actually has two cards.  The full-size card with multi-accordion-like folds, and then a small card that is 3" x 3" when folded.  The small card nestles among the accordion folds.

Once you get the cutting and scoring completed, the assembly goes very quickly.  The woodland DSP was mounted to Mossy Meadow Mats and then to each of the accordion folds -- easy-peasy!

The mottled green DSP was also layered to Mossy Meadow mats and then to each flap of the small card -- more, easy-peasy!

The Leaping deer was stamped with Sahara Sand ink on Basic White and punched out with the Deer Builder Punch--more, easy-peasy!


The sentiment was stamped with Cherry Cobbler ink on Basic White and then die cut with a die from Stylish Shapes Dies (my favorite dies).  The circle behind Rudolph was also die cut with a Stylish Die, and before adhering it to the front of the small card, it was given just a hint of Balmy Blue color with a Blending Brush.  You could certainly leave it white!

To finish the card front, Red Rhinestones were added at each end of the sentiment and, of course, to Rudolph's nose.


A few Mossy Meadow trees were stamped along the bottom of the Basic White card "inside", and the Cherry Cobbler sentiment was stamped so that when the fun fold is closed it is hidden behind the small card.

Easy right?  Like I said, if you can score and fold cardstock and assemble Designer Series Paper to cardstock layers, you can make this card!  The lucky recipient will think you stayed up all night making this card, but you don't need to tell them how easy it really was!

A free tutorial is available with all the cutting and scoring dimensions.  Use this link to download a copy.

Product List

Monday, December 5, 2022

RELAXING WITH FRIENDS

It's Monday and that means it is time for new a new featured product of the week.  This week I am going to be using two stamp sets, Peaceful Deer, and Beauty of Friendship.  I may combine them together on one card -- like I did today -- or I may use them separately.  We'll just see how the week goes!

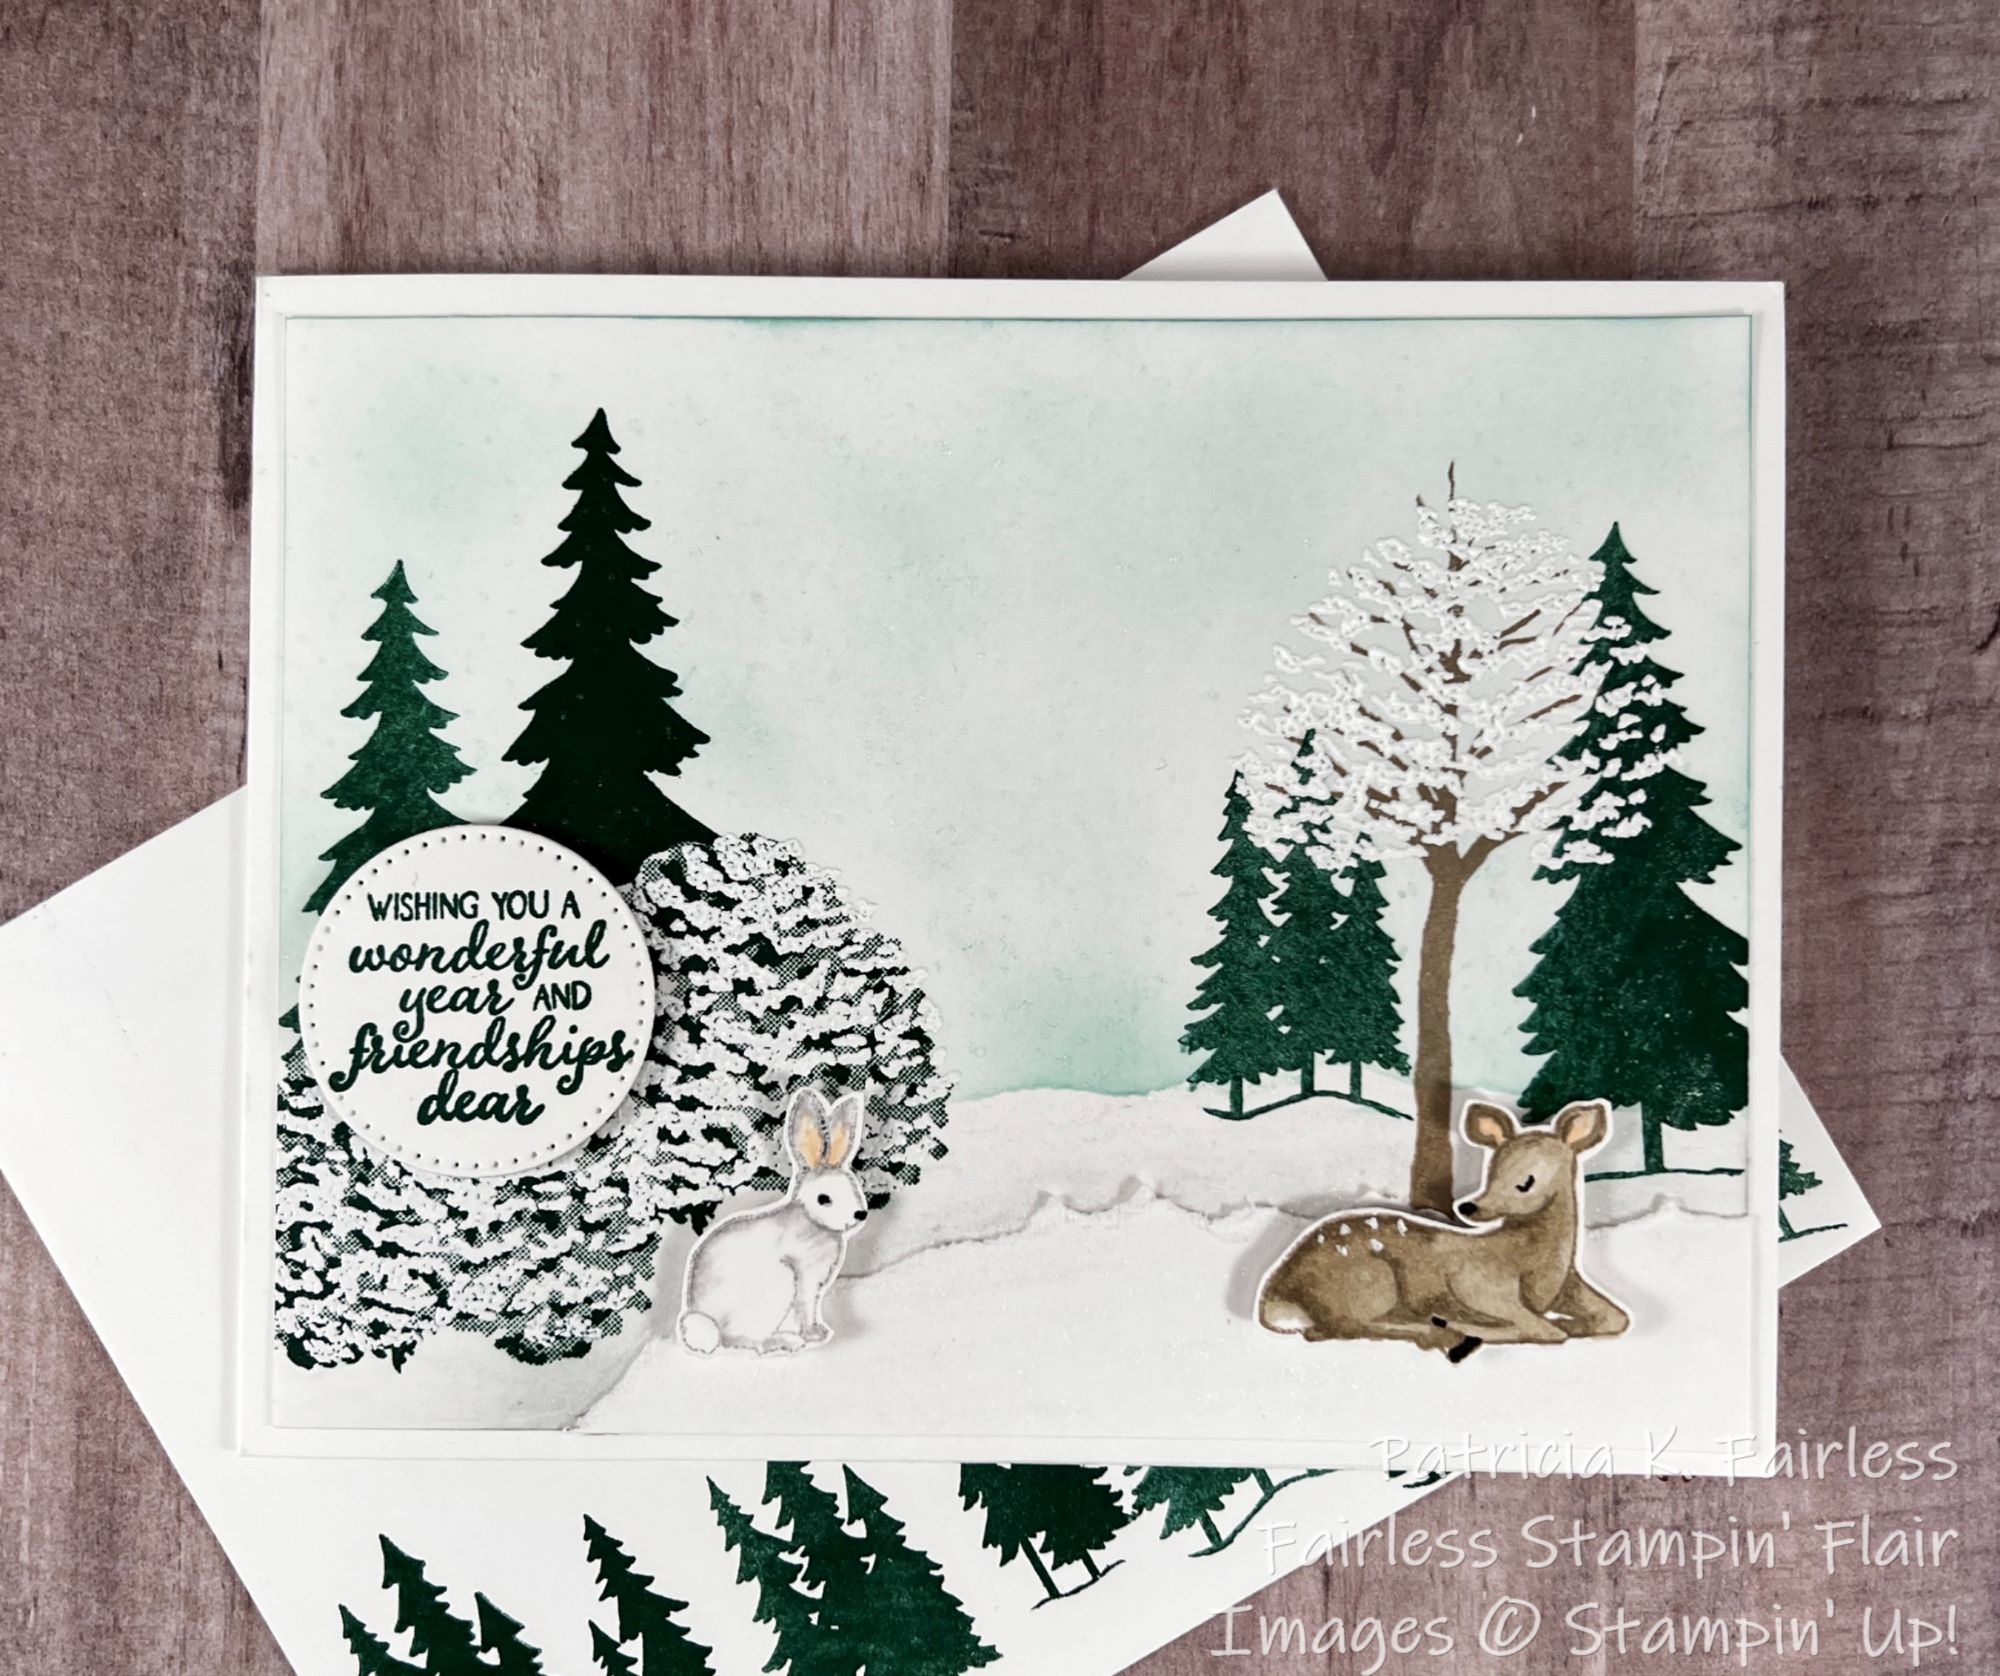
When I started creating today's card, I had absolutely no ideas in my head.  Usually, I like to have a "plan" before I start a card, but since no "plan" was coming to me, I just started stamping.  I started with the two bushes on the left front.  These "bushes" are from the Beauty of Friendship stamp set and are actually treetops, and then I started adding things as I went.  I ended up surprising myself and being very happy with how the card turned out.  Maybe I don't always need a plan!  

Other than the fawn and the bunny the scene on this card is all one layer, i.e. no dimensionals at all!  Would you have guessed that?  It looks like various pieces are in front of or behind others, doesn't it?  Visually, there is a lot of depth to this card.  The illusion of depth was created with smoke and mirrors -- well, not really, but it was done with blending brushes (smoke) and masking (mirrors).  If you would like to learn how I did it, please refer to the tutorial at this link for more information.


The only elements on the card that are popped up on dimensionals are the bunny and the deer, and of course the sentiment (but that doesn't count.  I almost always pop those up).

The two friends that are relaxing together, Hip the bunny and Fawn the deer, were both colored with Stampin' Blends.  I did have to fussy cut them as there are no dies that coordinate with the Peaceful Deer stamp set.  

Here is a closer look of Hip snuggled behind the bushes to protect her from the chilly winter wind.  Her white furry coat keeps her warm and well hidden, so she feels safe to come and hang out with Fawn for a little while.

i

And here's Fawn.  She loves hanging out with her friend Hip.  Fawn is also a little braver so she's out in the open, but the grove of pine trees behind her isn't far in case she needs to take cover.


The bushes behind Hip and the tree above Fawn show some freshly fallen snow on their branches telling us it is cold.  They both look very calm and peaceful in their wintery home, don't they?


The Shaded Spruce Pine Grove continues on the inside of the card, and Hip and Fawn told me to make sure to tell you that they want to wish you Love and Peace this Christmas Season and a Wonderful 2023 full of Friendships (like theirs) and Fun!

Below is the complete list of products I used to create this card.  Remember, you can always change the colors to use items you already have!  To learn more about any product, click on the link.  It will take you to my on-line store where you will be able to see all the details.

Product List