Showing posts with label Embossing Folder Techniques. Show all posts

Thursday, May 28, 2026

SILLY BEAR & FRIENDS

Today's Silly Old Bear card uses a fun embossing folder technique to create the Hundred Acre Woods that the friends call home.

Pooh is very happy with his pretty woods, so he invited Tigger and Owl for a visit.  He's ready to share his pot of honey, but I'm not sure Owl and Tigger look very excited about that.  Do Owls and Tigers like honey?


The embossing folder technique is easy.  Just ink portions of one side of the folder and then spritz it with water before running it through the Stampin' Cut & Emboss Machine.

I created a short video to provide some tips for using this technique.

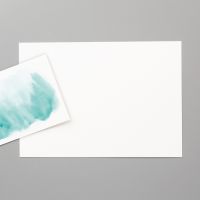
I used Watercolor Paper for my background as it handles water better, but you can also use regular cardstock.

Pooh, Owl and Tigger, were die cut from the Silly Old Bear Designer Series Paper (DSP).  This paper is so much fun.  It includes one design that includes all of Pooh's friends which are sized to coordinate with the Silly Old Bear Dies.  So there is no stamping or coloring required.  Of course if you love coloring, there are also stamps for each character, which you can then color in colors of your choice and die cut.

The sentiment is from the Sweet Words & Labels bundle which is also included in the suite.  The dies in that bundle are beautiful layering shapes -- two of which I used for the sentiment.  The sentiments in this set are perfect for coordinating with the Sweet Old Friends Bundle but are also wonderful to use with any design.


I made the Technique Sheet a little larger than needed for the card front, so I had a "leftover" scrap to decorate the inside of the card.  I love to make sure the inside of my card coordinates with the card front.

Use this link to download a FREE PDF TUTORIAL for today's card.

A list of the products I used is shown below.

And don't forget, there are only 3 days left to take advantage of the awesome May Join Offer.  If you have ever considered joining Stampin' Up! as a demonstrator, I would love to have you as part of my team, and May is certainly a great time to join.  Not only will you get to choose $125 worth of products, but you will also receive the five new 2026-2028 In Color Ink Pads for free!  All of this for $99 and shipping is FREE.


JOIN MY TEAM

DOWNLOAD A FLYER WITH MORE DETAILS

Product List

Monday, September 8, 2025

BEAUTIFUL EMBOSSED SUNFLOWERS

I am in love with the Sunflower 3D Embossing Folder that was introduced in July as an Online Exclusive.  In fact, I love it so much that I've decided to feature it as my Product of the Week.

Usually I feature a Suite, Bundle or Stamp Set, but this embossing folder is so awesome, that I figured it deserves a week for it alone.

w

This card was made for my September Stamp Camp and I thought it turned out so pretty that it needed a little more "air time".

The fun thing about this Sunflower Embossing Folder is not only that you can use it for different techniques, but that both the debossed side and the embossed side of the image are beautiful.

This particular card was made using the debossed image.  In case you are wondering, the "recessed side" of the image is what I am calling the "debossed image".  

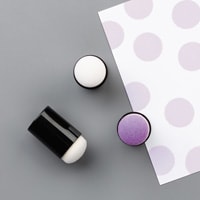
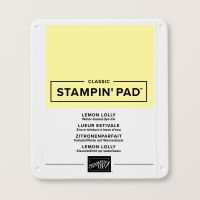
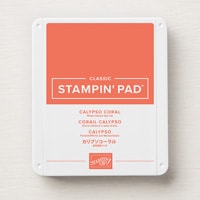
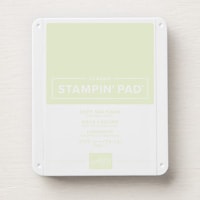
After running Basic White cardstock through The Stampin' Cut & Emboss maching with the embossing folder, the debossed flowers & leaves were colored using sponge daubers.  Colors used were Lemon Lolly, Calypso Coral, Crumb Cake and Soft Sea Foam.

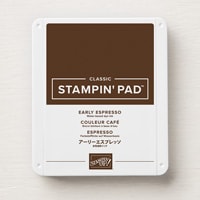
Once the flowers were colored to my liking, I dragged a Pecan Pie ink pad across the cardstock.  This colored the "raised" portion of the embossed layer.

When dragging, you want to only use light pressure -- just the weight of the ink pad is sufficient.  If you press too hard the ink will go into the recessed areas that you just colored.  You can repeat swiping until you get the raised surfaces as dark as you want.

Hint:  Emboss an extra piece of white cardstock for your envelope flap and practice on that first!

For all the step by step details, use this link to download a copy of the tutorial.

I kept the inside of the card clean & simple, but if you want, you could always make the cardstock for the envelope flap a little larger and trim off a strip to use for the inside of the card.

If you don't yet have this embossing folder, you NEED it.  You can make beautiful cards quickly.  Just add any sentiments of your choice.  And who doesn't love Sunflowers?

Below is a list of the products I used.


Product List