Showing posts with label FREE TUTORIAL. Show all posts

Wednesday, December 6, 2023

TWO DECKS OF BIRTHDAY FLOWERS

I first saw this Double Decker Fun Fold a few weeks ago on the Demonstrator Planning Place.  Polly Libby share a beautiful card using this fun fold which I had never seen before.

Learning from other demonstrators is one of my favorite things about being a Stampin' Up Demonstrator.  There are so many wonderful creative demonstrators who are willing to share their ideas and know-how.


This card is best appreciated with more photos and less chatting, so today I am going to share more photos with you than words.  However, if you are interested in learning how to make this Double Decker Fun Fold, please download my free tutorial.  It includes additional photos to help understand assembly as well as cutting and scoring diagrams for the card base and the mechanism.
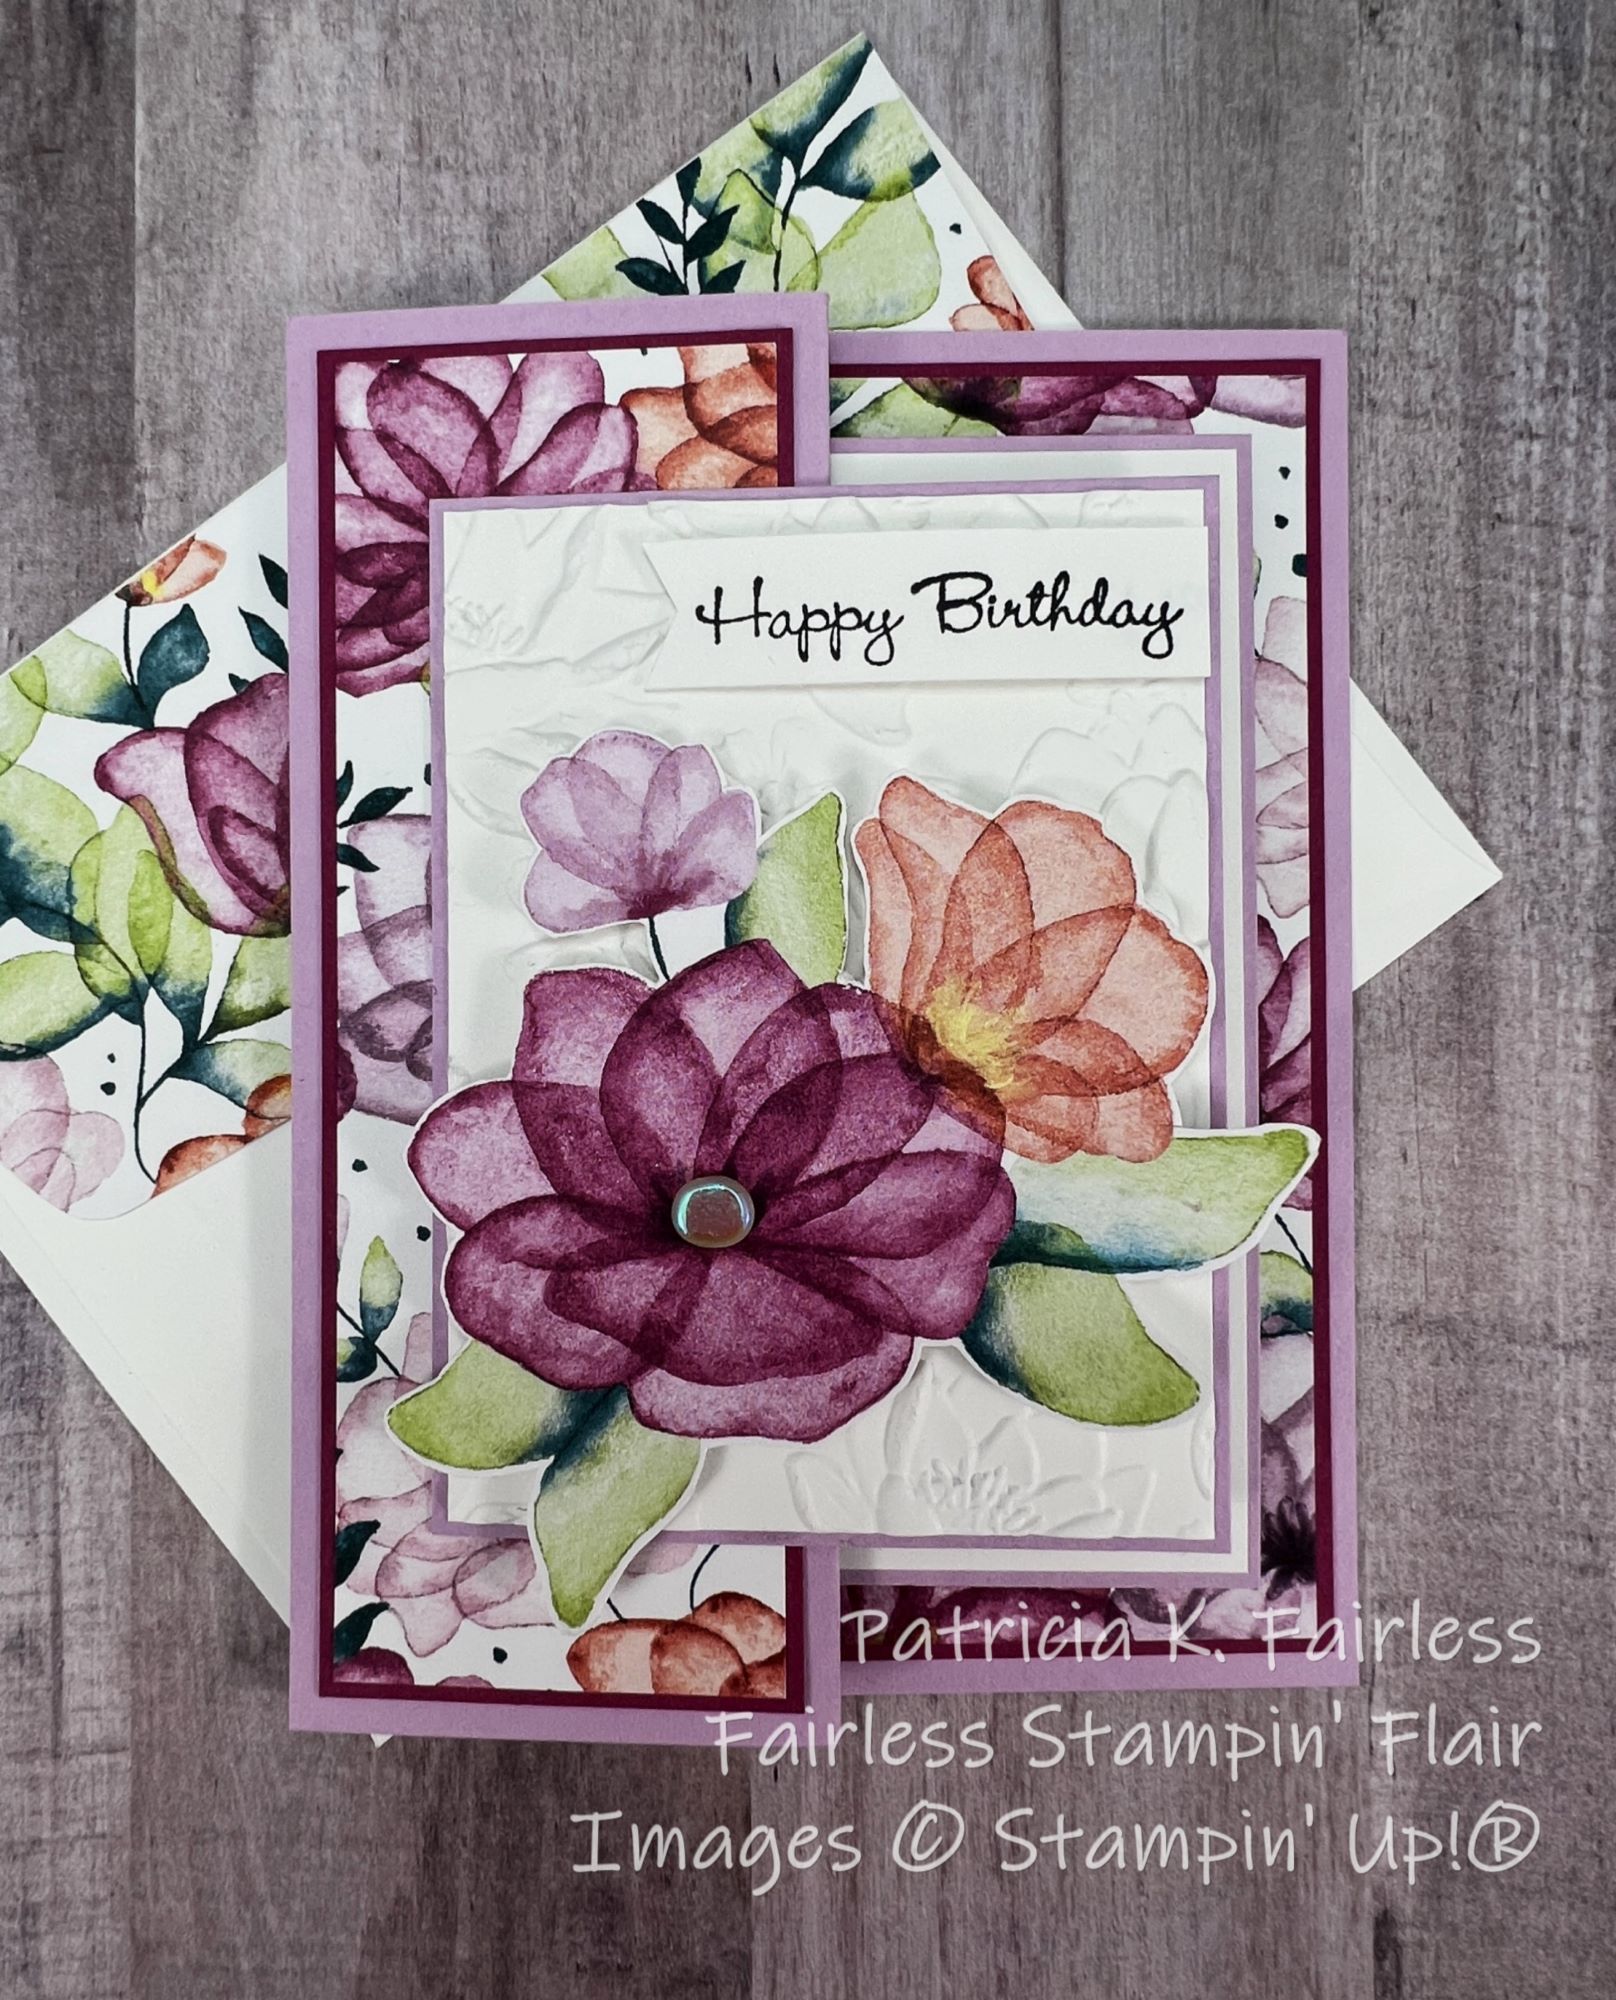


The above photos show the card fully closed.  You can see the middle layer peeking out from behind the top layer.


Above are a couple of photos with the card pulled a little further open.  There is a little mechanism box behind the middle layer which makes it pop up as you open the card.

The embossed Basic White background on the card front was made with the Layered Florals embossing folder.  This is a sneak peak of a new embossing folder coming in the 2024 Jan - April Mini catalog.


This gorgeous paper is from the Delightful Floral Designer Series Paper (DSP) Collection which is an ONLINE EXCLUSIVE.  There is a coordinating Bundle (stamp set & dies) in the Fall Mini called Translucent Florals.  The dies in that bundle coordinate with flowers in the DSP.  However, since I don't have that bundle, I just fussy cut the flowers on the front and middle layers from the DSP.  

The Translucent Florals stamp set and dies will carryover from the Fall Mini but will no longer be bundled.  So, if you love them and don't already have them, be sure to purchase them before the Fall Mini catalog retires to get the 10% bundled savings.

Now that I have made this fun-fold for my first time, I will definitely be making it again.  I like it so much I made myself a fun-fold template sample from retired products so I can easily remember how to do it the next time!

I hope you have enjoyed it also.  Be sure to take advantage of downloading my free tutorial so you can try it, too!  If you ever have questions on my tutorials, please be sure to contact me.


Product List

Friday, October 27, 2023

SNOWFLAKE FUN FOLD

Once again I am using the Snowflake Magic Specialty Designer Series Paper (DSP).  How can you use a Sparkling Snowflakes stamp sent and just not gravitate to this beautiful paper.  These two items seem like they were designed to be used together.  Who knows maybe the designer had that in mind!  One of my favorite things about Stampin' Up! products it that they coordinate so well together.  So, even though the Snowflake Magic Specialty DSP is part of the Winter Meadow Suite, I think it is perfect with Sparkling Snowflakes!

Are you looking at this fun fold and thinking YIKES?  I know I did when I first saw it, but the engineer in me was determined to figure it out!

If you would like to try it, don't worry, I've figured it all out for you!  I made cutting and scoring diagrams for each of the 4 main elements (the card base and the 3 steps) so you don't have to figure out measurements for yourself.

I'm not even sure what this Fun Fold is called, but how about we name it "Multi-step Fun Fold".  It sort of looks like steps doesn't it?

Once you get the hang of it, it's pretty easy to put together as each step is made the same -- it's just a different size, but the way you attach it to the Z-Fold card base is the same.

This is a beautiful card to send to someone who appreciates your handmade creations!  It's made to be displayed because it will stand perfectly on its own on a shelf or mantel.


The snowflakes on the card front were stamped with the two smallest snowflakes from Sparkling Snowflakes.  They were stamped with VersaMark Ink on Basic White cardstock and then heat embossed with Silver Embossing Powder.  A Rhinestone Basic Jewel was added to the center of each snowflake for even more sparkle.  The photos do not do justice to the sparkle on this card!


And all the foil layers from the Specialty DSP add even more sparkle and shine!

Maybe you are wondering, "where do I write my message?"


It' on the back.  I stamped 3 more snowflakes with Lost Lagoon on the back of the card.  The sentiments on the front and the back are both from Brightest Glow.   

Use this link to download a copy of the tutorial.  It is detailed and includes several diagrams, so should be easy to follow.  If there is interest, I would be willing to make a video to show you how to assemble this fun fold.  Leave a comment here on my blog and I'll watch to see how much interest there might be.

A list of the products used is shown below.


Product List

Wednesday, October 25, 2023

MAGICALLY REVEAL SNOWFLAKES

I'm sharing two different cards with you today that use the Sparkly Snowflakes stamp set.  Both were made with the Magic Reveal Technique, and I was having so much fun with all these snowflake techniques that I got carried away and made a lot of cards.  So I thought I might as well share them all.

This card uses another of the Snowflake Magic Specialty Paper designs along with the design that I think looks like snow, which was used on Monday's card.  This paper is so pretty!

The Snowflake which is Magically Revealed in its Lost Lagoon and Pretty Peacock "sky" was made with the easy technique that I'm calling Magic Reveal.  When I first heard of this technique it was called Magic Snowflake because they only used snowflake stamps for the technique, but I hope you will watch my video and see that it can be used for more than snowflakes.


Because I was using it for images other than snowflakes, I decided it needed a better
Technique name than Magic Snowflake.  I took the liberty to rename it  "Magic Reveal", because it is like magic that your images are revealed from behind an inky mess!

The second card today uses the same technique.


However, the second card looks totally different doesn't it?  These snowflakes magically appear out of a Blueberry Bushel and Misty Moonlight inky mess.

This technique does require glossy card stock, and in the video I also talk a bit about choosing colors that work well with the technique and a couple of tips on colors to avoid.

Here are close-ups of each card.


The insides of each card were kept simple, but not forgotten!


I now have two more cards to add to my Christmas stash.  Slowly but surely I'm making progress on my Christmas cards.

If you would like tutorials for each of these card below are the links.  I've identified them by colors used.  The tutorials also include a link to the Learning with Friends technique video.

Blueberry Bushel Card Tutorial

Below I also provided a list of all the current Stampin' Up! products that I used.  Don't be afraid of the long list as there were several products that were not common between the two cards.  I just wanted you to know what I used, but for specific products used on each card, please refer to the tutorials.  Once and a while I will use a retired product.  These are not listed below but are on the tutorials.

You also will need some glossy cardstock, Isopropyl Alcohol, and Cotton Balls for the technique.  I did experiment with photo paper rather than glossy cardstock, but my particular photo paper did not like the heat from the heat tool when I tried to emboss it.

l hope you will have some fun and try this technique.  It is really easy and so "magical"!

Product List