Showing posts with label Fern & Flora Bundle. Show all posts

Thursday, September 17, 2026

TWO FOR ONE CARDS WITH LUSTROUS LEAVES

I think I am in love!  This Lustrous Leaves Hot Foil bundle makes beautiful fall leaves.  And even more exciting is that by using the new Reverse Hot Foil Die I was able to get two cards using the same piece of foil!

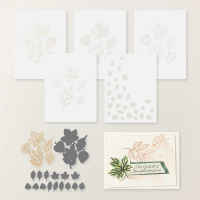
The above card is the first one I made with the bundle which includes Decorative Masks as well as dies.  It hot foiled 5 leaves at once, and then the masks were used with Blending Brushes to color all of them before using a coordinating cutting die to separate them.


I used only one of the 5 masks to color the large leaves.  Another of the 5 masks makes the small, background leaves that you see on the card front and on the envelope.  Aren't they fun?  I just blended multiple colors in different places with the mask to create the colorful background.


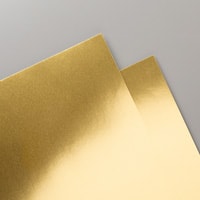
Since I used gold foil to hot foil the veins of the leaves, I chose Gold Foil Specialty Paper for the border and circle.  The circle was die cut with a Stylish Shapes Die from the center of the Perennial Postage mat layer, which makes better use of the more expensive foil specialty paper.  Even if I'm not planning to use the die cut on my current card, I always try to remember to die cut something from the center of the foil layer and save it for later.  There is no point in covering up all that beautiful foil!


I used the same small leaves mask to add a few, colorful leaves in the lower corner of the card.  The leaves and the narrow Gold Foil strip coordinates the inside of the card nicely with the front of the card.

Now to Card #2 ...

When you use the Hot Foil Dies, there is always a leftover piece of foil with the "negative" image of whatever it was you foiled.  In this case, the negative image was a piece of foil that had the gold removed where the leaf veins were.

By using our brand new (just released this month) Reverse Hot Foil Die you can use this piece of leftover foil to add the negative image on cardstock.  It may be difficult to see due to the glare on the foil, but hopefully you can see the white outline images of the 5 leaves on the gold foil.  What an awesome way to use the leftover foil!

I only used three of the leaves on the first card, so I used the remaining two leaves on this card to set off my sentiment from Fern & Flora.

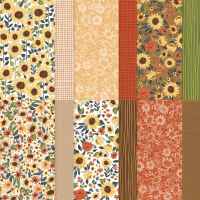
A couple of torn strips from the gorgeous Sunflower Fields Designer Series paper was used to decorate the left edge of the card.  

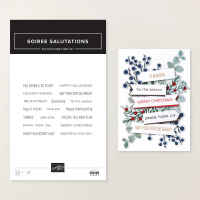
The torn strips were repeated on the inside of the card to also give it a bit of color.  The happy thanksgiving greeting is from Soiree Salutations, another new greeting set from the September - December Catalog.  FYI -- Although not used here, these sentiments are sized to work perfectly with the Tripple Banner Punch.  Don't you love it when something new coordinates with something you already own?

Grab your favorite beverage and watch this video to see how both Card #1 and Card #2 were made.


Use the following links to download a PDF tutorial for each of today's cards.

Gold Card #1 Lustrous Leaves

Gold Card #2 Reverse Hot Foil Lustrous Leaves

Below is the list of the products that were used on the two cards.
Product List

Thursday, June 4, 2026

FERN & FLORA WITH THE DOUBLE BRAYER BACKGROUND

A little change of pace since Monday's card.  Monday's card had lots of stamping and coloring.  Today's card has minimal stamping - only the greeting.  

I recently saw a technique called the Double Brayered Background.  It was new to me so decided to give it a try for today's card.

What a FUN technique!  I love it!  It gave me a whole new appreciation for the brayer.  Sometimes getting brayered surfaces to turn out the way you want can be a challenge.  But with this technique there is NO STRESS!

I made a short video to show you how it's done.  Take a look and you will see just how quick and easy it is!

As I mentioned in the video, all you need is two ink color buddies, a brayer, and an embossing folder, so the required supplies are also minimal -- always a nice bonus.

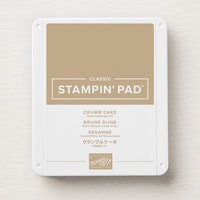
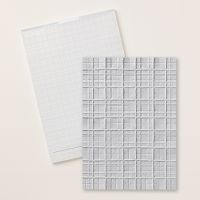
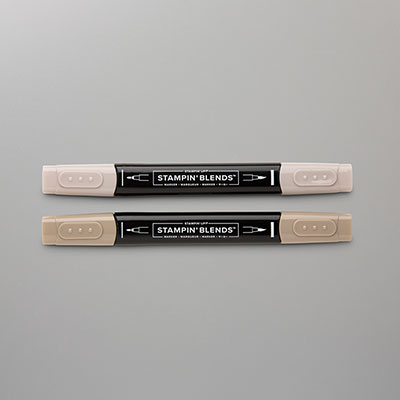
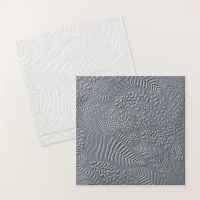
My color buddies were Crumb Cake and Pecan Pie, and I used the Forever Plaid embossing folder.

If you decide to try it I suggest that you play with different colors and embossing folders as it will totally change the result.

The die cuts were all made with dies from the Fern & Flora Bundle.  If you own the bundle and had been wondering how to make the little flowers (like I was) I also show you how to assemble all those little die cuts.


You may have previously seen me use what I call a Faux Bow on my projects.  This card uses Linen Thread to create a Faux Bow.  I also took a couple of minutes in the video to show you how I make my Faux Bows.  It is much easier than a regular bow -- at least for me, and I like the "fuller" look of it than a standard bow.  


When I created the background Technique Sheet, I made it a little larger than needed for the card front.  This gave me a "scrap" that I could use to decorate the inside of the card.

Use this link to download a tutorial with all the dimensions and step by step directions.

A list of the products I used is shown below.

Product List

Monday, June 1, 2026

FERN & FLORA

This week I am featuring the Moonlit Flora Suite Collection.  Today's cards uses a couple of the floral stamps that I have not seen used often on other demonstrator posts.  Since it is June (can you believe it?), I decided that it was time for flowers.

I haven't even planted my flowers yet because our temperatures have been dropping so low at night that I didn't want to take a chance.  Maybe this week it will warm up a bit, so I feel safe planting some "real" flowers instead of depending on the "paper" version.

The Soft Sea Foam background on the card front is from the Moonlit Floral Designer Series Paper (DSP).  This designer series paper is gorgeous.  On one side of each design there are dark, moody, jungle-like designs in various shades of green with pops of Golden Glow and Pecan Pie.  The designs also use Basic Black and Secret Sea (everyone's new favorite "black").  But, on the opposite side, there are smaller prints in various colors that are great for simple backgrounds -- backgrounds that stay in the background and don't take over as the focal point.

The "diamonds" on the card front were die cut with square dies from Stylish Shapes dies.

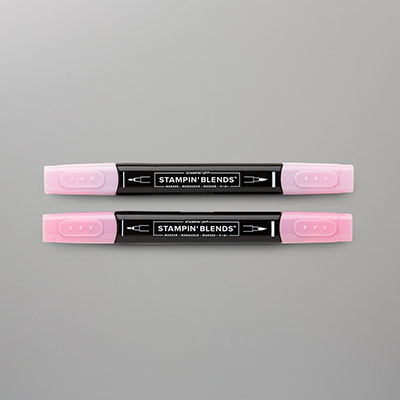
The flowers were stamped and colored with Flirty Flamingo, Fresh Freesia and Soft Sea Foam Stampin' Blends.  Coordinating Fern & Flora dies made quick work of cutting them out.
The bundle also includes some nice greetings and a greeting border stamp with a coordinating die which was also used for this card

I was in the mood to color, so I also stamped a flower on the inside as well as the envelope.

For all the dimensions and assembly instructions you can download a PDF tutorial using this link.

A list of the products I used is shown below.  Click on any image to learn more about that product.

Product List