Showing posts with label In the Country Stamp Set. Show all posts

Friday, February 10, 2023

ANCIENT HOME REVIVAL

My last card for this week with the In the Country Stamp Set again features the old house--at least I've been calling it a house, but it could probably be whatever you want it to be.  Maybe I should have invited Bob Vila in for an update as it does look a little decrepit.

For today's card, I chose to use water coloring for the image and the background.


At least for me, water coloring is "less precise" because I can't always control where the water wants to go.  So, for this particular image, I thought water coloring might work well because, honestly, I couldn't always figure out what was going on everywhere in the image either.  LOL

I could see that there were vines and flowers scattered around the walls, but the exact distinction of leaves vs. flowers is less clear.


With water coloring I thought I could "fudge" what I didn't know, so that is what I did.


After finishing the building, I used my Water Painter to give a color wash to the ground and the sky.  I colored the ground first with Old Olive, and then checked my Color Coach to see what color blue worked best with the Crumb Cake House and Old Olive grass.  My "Coach" told me I should use Night of Navy.  Well, I was a little concerned that it would be way too dark, so I added plenty of water to my Night of Navy ink, and then I started color washing the sky.  I couldn't figure out why my Night of Navy sky seemed like it had green in it, and then I remembered that while I was so busy worrying about watering down the Night of Navy ink, that I had forgotten to clean my Water Painter after coloring the grass.  As a result, I got some green streaks and tones in the sky.  But I'm calling it my "Happy Mistake" because I actually think the little bit of green adds some interest to the sky. 

What do you think?

For the inside of the card, I just stamped a portion of the old house with Black Memento Ink in the lower left corner.  I'd had enough coloring by this time, so decided to just leave it as the black outline.
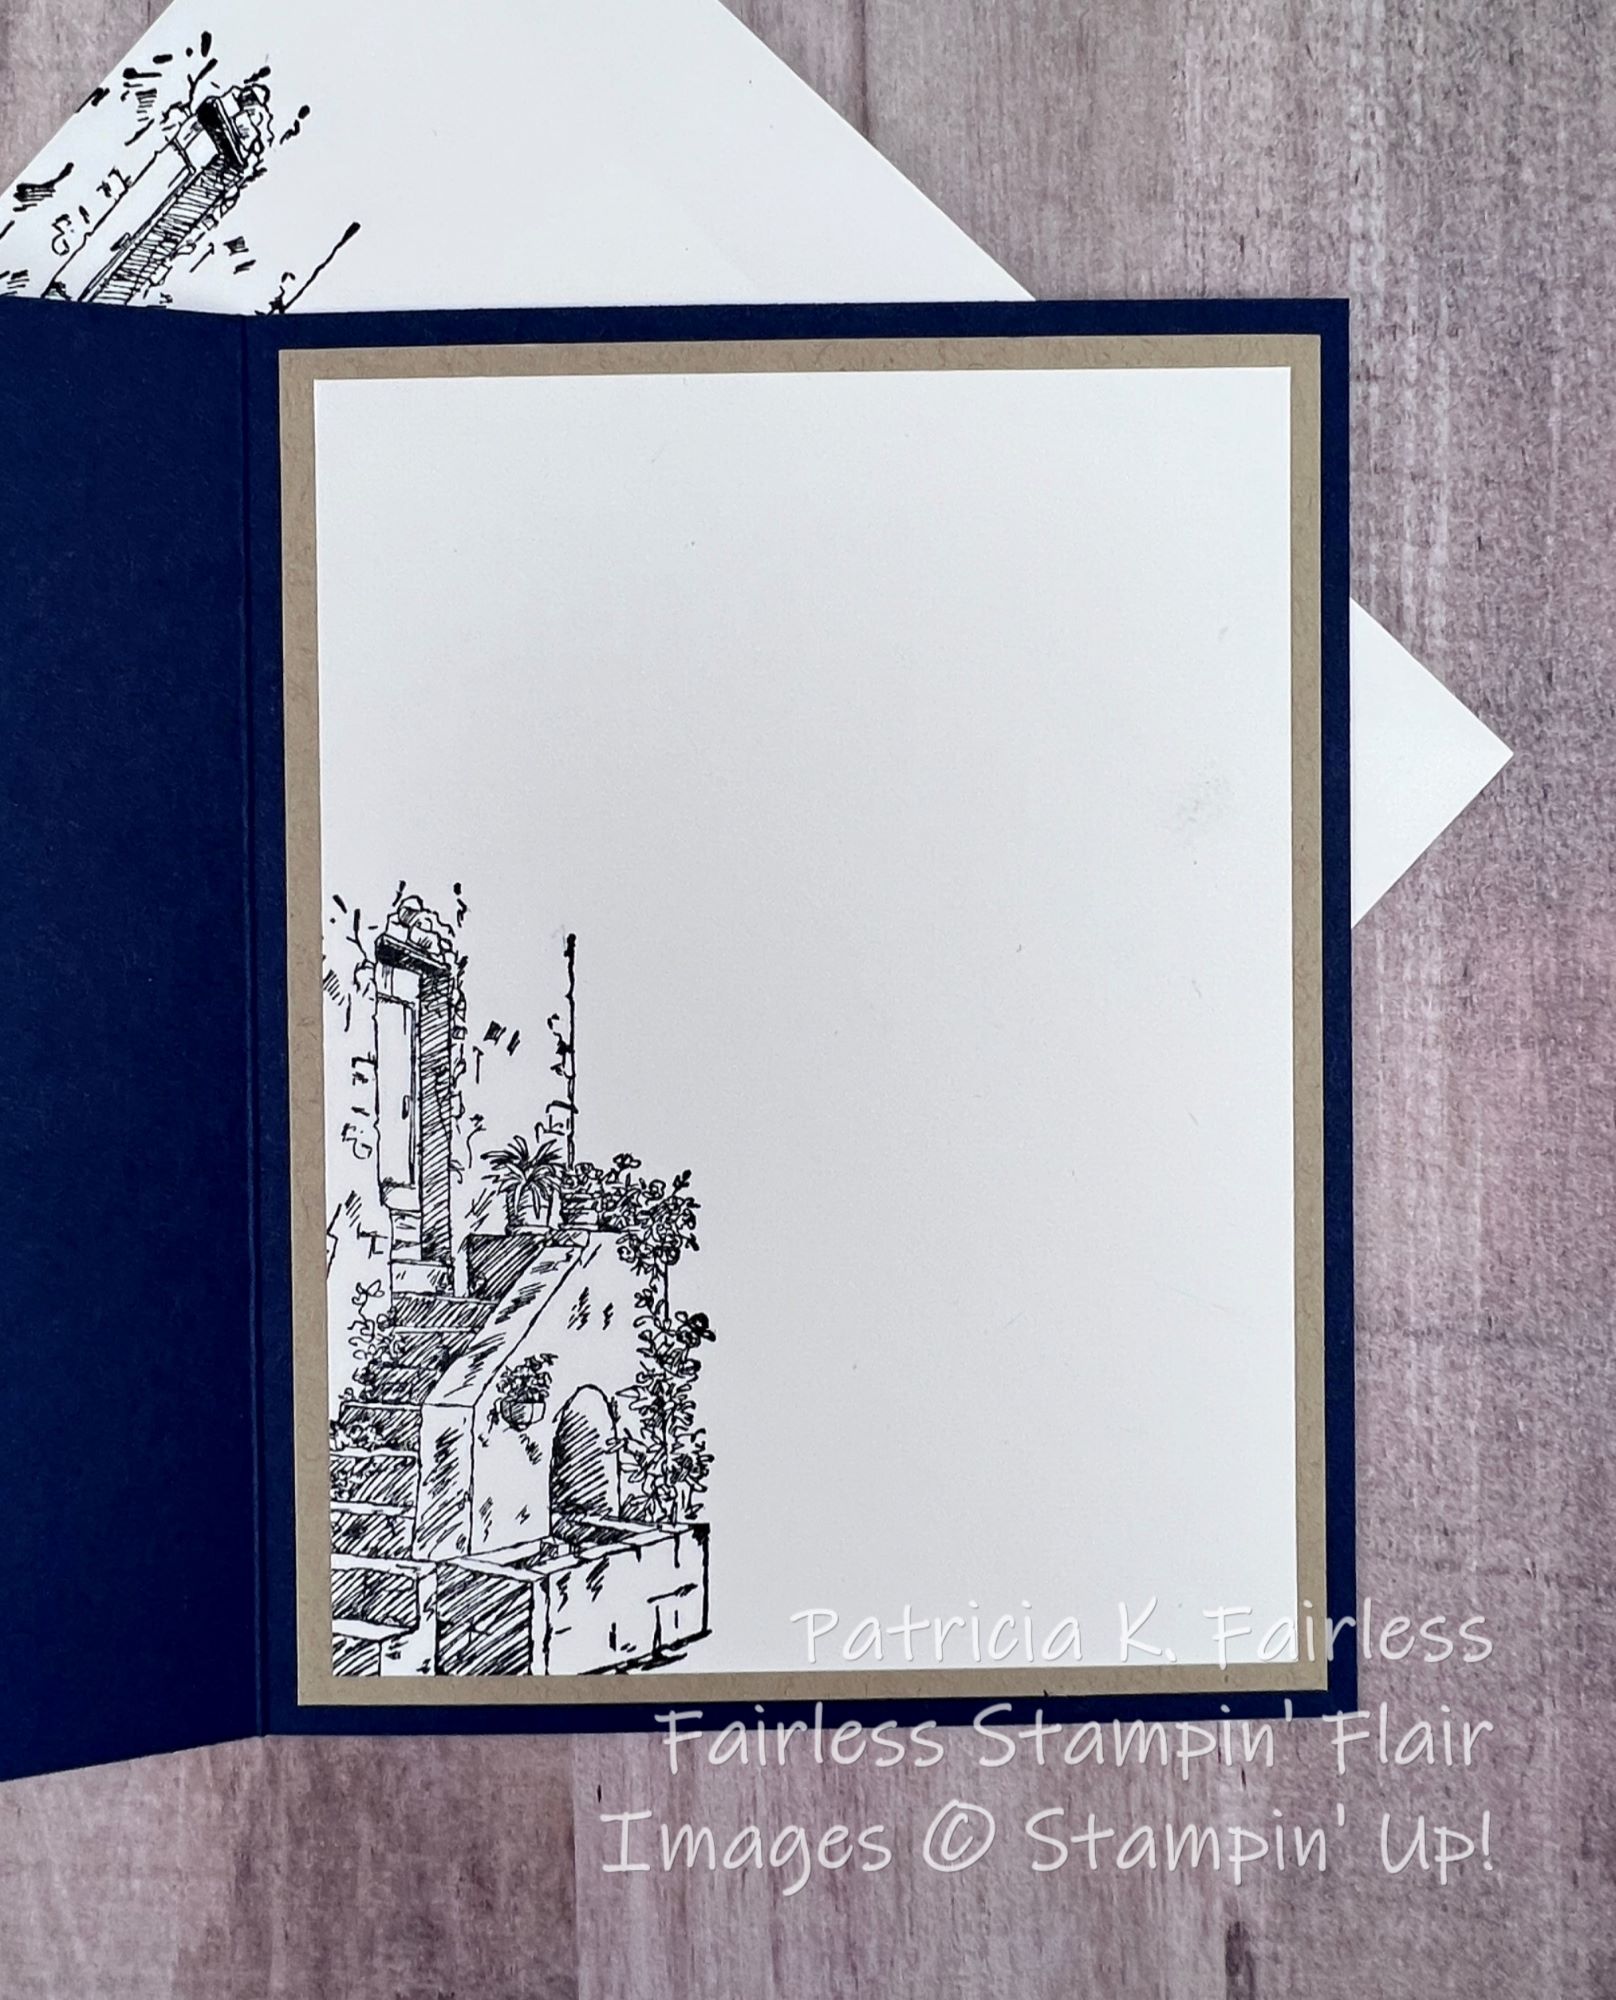

Simple card insides are fine.  Just make sure they aren't naked!  We spend so much time making our card fronts pretty that we don't want to have our insides feel left out.

If you would like a tutorial for today's card, you can download a copy at this link.

Below is a list of the Products used for this card.

Product List

Wednesday, February 8, 2023

ANCIENT HOME IN THE COUNTRY

I have another card for you today that uses the In the Country Stamp Set.  This card also shows another application of the Smooshing Technique.  I used this technique on Monday's card with the Meadow Stamp, but if you compare the two cards you will see just how versatile this Technique can be.


The Smooshing background for today's card was made with Pool Party, Cajun Craze and Crumb Cake.  I love how the colors blended into each other, and think it makes a pretty background, for the ancient building.  If you missed the Smooshing Video, be sure to check it out.


This card is actually amazingly simple because once you complete your technique portion for the background, all you need to do is stamp the old building with Black Memento ink.  


Using a Stamparatus is recommended as you may need to stamp it more than once to get the image nice and black.

After you complete your focal point image, all that is left is layering it on cardstock colors of your choice.  I used the same three colors as I used for the Technique.


A simple thank you sentiment from Happy Labels, die cut with a Stylish Shapes Circle die was added to the lower right corner after Linen Thread was wrapped around the image assembly and tied in a bow.

The card front was embossed with the Brick and Mortar Embossing Folder which is a good complement to the ancient building.  I sponged a little Crumb Cake ink around the edges to make it look aged.  The completed focal point was then added to the card front with dimensionals.


The only decoration on the inside was the colored mats.  I used the same Pool Party and Cajun Craze colors as were used for the front focal point.  This provides plenty of room for my thank you message.

I mentioned on Monday that this stamp set was not one of my favorite Sale-A-Bration choices, but I decided to give it a try.  After all, it was FREE!  So far, what do you think of the cards I've shared this week with the In the Country Stamp Set.  Am I winning you over?  If I haven't convinced you just yet, come back on Friday to see one more card.  It just may be my favorite!

Use this link to download a FREE copy of the TUTORIAL.

Shown below is a list of the products I used for today's card.


Product List

Tuesday, February 7, 2023

TECHNIQUE TUESDAY BLOG HOP


I've joined Crafty Collaboration's Technique Tuesday Blog Hop today.  The Technique featured for this Hop is Masking, which is a technique that I use often in many different ways.

Since I am using the In the Country stamp set all this week, I decided to see if I could use masking to place the Ancient Building in the beautiful Meadow.  I'm reasonably pleased with how it turned out.  If I were to do it again, there are a couple of things I might change, but in general I'm happy with my card.

To place the old building in the meadow, I stamped the building first and then masked it so I could stamp the meadow over it to make it look like the building is sitting a short distance from the fence.


I used my Stamparatus for both images to make sure that I could stamp them a couple of times, if needed, to get a good image.  As I was doing this for the meadow, I had a bit of a brainstorm and decided that I could add different colors to my stamp each time I stamped.  I started by stamping it all with Soft Seafoam.  On the next stamping, I used a Shaded Spruce Stampin' Write Marker to add the darker green to the pine trees.  The 3rd time I stamped it, I colored the trail (which is mostly covered by my sentiment) with a Crumb Cake Marker.  I could have done the same thing for the fence but decided to just color it directly with a Soft Suede Marker.  

When using the technique of coloring the stamp with a Stampin' Write Marker, remember to hough on the stamp before stamping.  This helps remoisten the ink and you will get a better image.


After I colored the door and the plants on the house, I masked the house again, and also masked the meadow.  I used a Blending Brush to add some Balmy Blue color to the sky.

If you would like a tutorial with all the detailed step-by-step directions, you can download a copy at this link.

I didn't really have anything in mind for a sentiment for this card, so I went in search of "something".  I found a sentiment in the Happy Labels stamp set that said, "You are MY HAPPY PLACE."  I decided to leave off the "You are" portion of that sentiment by masking it with masking tape before I inked it up.  That left just "MY HAPPY PLACE".  I thought it was very appropriate because this old home in a beautiful meadow looked like it would be someone's "HAPPY PLACE".  Masking a portion of a sentiment is a masking technique that I use frequently, and it worked perfectly for this card!


Keeping true to my mantra of "No Naked Card Insides and Envelopes", I added a bit of the Country Gingham Designer Series Paper (DSP) to both to jazz them up a bit.  Adding a strip of DSP to the inside of a card and covering the envelope flap with DSP are my favorite ways to make sure neither is left naked.  It's a quick and simple solution!

If you would like to see the products I used for this card, please refer to the list at the end of this post.

Now it is time for you to hop along and be inspired by the other projects in our Technique Tuesday Blog Hop.  You will get lots of ideas on how to use the Masking Technique.  Be sure to leave some love along your journey!


Only 3 weeks left of Sale-A-Bration.  Favorite FREE selections tend to start becoming unavailable the closer we get to the end of the promotion, so don't miss out!

Product List