Showing posts with label Watercolor. Show all posts

Friday, February 10, 2023

ANCIENT HOME REVIVAL

My last card for this week with the In the Country Stamp Set again features the old house--at least I've been calling it a house, but it could probably be whatever you want it to be.  Maybe I should have invited Bob Vila in for an update as it does look a little decrepit.

For today's card, I chose to use water coloring for the image and the background.


At least for me, water coloring is "less precise" because I can't always control where the water wants to go.  So, for this particular image, I thought water coloring might work well because, honestly, I couldn't always figure out what was going on everywhere in the image either.  LOL

I could see that there were vines and flowers scattered around the walls, but the exact distinction of leaves vs. flowers is less clear.


With water coloring I thought I could "fudge" what I didn't know, so that is what I did.


After finishing the building, I used my Water Painter to give a color wash to the ground and the sky.  I colored the ground first with Old Olive, and then checked my Color Coach to see what color blue worked best with the Crumb Cake House and Old Olive grass.  My "Coach" told me I should use Night of Navy.  Well, I was a little concerned that it would be way too dark, so I added plenty of water to my Night of Navy ink, and then I started color washing the sky.  I couldn't figure out why my Night of Navy sky seemed like it had green in it, and then I remembered that while I was so busy worrying about watering down the Night of Navy ink, that I had forgotten to clean my Water Painter after coloring the grass.  As a result, I got some green streaks and tones in the sky.  But I'm calling it my "Happy Mistake" because I actually think the little bit of green adds some interest to the sky. 

What do you think?

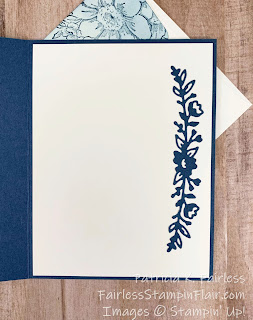
For the inside of the card, I just stamped a portion of the old house with Black Memento Ink in the lower left corner.  I'd had enough coloring by this time, so decided to just leave it as the black outline.


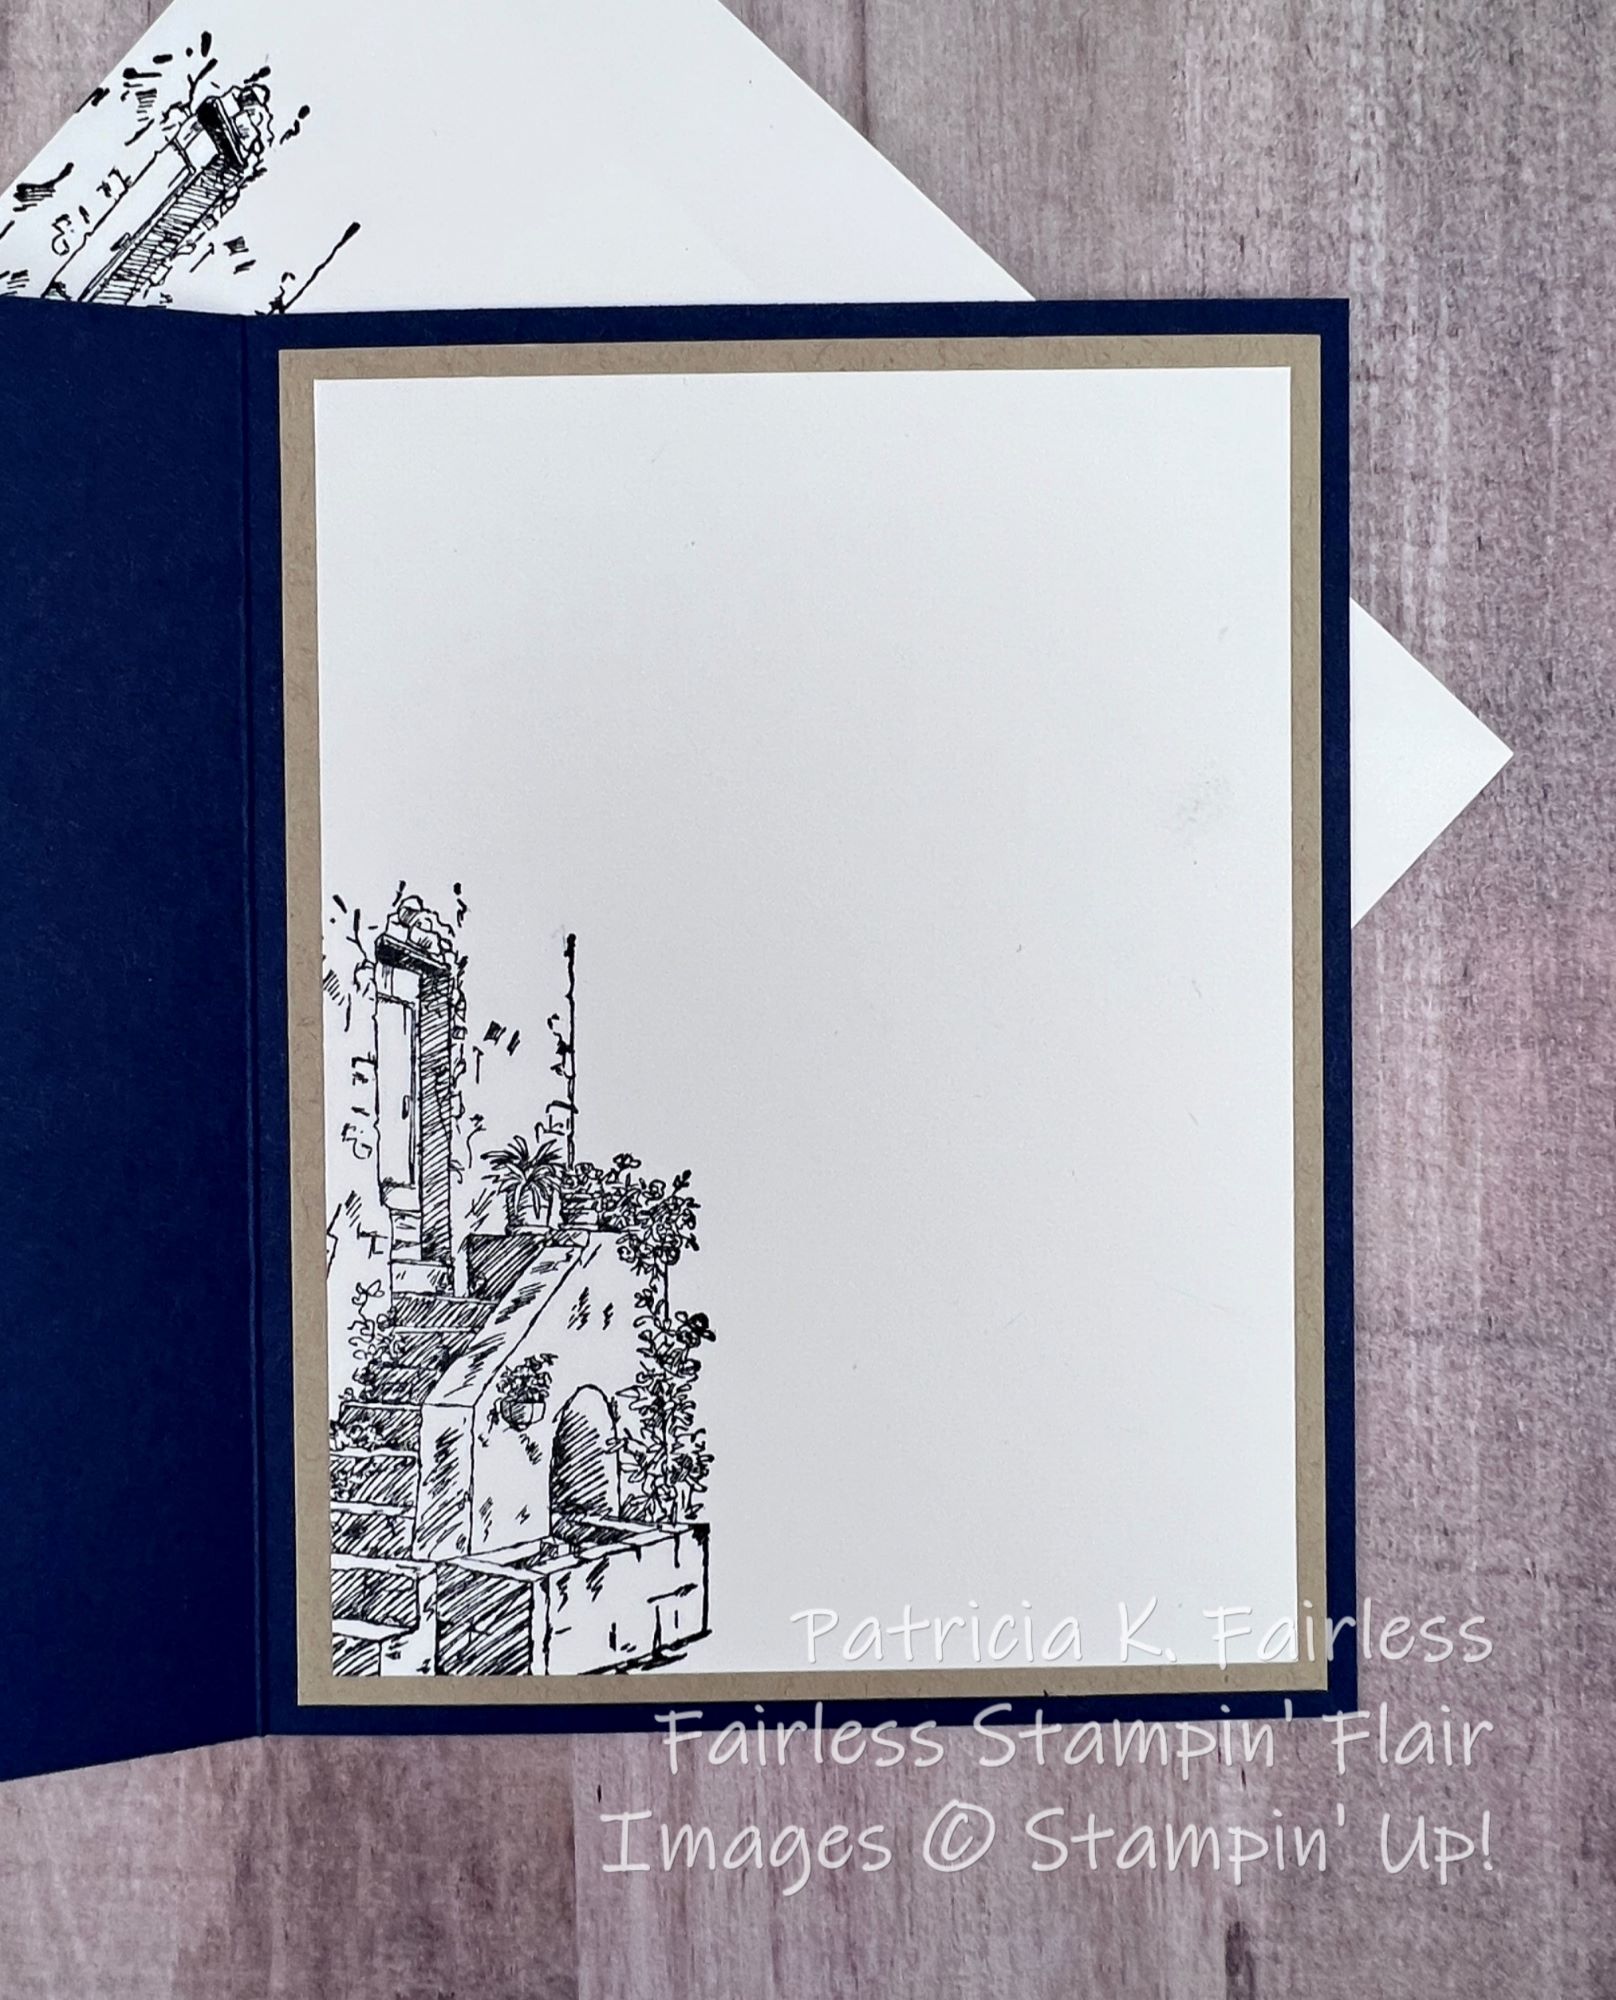
Simple card insides are fine.  Just make sure they aren't naked!  We spend so much time making our card fronts pretty that we don't want to have our insides feel left out.

If you would like a tutorial for today's card, you can download a copy at this link.

Below is a list of the Products used for this card.

Product List

Monday, March 7, 2022

THE BLESSINGS OF HOME

Happy Monday stamping friends.  It's a new week and time for a new featured bundle. This week I am going to showcase the Blessings of Home bundle.  If you love floral stamps and dies, you are going to love this bundle.

Before I get into the details of today’s card, I’ll let you in a bit on how I decide each week which bundle I am going to feature.  Near the end of each quarter, I take some time and make a tentative plan for the next 3 months.  During the last week of 2021 I made my 2022 Q1 plan.  For no particular conscious reason, I scheduled this Blessings of Home bundle for the week of March 6.  Who would have known back at that time that this bundle would be so appropriate for what is going on in the world today? 

Was it a coincidence that I scheduled a bundle called Blessings of Home for the week of March 6?  Maybe, or maybe there was a greater Planner at work that wanted to remind us how blessed we are to call the United States home.  While it is not perfect, I do feel blessed and thankful to call it home, and my heart and prayers go out to the people that call Ukraine their home.  


Today's card could be called a Fun Fold, but in reality, it is just a normal fold with a partial front flap.  The "fun" part of the card is that the flower on the front hangs off that narrow flap.


I used my Stamparatus to stamp the flower with Black Stazon Ink on Watercolor Paper.  Since watercolor paper has some texture, it can sometimes be difficult to get a good clear image the first time you stamp, so the Stamparatus makes it easy to reink and stamp a second (or even third) time if needed.  After stamping the image, I water colored it with my Water Painters and Classis Ink Pads.  You can either squeeze the ink pad to get some ink on the inside of the cover, use a re-inker to add a drop of ink in the cover, or use a clear block to pick up ink from the pad.  Then use our Stampin' Up! Water Painters to color the flower.  I have gotten so into the habit of using my Stampin' Blends lately, that I had forgotten how much I love to watercolor.  You can use regular Basic White card stock, Shimmery White card stock or my preferred cardstock for water coloring, Watercolor paper.  Since watercolor paper is made to handle water, it gives more time for blending the colors.  You also don't need to worry about damaging the paper by getting it too wet.


Once I finished water coloring, I adhered the left side of the watercolor paper to the Misty Moonlight mat and then fussy cut the part of the flower that extended past the edge of the Misty Moonlight.

When you aren't finding what you want in your stash of Designer Series Paper, make your own!  The background for the card front was created by stamping the larger flower image a few times with Misty Moonlight ink and then using the blending blush to blend a light amount of Misty Moonlight ink over the Basic White cardstock.  You can also see a little peek of how I decorated the envelope flap using the same technique. 


For the inside of the card, I used one of the many dies from the coordinating Flowers of Home Dies to create a die-cut from Misty Moonlight cardstock.  I adhered it to the right edge of the inside Basic White, so it shows when the card is closed.


If you would like a tutorial to recreate this card -- or make your own version, you can download a copy using this link.

A list of the products I used is shown below.

Product List

Wednesday, August 4, 2021

Meet Callie the Calico Kitty

Today I'm back with another card made with the Pampered Pets Stamp Set and Pets Dies.  

Peabody had so much fun on Monday telling you about his new house that today he wanted to introduce you to Callie, his calico kitty friend.  Callie is definitely a Pampered Pet!  

Peabody  reminded me to tell you that he really just tolerates her, and Callie wants me to make sure I tell you that she's the real boss.


Callie is a bit bossy and she decided she needed a card that is a little different and compliments her Calico colors.  She saw a tutorial on Splitcoaststampers by Melissa Stout that she liked, so in her "bossy" way, she convinced me that I needed to try it.  

The technique is called Floating Strips, and it was a new one for me.  You can see a great tutorial at the link above, but the short story is that you glue strips of different color cardstock to an acetate sheet and then adhere it to a piece of white card stock with adhesive foam strips.  It gives the appearance that the colored strips are floating.  I liked it, and because Callie was being pretty "bossy" I acquiesced and told her I would try. 

Next, Callie had to make sure that I matched the colors on the card to her, so I used this little picture of her to do my best to make a match.  Doesn't she look sweat?  It's hard to believe that she can be so bossy!


The black and white was obvious, and after studying her picture further, I decided that Cinnamon Cider was a good match for her 3rd color.  I asked her if I could use Bumblebee and Just Jade as colors to compliment her complexion and she said, "It will do, but make sure the Bumblebees don't bite!" 

Callie insisted that I add a couple of little playmates she could chase, so she choose butterflies.  So far, she hasn't caught them, but I'm sure she'll keep working on it.

She wanted me to create a watercolor painting of her so you would all know that she was the boss of this card.  So, I got out my Watercolor paper and Water Painters, and did as she asked.  I used a Classic Ink Pad with a reinker for the Cinnamon Cider, and a Watercolor Pencil for the black.  Callie made me practice a few times, but after the 3rd time, she said it was "OK" and I could quit.  She was probably just tired of listening to my grumbling, but I didn't ask any questions in case she changed her mind.

For the inside of the card, Callie said that since I was so stressed about the whole watercolor painting thing, that I better just keep it simple.  So I did.  I didn't show her the inside because I didn't want her to be upset that she was the star of a pet sympathy card.  Maybe she would be OK with that, but I wasn't going to take a chance.


I hope you liked Callie's card today.  If you would be so kind as to leave a comment below, I'll be sure to pass them on to Callie.

If you would like detailed information to make this card you can see a free tutorial here.

Below is a complete list of the products I used to make the card.

Product List


If you would like to receive my bi-weekly Fairless Stampin' Flair Newsletter, please complete the information on the Contact Me tab above and submit.  If you don't already have a demonstrator, I'd love to be yours.  Let me know how I can help you.