Happy Monday Stampers! We are in the middle of the Last Chance Promotion for products from the 2022 January-June Mini catalog that are retiring at the end of June.
So, for this week, I thought I would feature a few of my favorite retiring items. Remember, these are only available while supplies last, so if there is something you really like, don't wait too long or you may miss out. Some items are discounted by up to 50%.
Today's card is CASEd from a card by Patty Bennett. It is a Double Z Fun Fold and the products I used are from two of my favorite Suites from the retiring Mini, Flowering Fields, and New Horizons.
.JPG)
The most difficult thing about this project was choosing which design from the New Horizon's Designer Series Paper I wanted to use!
Here is a photo of my card as it appears in the closed position.

The Picket Fence on the front panel was die cut from one of the woodgrain patterns from Heart & Home DSP -- which is another Last Chance Product.
I also stamped the small tree from Tulip Fields on the front panel. Layers of grass were added below the fence using a die from Horizon Dies and cut from scraps of New Horizons DSP. The center of the fence is popped up on dimensionals and the ends are adhered directly to the card front. This results in a bit of a curve to the fence which adds some nice dimension. Pebbles Enamel Shapes (also a Last Chance item) were added below the grass die cuts to partially cover the edge. Here is a close-up of the front panel.

On the next panel I stamped the three small trees from On the Horizon and added a die-cut bicycle from the Windmill Fields Dies. I die cut the bicycle twice, once from Pale Papaya and once from Basic Black. I snipped off the tires from the Pale Papaya bicycle and adhered the remaining piece to the Basic Black Bicycle. This gives the bike black tires which I feel looks more realistic. I used adhesive sheets for both bicycle die-cuts which made assembly quick and easy. Several Pebbles Enamel Shapes were added to form a cobblestone bicycle path. Below is a close-up of the center panel of the scene.

The third panel of the Z-fold has a Windmill from the Tulip Fields bundle. It was colored with Pale Papaya and Soft Succulent Stampin' Blends. Several rows of tulips were die cut from New Horizon DSP using a die from Windmill Fields Dies and were then added in front of the Windmill. Prior to adhering the windmill, the trio of trees from On the Horizon were stamped in the background with Evening Evergreen ink. Like the front panel, the picket fence was cut from a woodgrain pattern from Heart & Home DSP. Again, die-cut grass was added in front of the fence using a die from Horizon Dies. The grass for this panel was actually cut on the "back" side of a New Horizons DSP scrap so that the final image was mirrored, and the tall part of the grass was on the right rather than the left. More pebbles were also added below the fence.

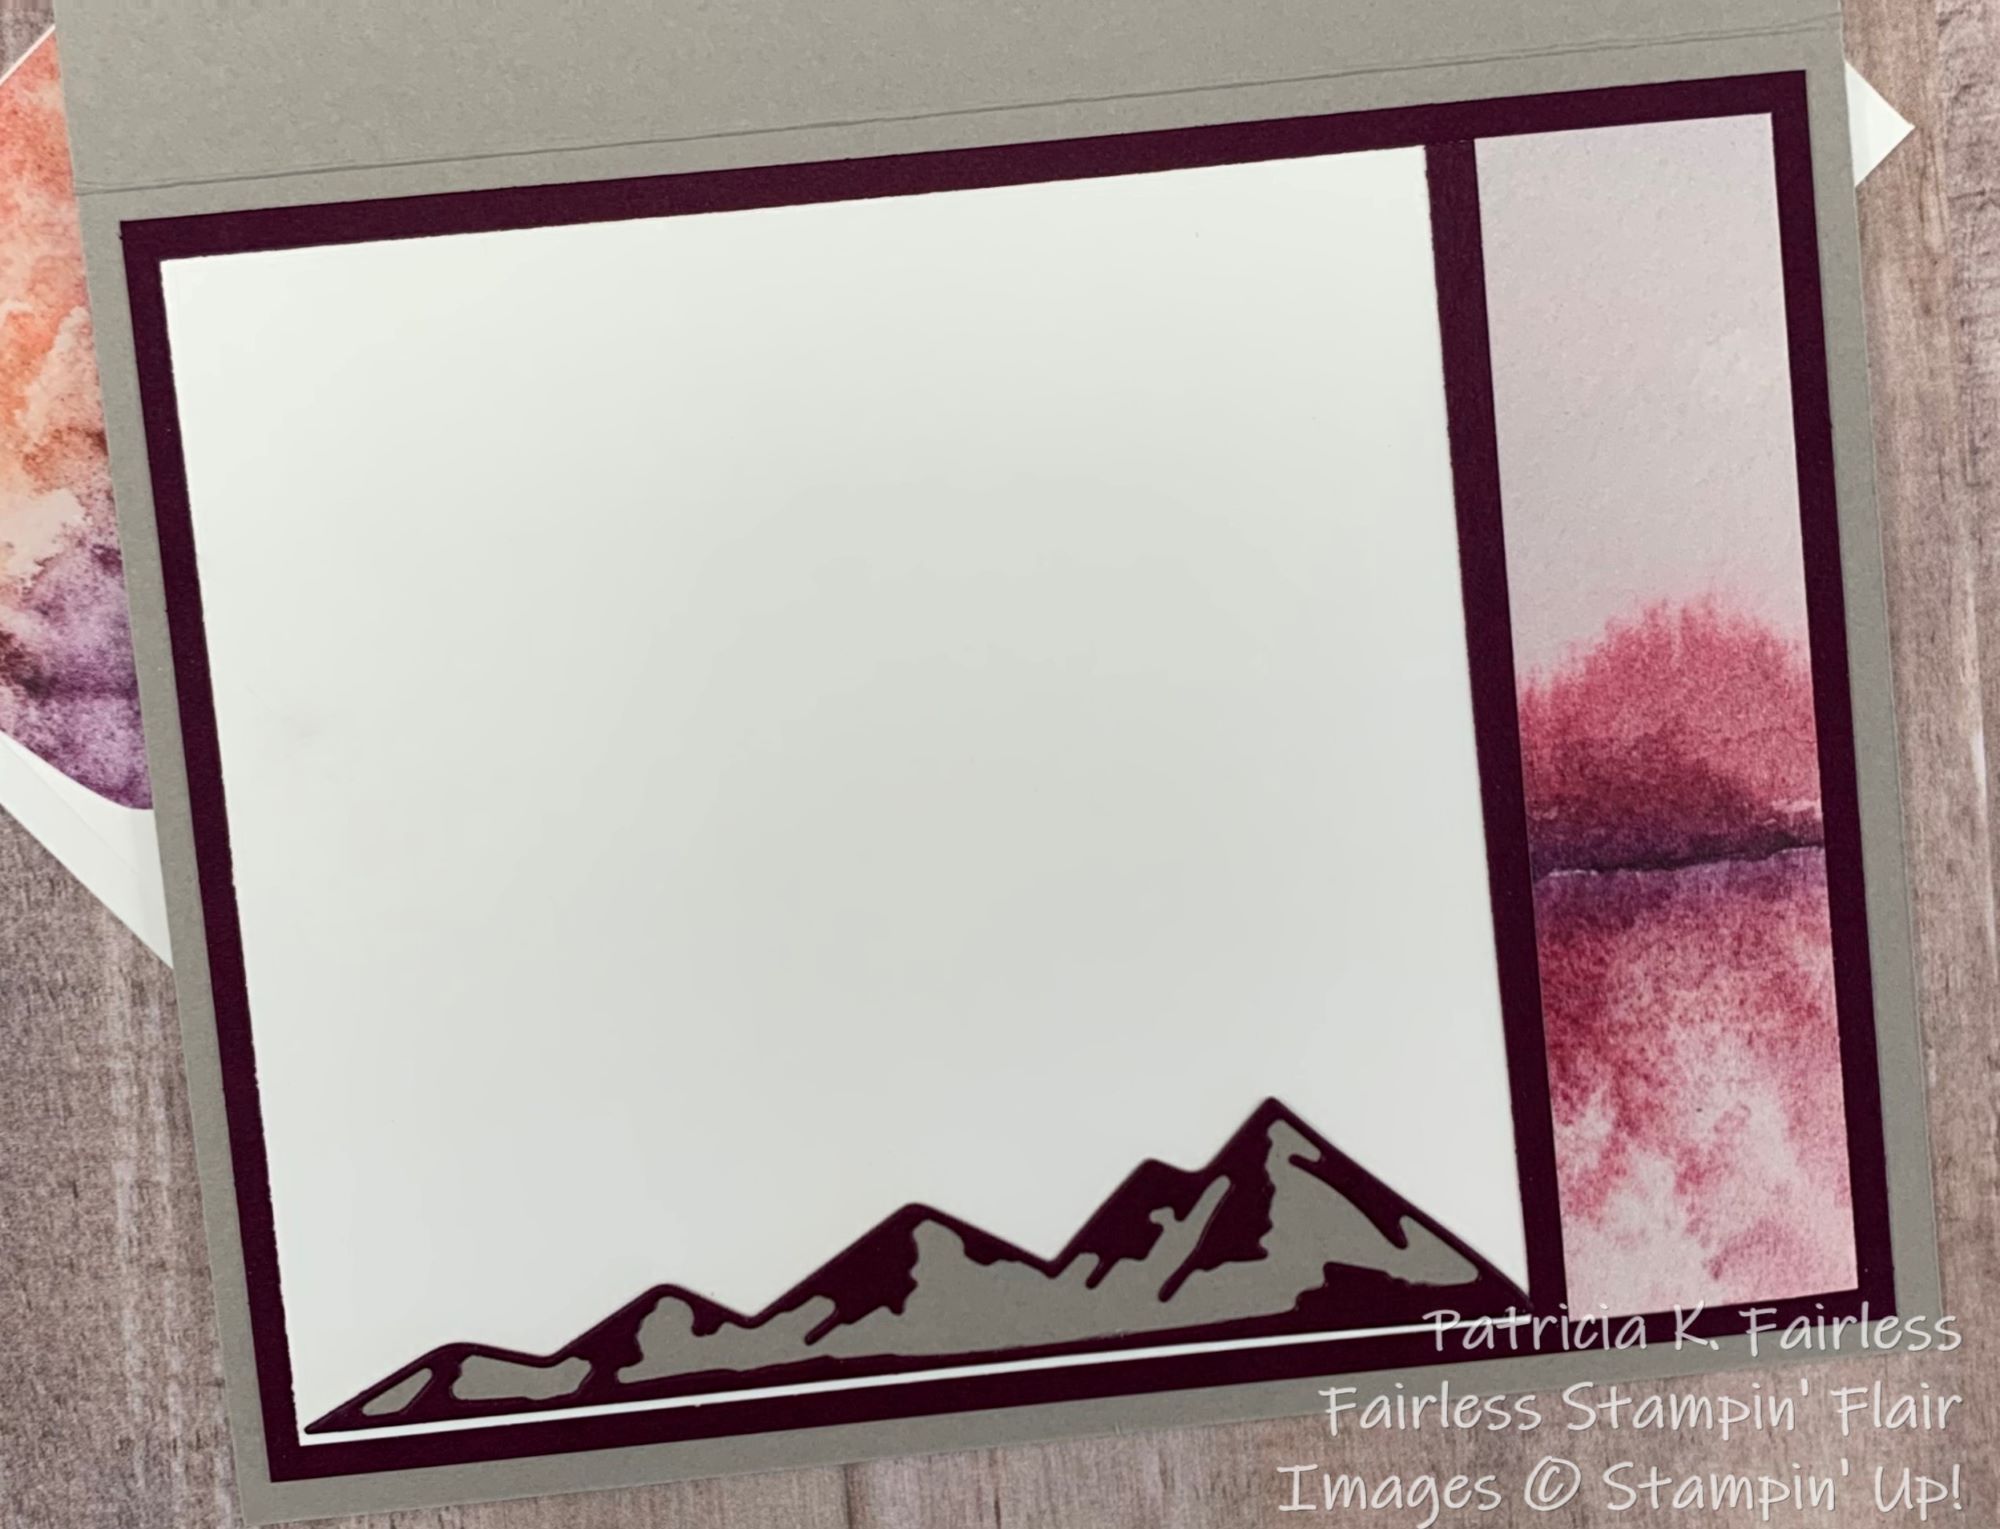
For the far-right sentiment panel, the Thanks FOR EVERYTHING sentiment was masked, so that only the "Thanks" portion was used. The grass from On the Horizon and the sentiment were stamped with Evening Evergreen ink. Another section of die-cut grass was added over the stamping to provide additional dimension and a few pebbles were added.

Wherever die-cut grass was added on the card I only adhered the bottom of the grass to the card base. The grassy portion was not adhered to provide the appearance of wispy grass blowing in the breeze.

It is probably obvious, but when making a card like this it is important to keep the pieces from the DSP scene in order to make sure the scene looks continuous when the card is fully open.
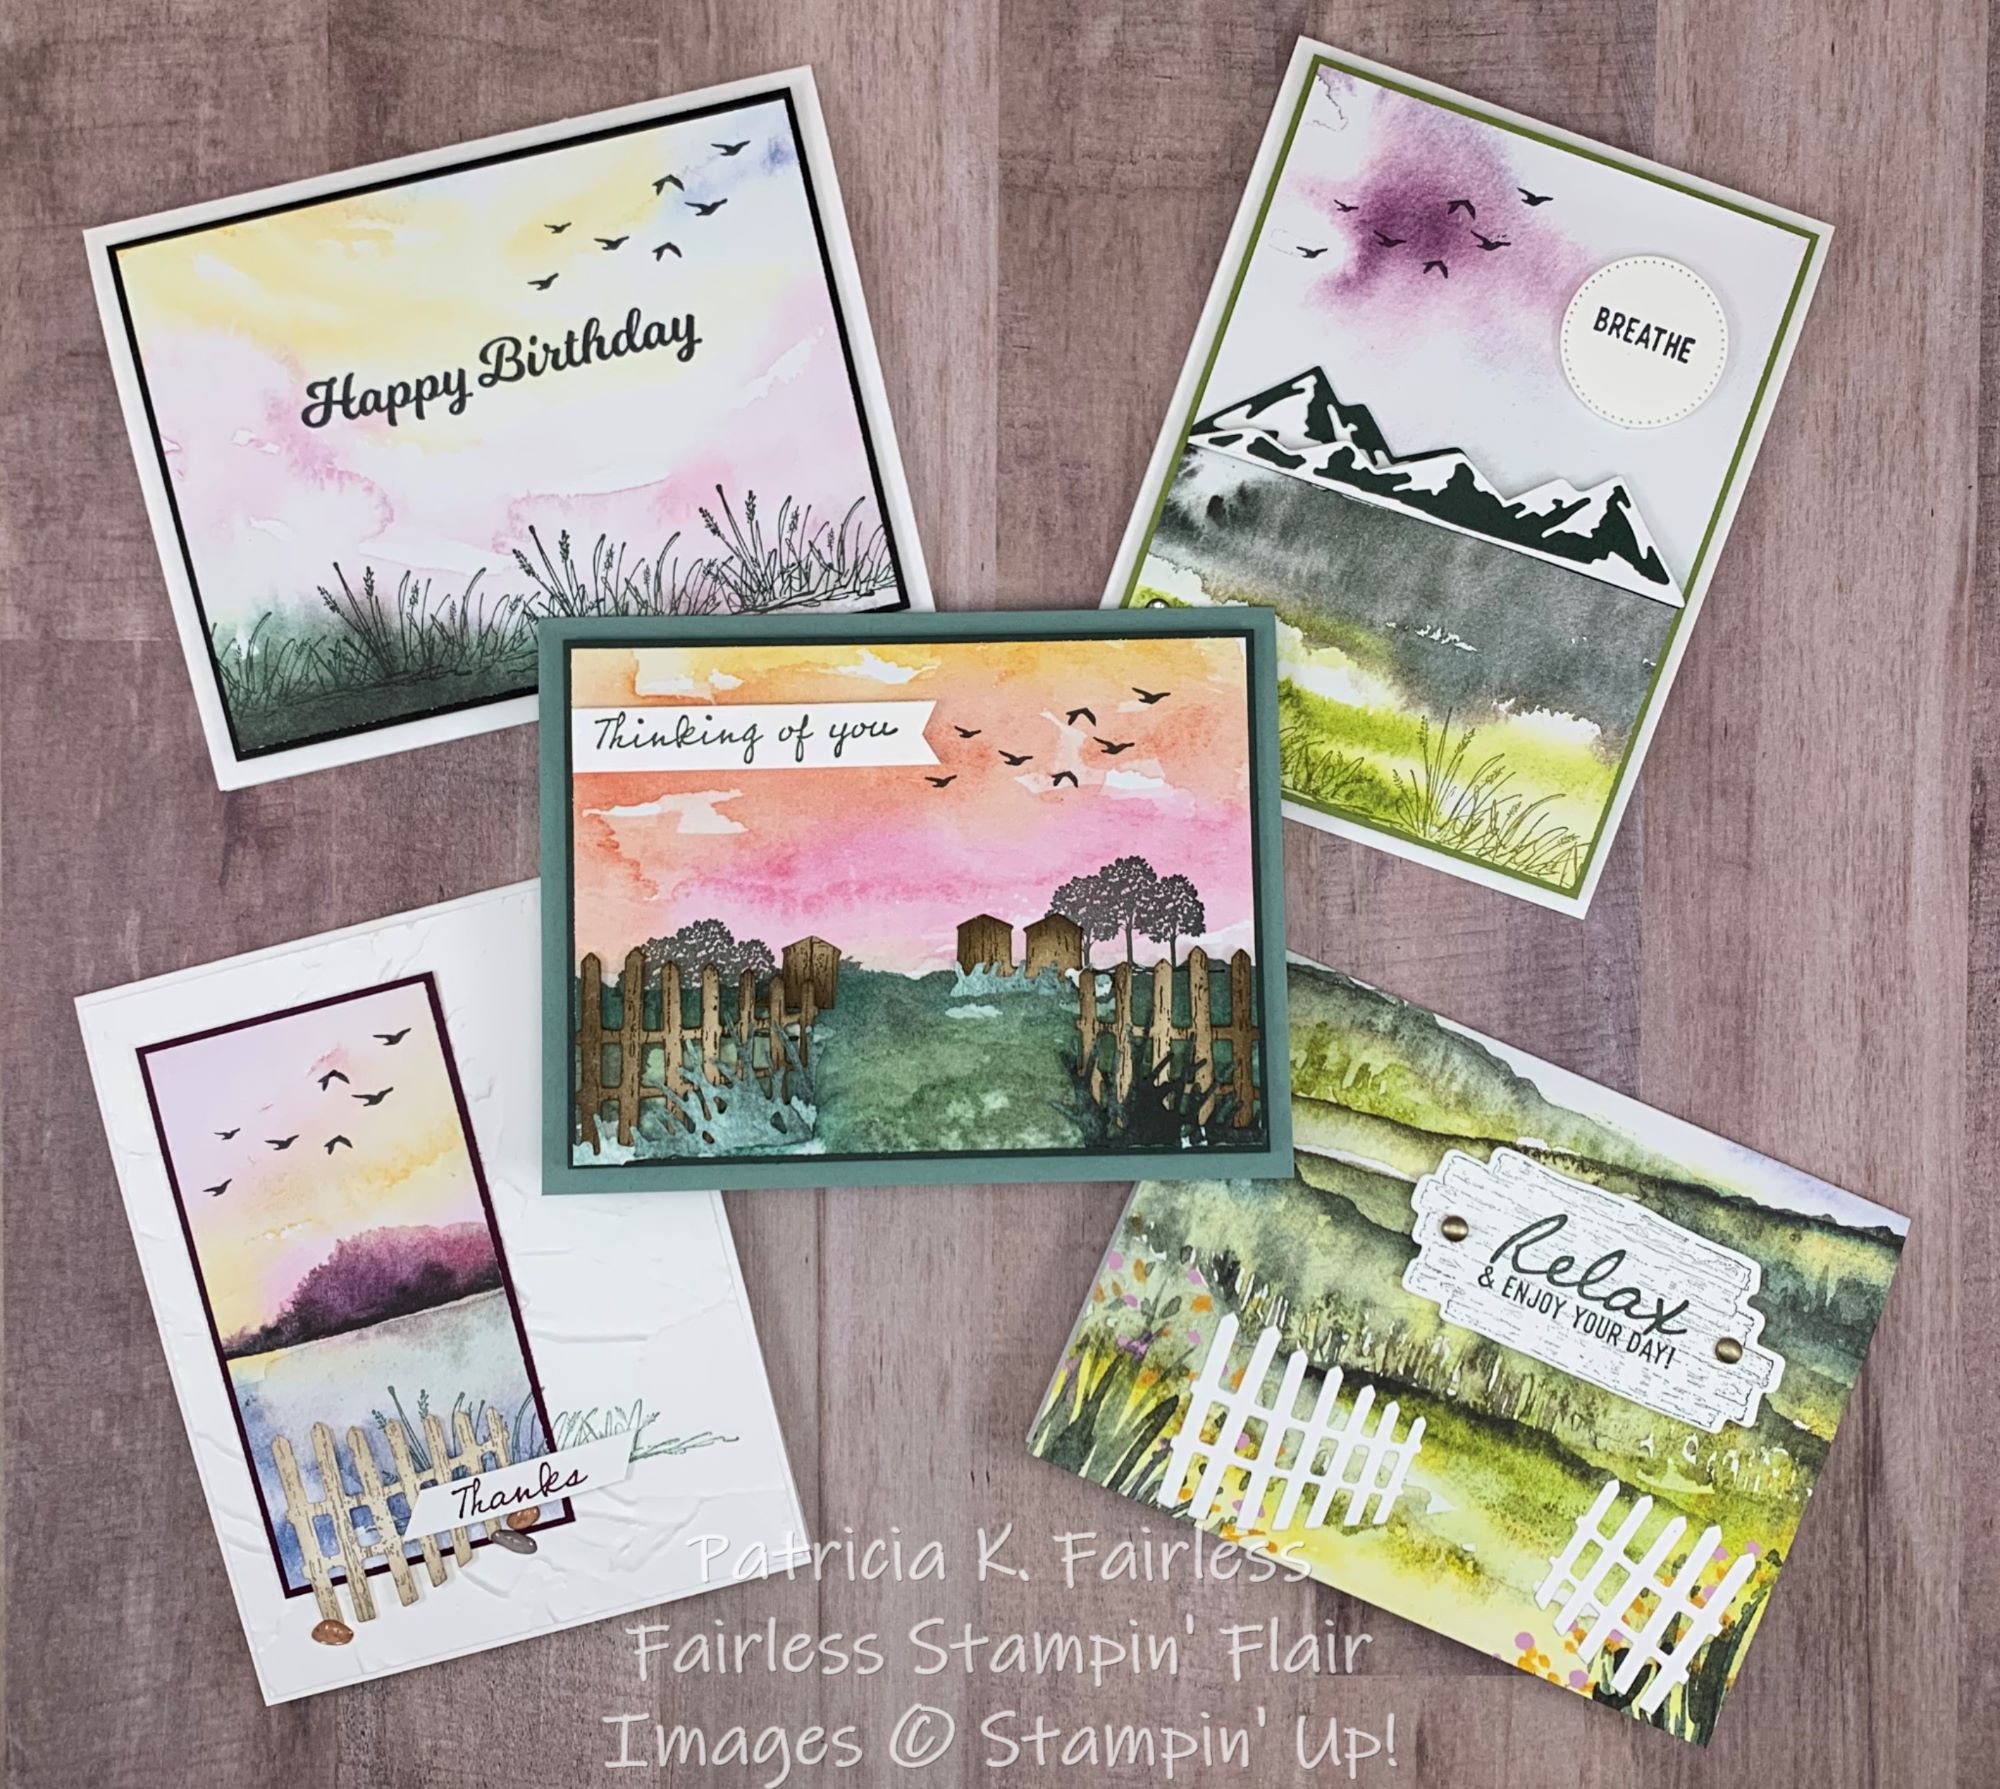
As I mentioned at the beginning of this post, the most difficult thing about making this Z-fold card was deciding which New Horizons DSP to use. The scenes are all so beautiful. I was having difficulty deciding which one to use so I also made a couple of additional cards using different scenes. The process to make these alternative cards was basically the same. The placement of the various elements varies a bit on each to make their location fit better into the scene.
Below are the two additional alternatives.


Which one do you like best?
If you would like a tutorial to today's card you can download a free copy at this link.
A list of products used for the first design alternative are shown below. For the most part the supply list is the same for each card. Only the cardstock colors and ink colors vary. The tutorial lists the alternative colors for the two additional cards.