Showing posts with label New Horizons Designer Series Paper. Show all posts

Friday, May 13, 2022

HORIZON HAPPINESS

Today I have a Double Flap Fun Fold card for you that again uses the On the Horizon Stamp Set and New Horizons Designer Series Paper.  The colors used are Soft Succulent and Pale Papaya.
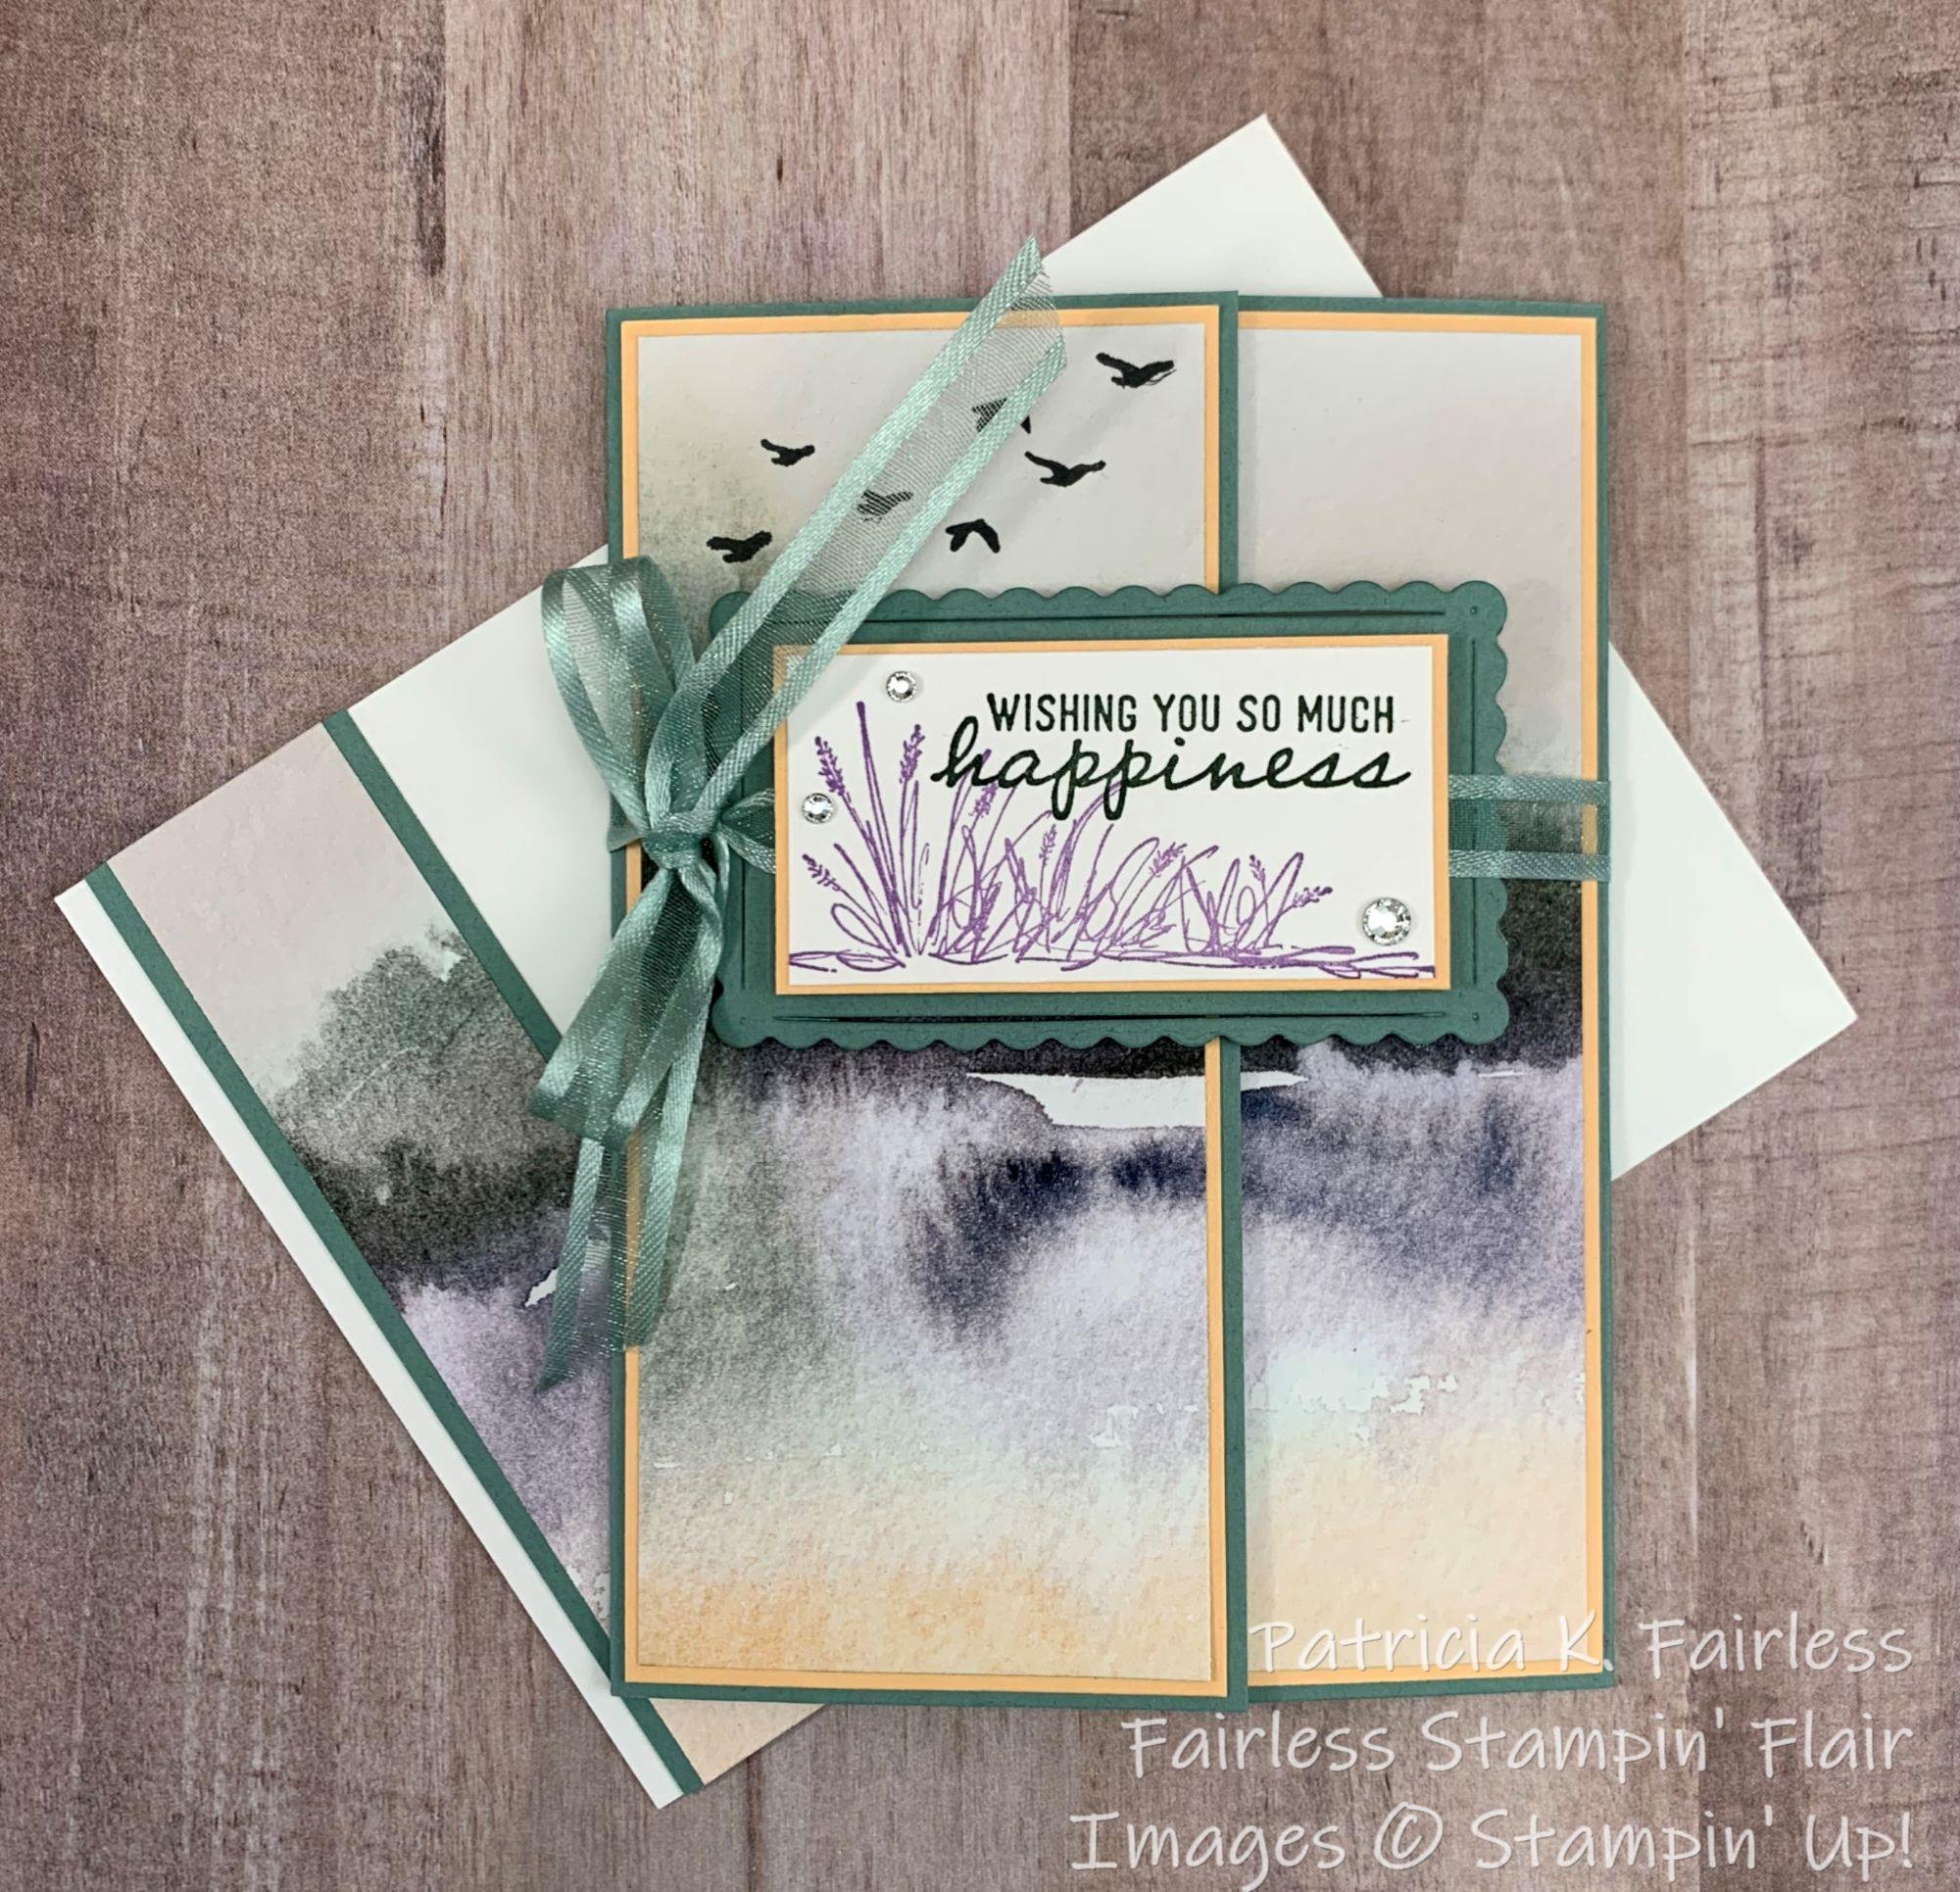

This is an easy Fun Fold where the left flap folds in first and then the right flap folds over top of it.

There are only a few things to be careful of when you make this card.  First as you cut your designer series paper for the two flaps, you want to make sure you cut them so that the pattern flows from left to right on the finished card.

The second thing to be aware of is to make sure your ribbon will slide freely between the scalloped rectangle die cut and the Pale Papaya sentiment mat.

And the third thing is to be careful that you only adhere the sentiment assembly to the left flap.
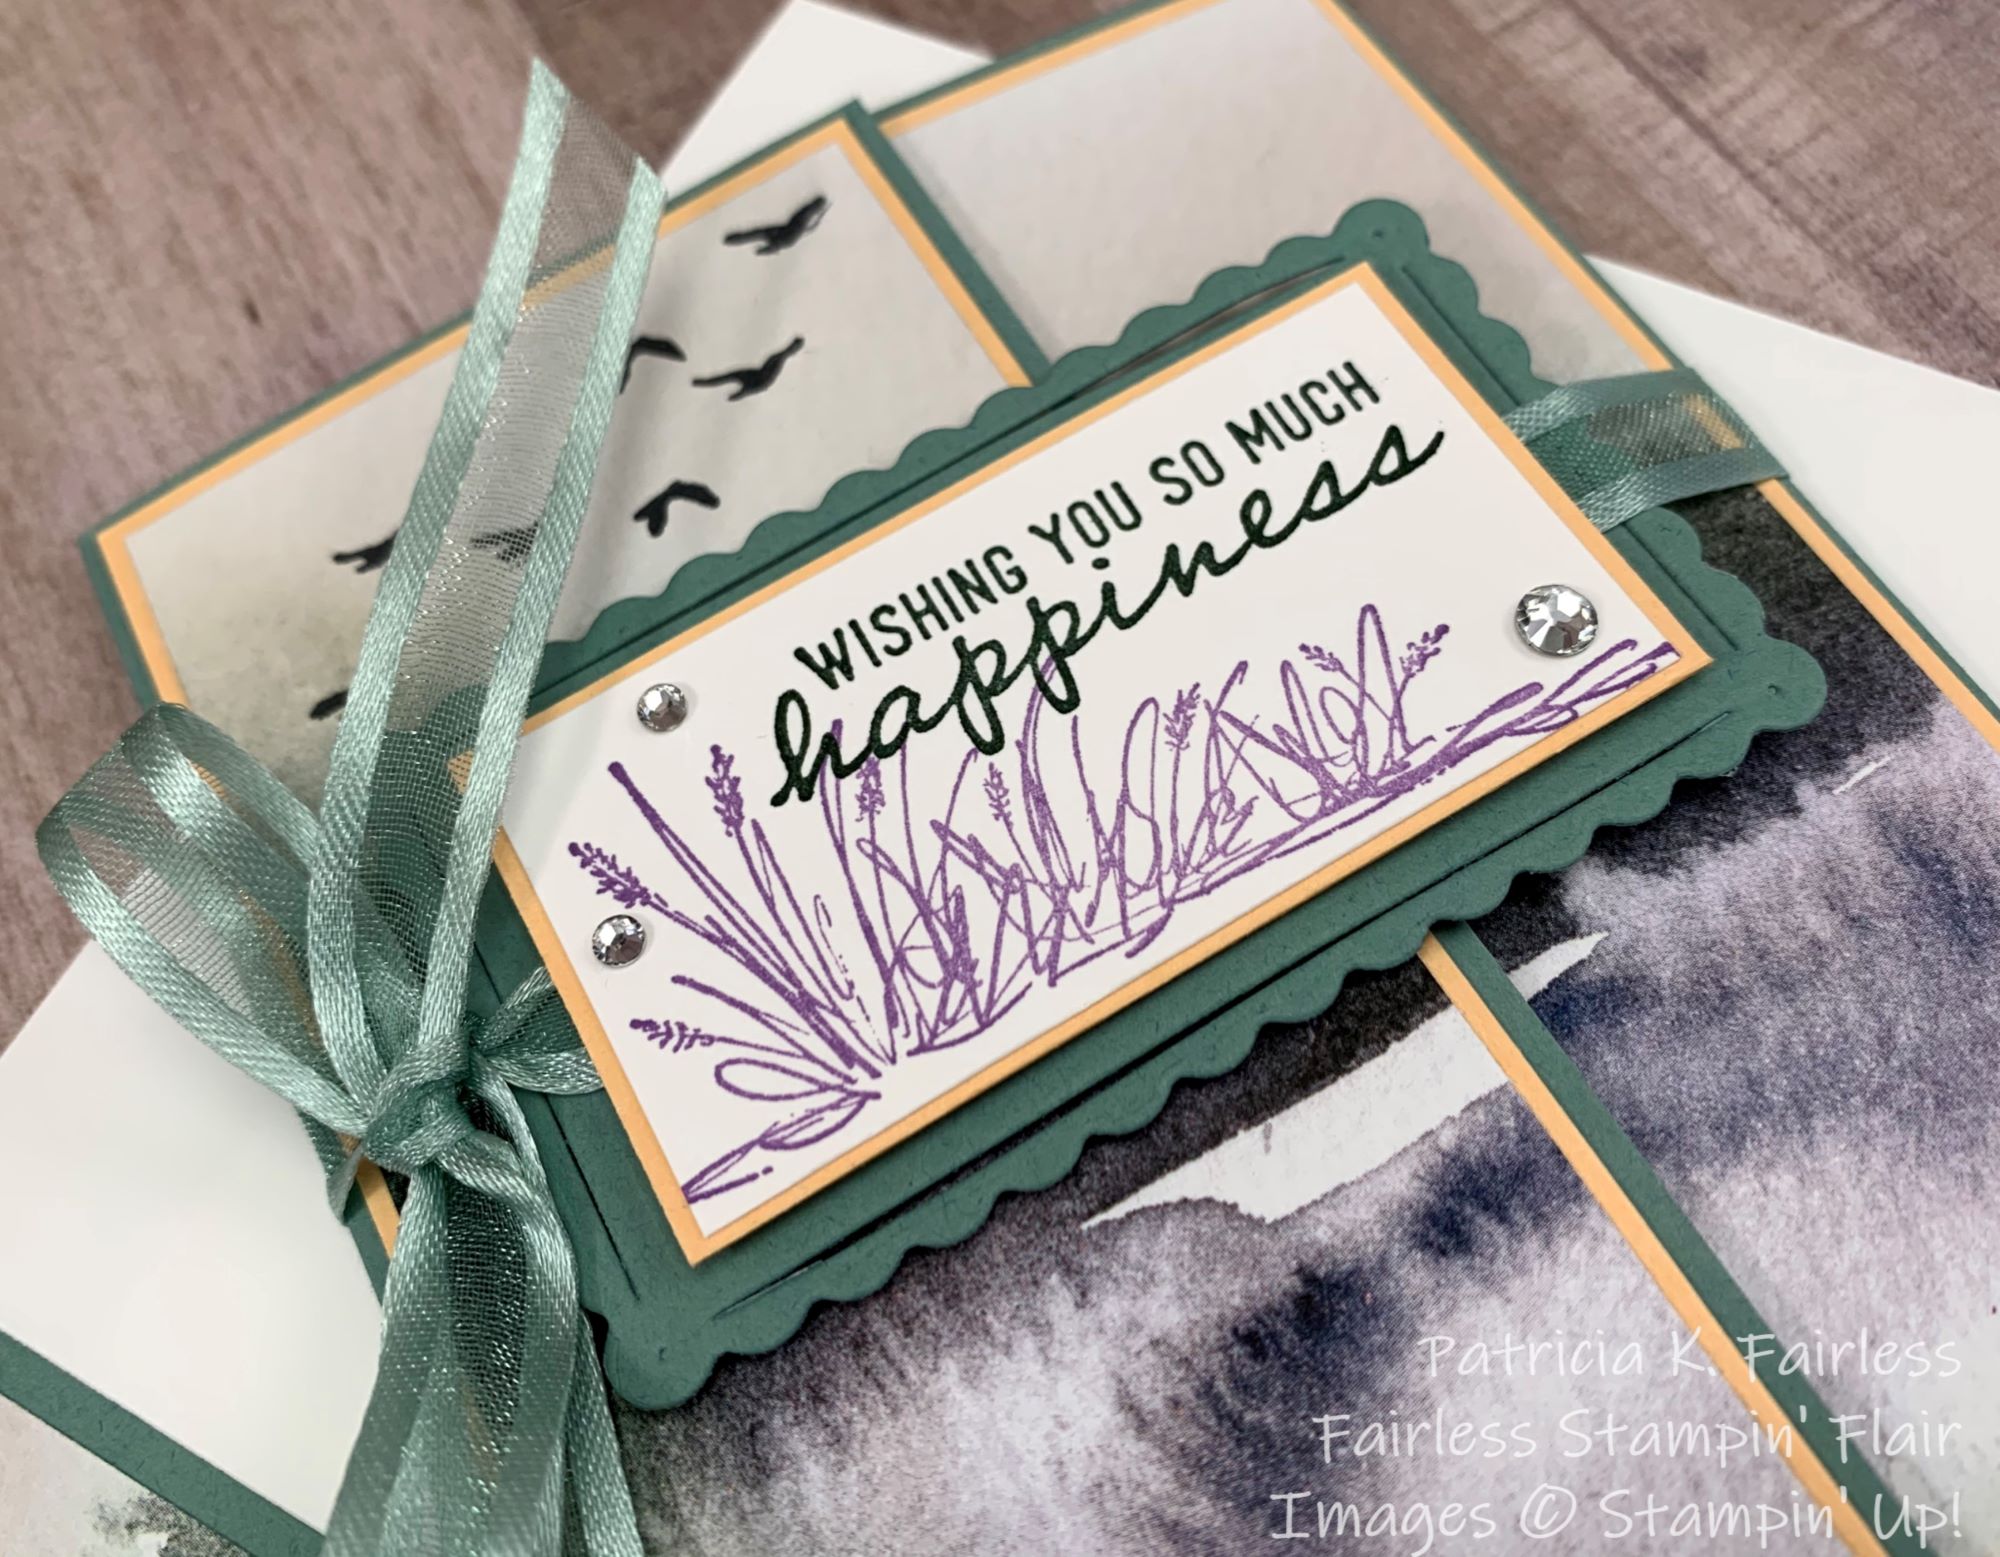

The ribbon that passes "through" the sentiment will help hold the card closed.

The finished size of this fun fold is 5-1/2" x 4" (rather than 4-1/4").  As you cut your cardstock to decorate the inside, be sure to remember that it is not the typical standard size.  I figured this out the "hard" way.  Thankfully, it is always easier to cut something smaller than make it bigger and fortunately, I had not yet adhered my layers together when I figured out my panel was too large to fit inside the card.

After I cut my two designer series paper panels for the card front, I had a 2" strip of DSP left over.   I'm not one to let a pretty piece of DSP go to waste, so I cut it in into two 1" strips and used them to decorate the inside of my card as well as my envelope.  No naked insides or envelopes is my motto! I added a border of Soft Succulent on my 1" DSP "scraps" before I adhered them to the inside of the card and to the left side of my envelope front.  For the inside of the card, I only added a border on the inboard side.  For the envelope, I added the border on both sides of the DSP strip.


You can download a FREE TUTORIAL with all the cutting and scoring dimensions by using this link.

All products used on today's card are listed below.


Product List

Wednesday, May 11, 2022

SUNSET MOUNTAINS

Today we are visiting another beautiful Mountain Lake.


The lake scene on today's card has a totally different feel from yesterday's card, doesn't it? While yesterday's card was moody and peaceful, today's card is full of color.  What do you think is happening when you look at this card?  Do you think a storm is coming from behind the mountains?  I think it is early morning, and a big red sun is slowly rising behind the mountain.  It makes me remember what my dad used to say when the sky was glowing red in the morning.  "Red at night, Sailors Delight.  Red in the Morning, Sailors take Warning!"


Today's card is another quick & easy card with minimal stamping.  The only stamping was the birds in the sky and the sentiment.  I used the two mountain dies from the Horizon Dies to create the mountain range.  


It doesn't get much easier than that!

DSP CUTTING HINT

When you cut the 6" x 6" designer series paper to fit the front of your card, plan ahead!  There will be scraps left over, however you decide to cut it, but if you plan ahead, you will have beautiful "scraps" that you can use to decorate the inside of your card and the envelope.  So, before you cut, decide if you want a longer horizontal scrap or a longer vertical scrap, and then cut that edge first.  For this card I wanted a longer horizontal piece to use on my envelope flap, so I cut the horizontal length first.  That gave me a 6" length of DSP "scrap" to decorate the flap of my envelope.  

I trimmed the bottom off my "lake" and used this piece for the envelope.  You can see that flap in the first picture above.  By trimming the full 6" length first, I was left with a shorter vertical piece trimmed off the side, but since my card is in landscape orientation, this piece was still long enough to decorate an edge on the inside of the card.  Had I trimmed the side piece first, the remaining horizontal length would not have been long enough to cover my envelope flap, so this is why it is important to plan ahead when you are trimming paper to size.


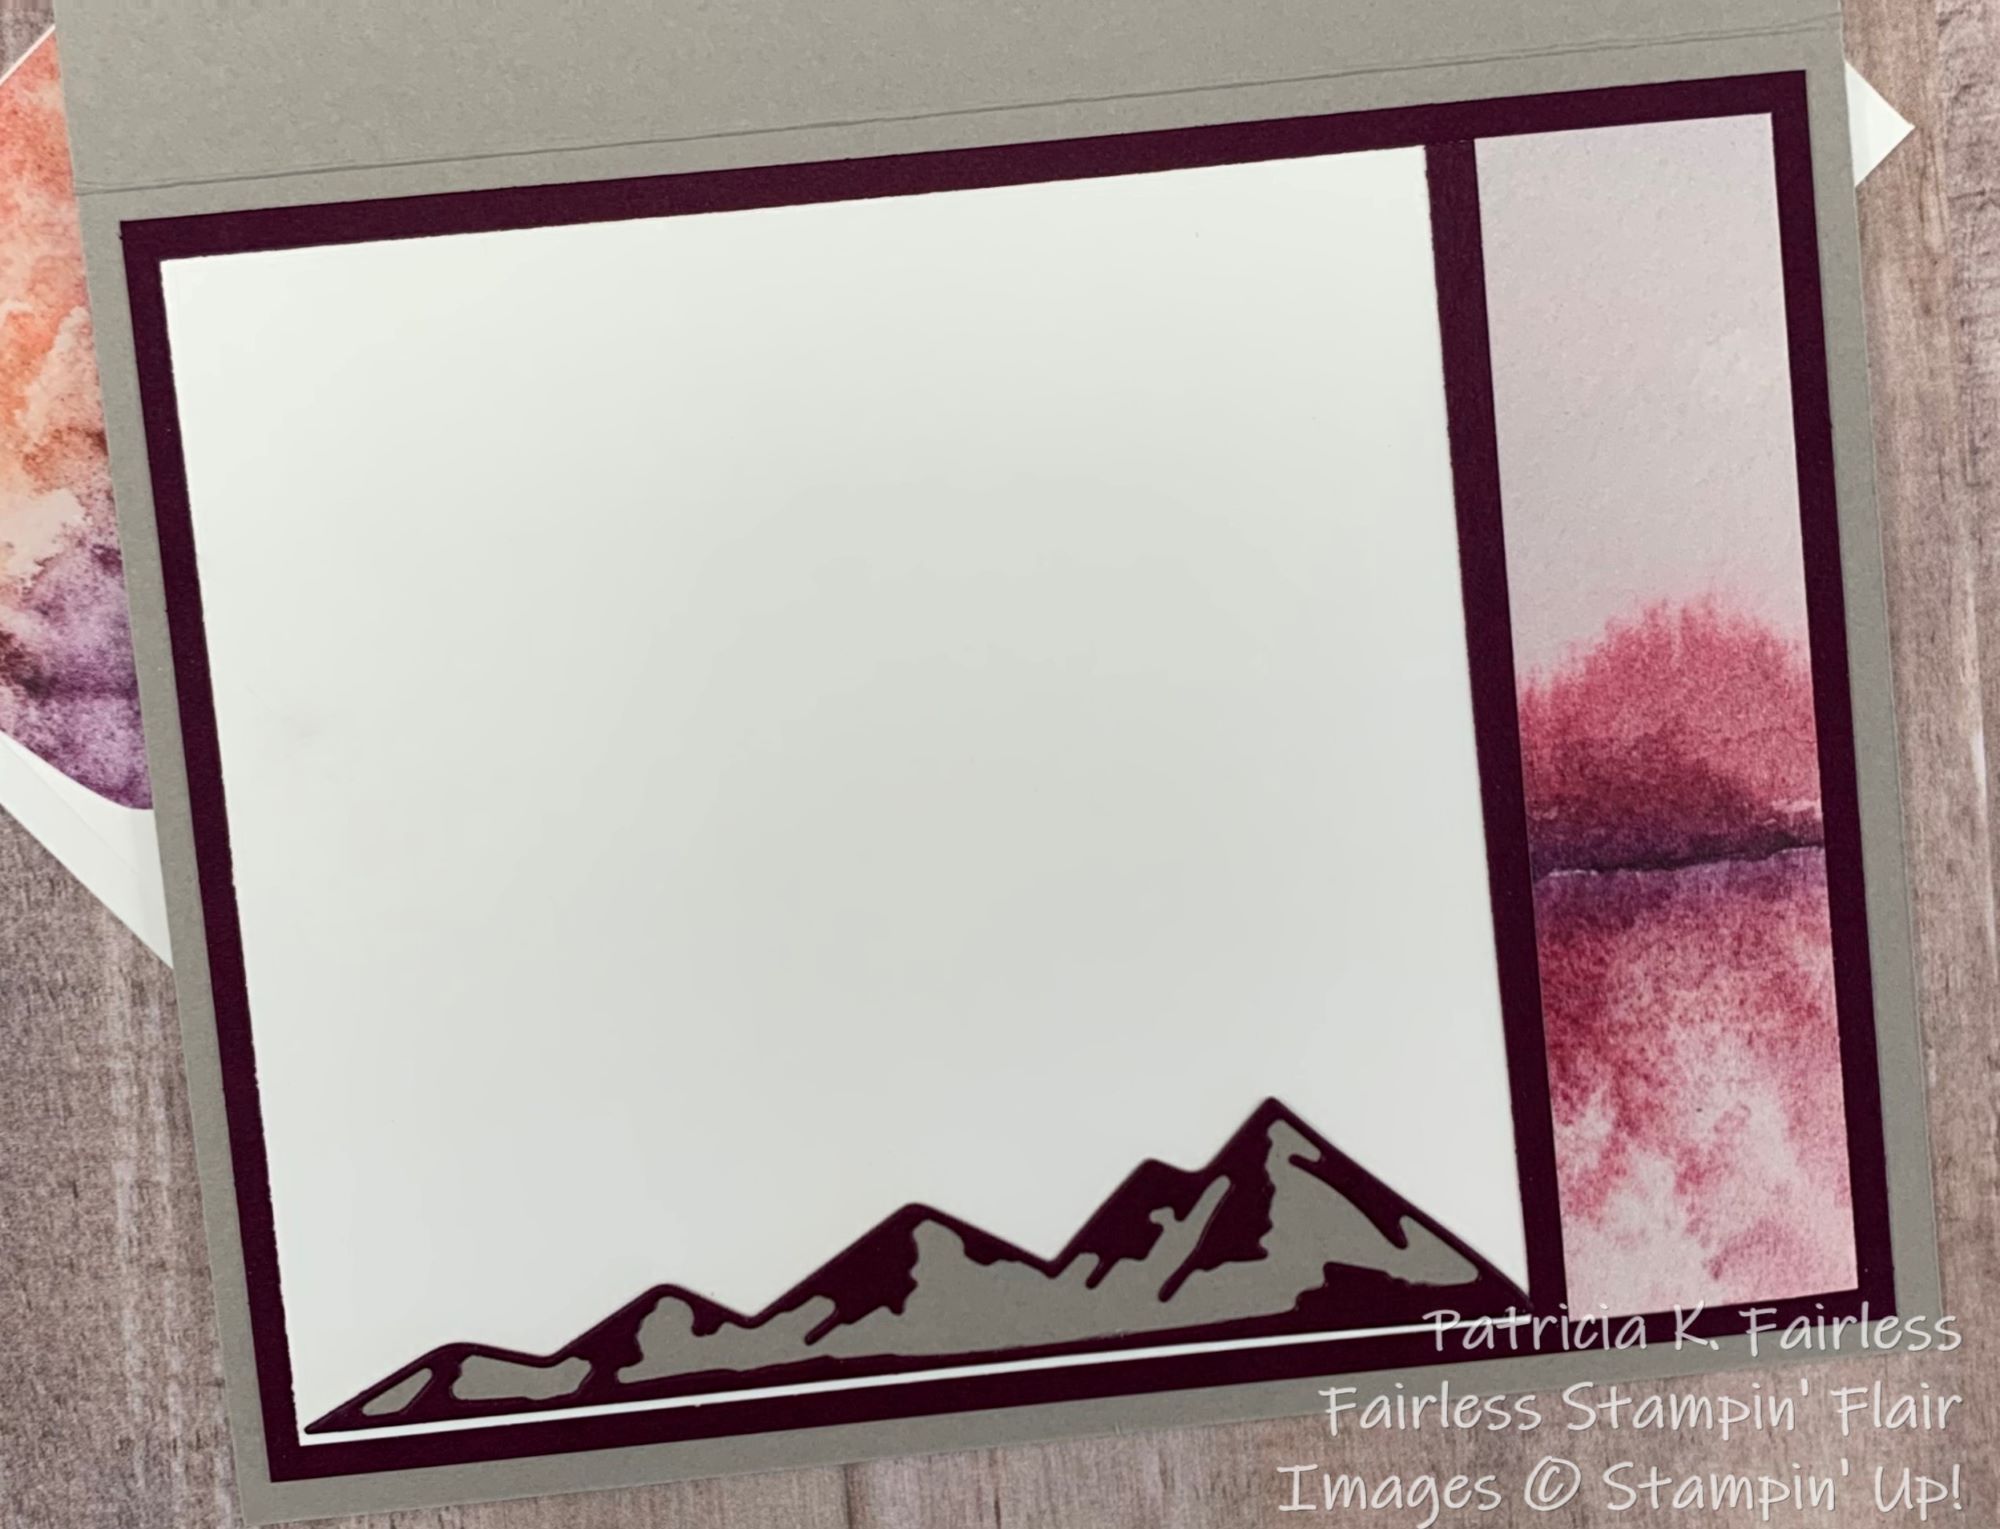
For the inside of the card, I made another range of mountains and on the right edge added my left-over scrap of the New Horizon designer series paper from the front of the card.  What do you think?  It makes the inside of the card pretty, too, right?

I hope you are enjoying these additional New Horizon ideas this week.

If you would like a FREE TUTORIAL for today's card, you can download a copy at this link.

A list of products used is shown below.

Product List