Showing posts with label Planted Paradise Stamp Set. Show all posts

Wednesday, May 29, 2024

DAISY CENTERPIECE

Do you love a table centerpiece made with daisies?  I do.  There is just something so casual and happy about a bouquet of daisies.


Today's card uses a variety of pink daisies.  I used Pretty in Pink, Petunia Pop, Berry Burst and Bubble Bath.  Some were stamped full-strength and some were stamped off.  Don't ask me which is which because once I die cut them and started playing with and arranging my bouquet, I didn't remember which was which.  LOL.


I used my color coach to decide what color their vase should be and a common color that it told me coordinated well with each of them was Coastal Cabana.  So that's what I used.  Who am I to second guess the Color Coach.  I made the leaves from Shy Shamrock cardstock to give them just a slightly darker color than the Coastal Cabana vase.  

The vase is from the Planted Paradise stamp set.


The background was embossed with one of my new favorite embossing folders, Dashing Designs.  I really miss the Basics 3D folders now that they have been retired, so when I want something subtle I find myself gravitating to this new folder.  

As I was making flowers for the centerpiece bouquet I didn't know how many I would need, so I made several.  Then as I started arranging my centerpiece, I realized I had too many.  So, being one not to let good things go to waste, I used my leftovers for the inside of the card.


Had I not had these perfectly good leftovers, I would have just stamped a couple of flowers and leaves on the inside of the card.  

If you would like a PDF Tutorial, use this link to download a copy.  It includes a list of supplies, dimensions and step-by-step assembly instructions.

A complete list of products used is also shown below.  For more details on any product, just click on the image and it will take you to my Stampin' Up! store.


Product List

Friday, January 12, 2024

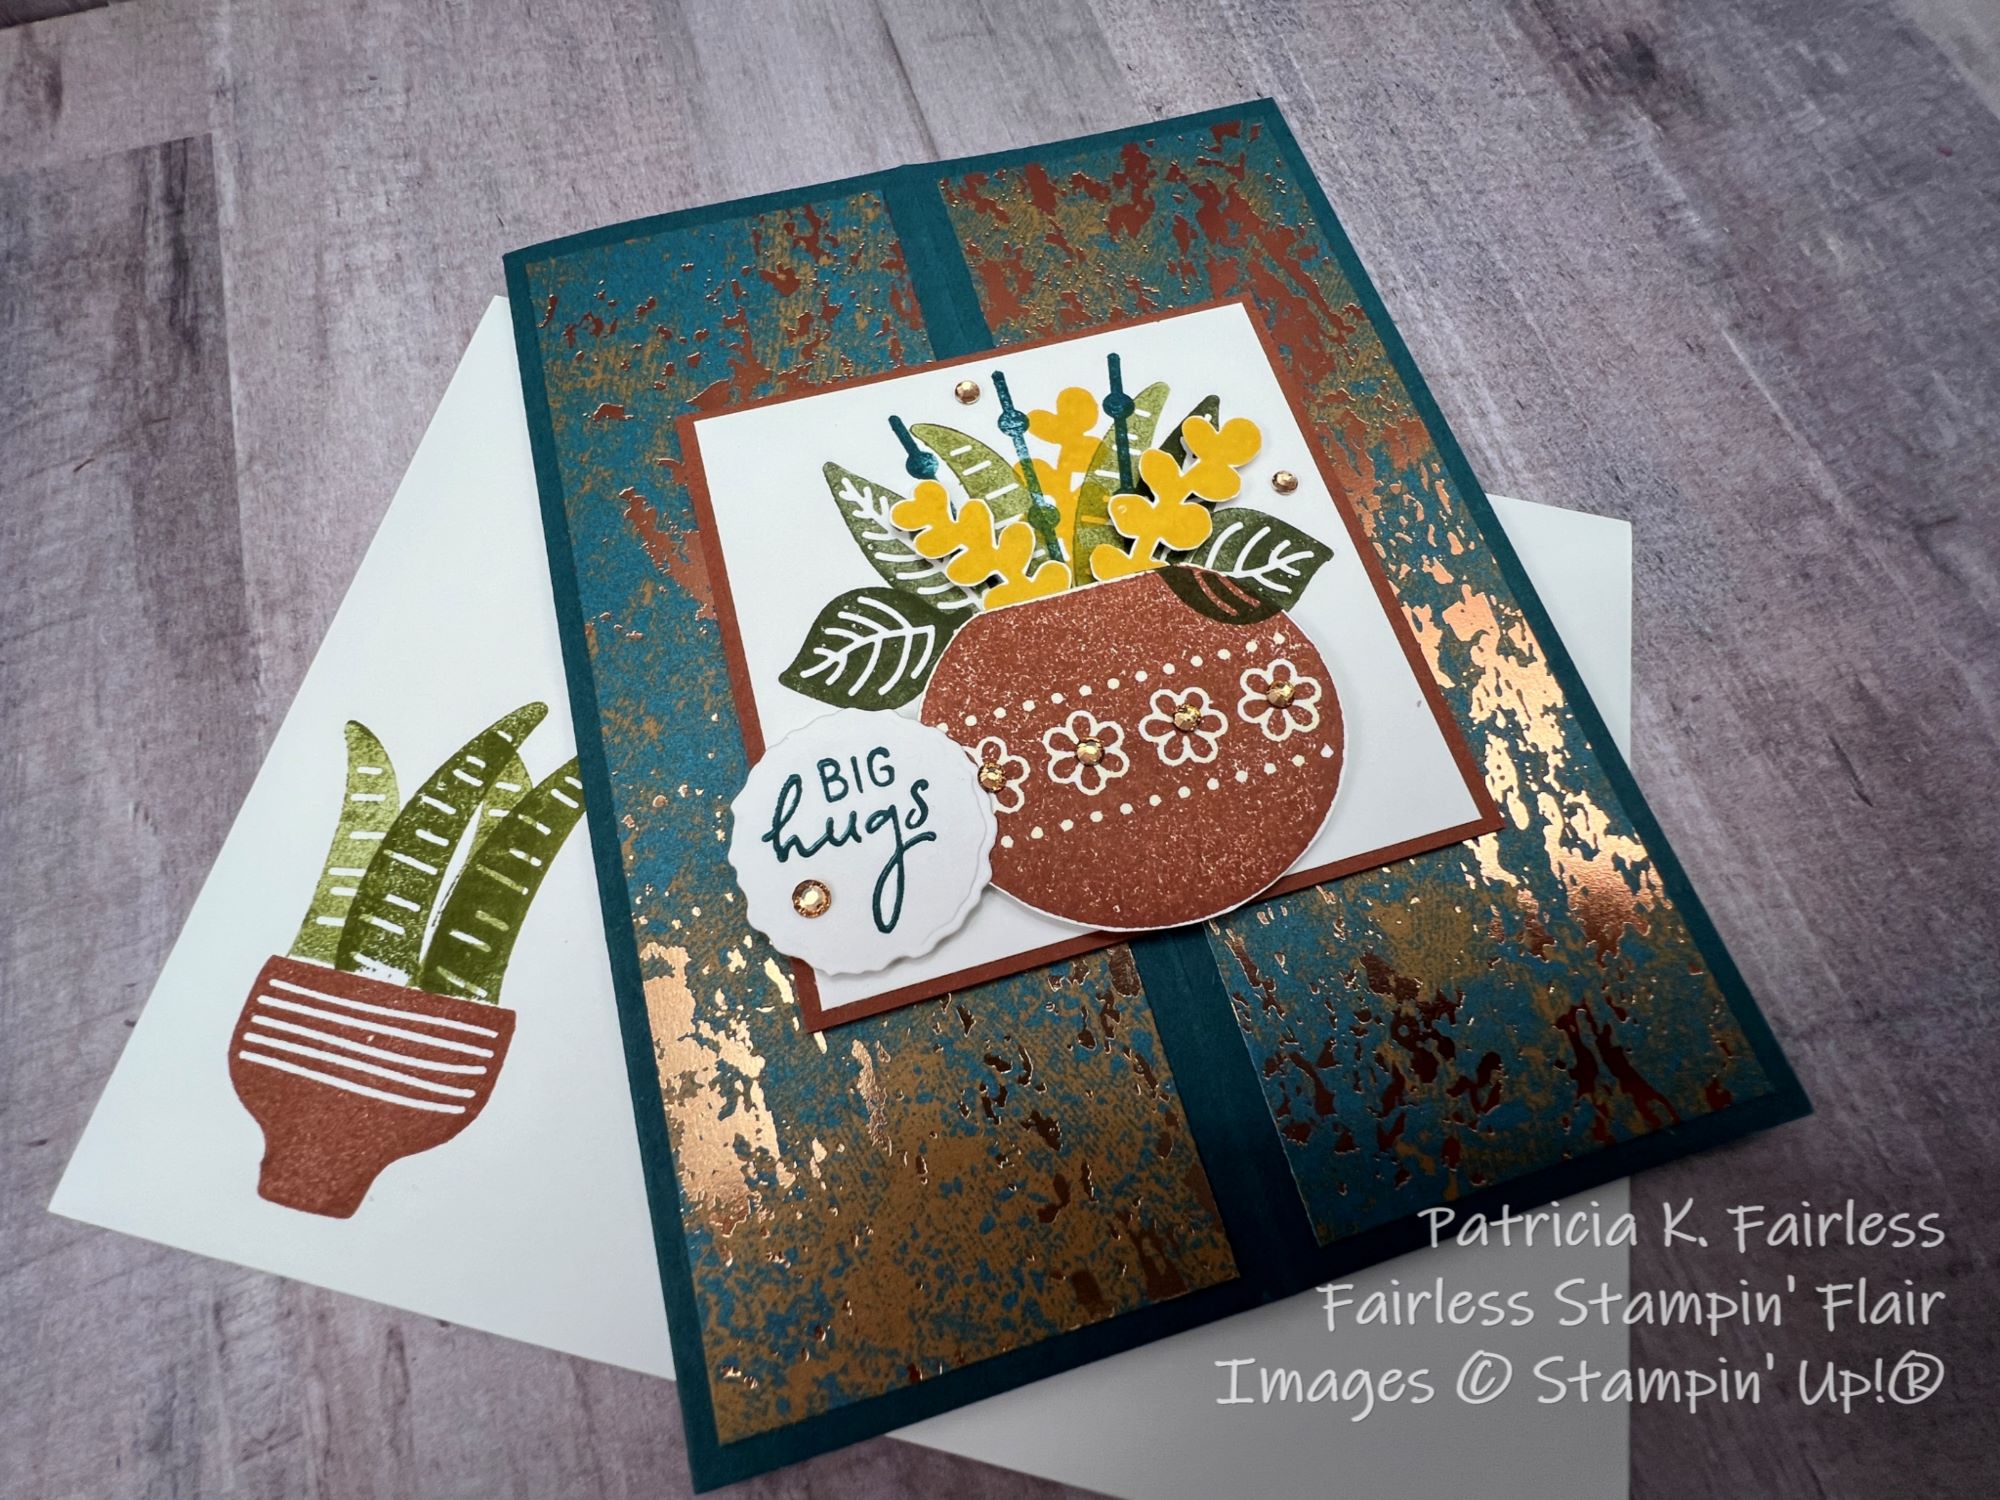
PLANT A PARADISE FUN FOLD

I have a Fun Fold for you today that I'm calling an Easel Card with a Double Twist. 


The orientation of most easel cards I've seen are landscape.  This card is a portrait oriented easel card and the focal point on the front looks like it is magically suspended from the vertical fold.  


But don't worry, it isn't difficult to make!  It's much easier than you may think at first glance, but I think the recipient of your creation will still be amazed by your skill!

There is a secret little mechanism behind the focal point that holds it in place, and it all folds flat for easy mailing.


Use this link to download a tutorial that will give you the instructions for making the "secret" mechanism.


There are also instructions on the tutorial to make the leafy bouquet.  Many pieces are stamped directly on the Basic White cardstock and some are fussy cut.


The beautiful paper on the card is the Oxidized Copper Specialty Paper.  The two folding panels have a combination of Pretty Peacock and Copper and the panel on the right which supports the Easel feature is all Copper.  I used retired Champagne Rhinestones because they looked so pretty with the paper, and most importantly, I had them.  I know many would tell me to never use retired products on cards I share, but I'm a huge proponent of using things you have!  I share these cards for inspiration, but I encourage you to also use products that you have!

For a list of current products that I used, please refer to the list below.  To learn more details on any product just click on the link.
Product List

Wednesday, January 10, 2024

HANGING PLANTED PARADISE

We all have days when our creativity is lacking or has just plain totally left us, right?  Most of us probably start looking on-line for ideas, but don't forget about using our Stampin' Up! catalogs.  They are jam-packed full of beautiful cards and inspiration.  Today's card was CASEd (Copy and Share Everything) from the 2024 Jan-April Mini Catalog.  I changed up a few things, but it is basically the card on page 47 of our Spring Mini.  Who can tell me what things I changed?

Petal Pink is a color that I don't use often, but since I am challenging myself to use a stamp set this week that I would not normally select, I thought I would also give myself a color challenge.  I flipped through my color coach and saw the combination of Petal Pink, Boho Blue, Soft Sea Foam and Old Olive.  These are not colors I would normally put together, but I think the coach knew what it was talking about.  I like how these colors work together.  What do you think?  

My inspiration card looked like it had three different color leaves, but by using a combination of stamping full strength and stamping-off my two green colors easily turned into about four shades of green.  


The inspiration card also showed me that the two stamps in the set that I thought were "twigs" could be used to create a hanging chain.  It seems obvious now, but without seeing the card in the catalog, I don't think I would have ever figured that out!

The Calypso Dot on the pot is from Rainbow Dots.  I had a little smudge that I needed to cover up, and this large Rainbow Dot was the perfect solution!  Do you ever use embellishments or ribbon to cover up a boo-boo?  


I decorated the inside of the card with another pot of leaves.  The sentiments on the front and inside are from Charming Sentiments.

If you would like a tutorial for this card, use this link to download a free copy.

A complete list of the products used are shown below.

Product List