Showing posts with label Reindeer Fun Stamp Set. Show all posts

Monday, October 21, 2024

LET'S MAKE A SNOWDOG DAD!

This week is my final week as the Klompen Stamper October Artisan.  So far this month you have seen cards each Friday made with the Reindeer Days Suite.  But all this week I will be featuring additional projects including a final Artisan Project on Friday.  I have had so much fun with these Reindeer Days products.  


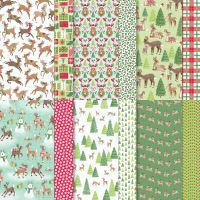
About half way through making today's card, I did a double take.  I hadn't even noticed that the Snowman was actually a SnowDog.  Isn't he adorable?   The images for this card are fussy cut from one of the sheets from the Reindeer Fun Designer Series Paper (DSP) Collection.


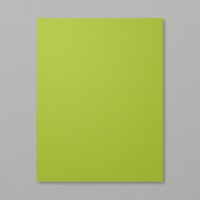
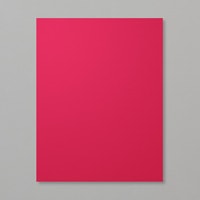
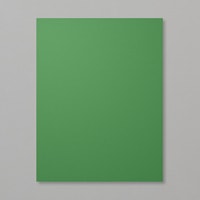
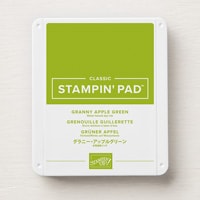
This Product Suite uses four main colors, Garden Green, Real Red, Granny Apple Green and Pool Party.   There is also a little Pecan Pie tossed in here and there.

I  created the background for today's card using the Emboss Resist Technique.  The snowflakes were stamped several times across the sky with VersaMark ink and then heat embossed with White Embossing Powder.  

Since it is stamped on Basic White cardstock, you could also use Clear Embossing Powder.  Both will work equally well. 

I then tore a piece of lightweight paper, like copy paper, to create some snow piles and snow drifts.  Using a Blending Brush I added Pool Party ink over the heat embossed snowflakes and over the top edge of the tore paper.  I moved my torn paper several times to create several "layers" of snow drifts.  Once I was happy with my background I wiped it with a tissue to remove ink from the snowflakes.

All fussy cut images are adhered directly to the "snow" at the bottom, but dimensionals were tucked behind their heads to create depth.

Don't you just love how the "Dad" Deer is watching as his fawn adds the last "arm" to the snow dog?  It just makes me smile.

The inside of the card was kept very simple.


The sentiment, stamped in Pool Party ink, and the Pool Party mat add a soft amount of color.  

I hope this deer family playing in the snow brings a smile to the person I send this card to.

If you are interested in making a similar card, use this link to download a tutorial with all the information.

A list of products is shown below.  Click on any image to purchase that product or to learn more about it.


Product List

Friday, October 4, 2024

THREE-IN-ONE REINDEER DAYS

Each Friday in October my posts will feature a card made with the Reindeer Days Suite of Products.  This really is a fun Product Suite that just makes me smile.  For my first week as the Klompen Stamper Artisan of the month, I decided to make cards using the Stack & Cut Technique.
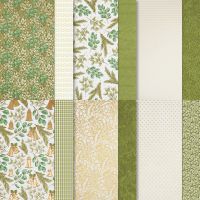

This technique stacks patterns of designer series paper together and then cuts the stack into whatever shapes you want.  After you finish cutting you mix and match the various patterns to make your cards.

For my 3 cards I stacked three different pieces of 5-1/4" x 1-3/4" designer series paper (DSP) from the Reindeer Days collection.  I then cut that stack into a partial starburst.  Here is a closer-up image of each of the resulting cards.


The starburst pieces on top card were laid out so there was no gap between them.  The bottom two cards were laid out so there was a slight "gap" between the pieces.  I think I like the slight gap of solid color separating the DSP pieces.  Which do you prefer?

The focal point on the first card above was made by die cutting the deer from one of the Reindeer Days DSP patterns.  Don't you love it when dies coordinate with images on the DSP?  The tree was fussy cut from the same paper.  I used blending brushes with Granny Apple Green and Pool Party ink to create the background.


For the focal point on the 2nd card, the two adorable little deer were die cut with one of the circle dies from Spotlight on Nature


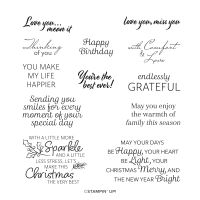
The focal point on the 3rd card features a sentiment from the Reindeer Fun stamp set which was decorated with a couple of fussy cut packages from the DSP and a Granny Apple Green Holly Leaf die cut.


The inside of the three cards were all decorated in a similar manner with a strip of the DSP.  On a couple of them I had a fussy cut "leftover" image from the DSP that I didn't want to waste so I added them to the inside.


Each coordinating envelope flap was covered with one of the three patterns from the stacked Designer Series Paper starburst.

If you would like a tutorial that shows the details for each of the 3 cards, use this link to download a FREE PDF.

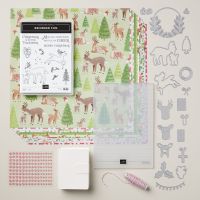
Other than the Spotlight on Nature Dies, cardstock, and ink, all products used were from the Reindeer Days Product Suite.

You can click on the image below to learn more about this Fun Suite.


Product List

Friday, September 6, 2024

TEXTURED FLORAL CHRISTMAS

I hadn't made my Christmas Challenge Card for this week yet with my featured Textured Floral stamp set & dies,  and admittedly I was a bit "stumped".  The flowers and images in the stamp set just weren't giving me a Christmas vibe, so I turned to the dies.  


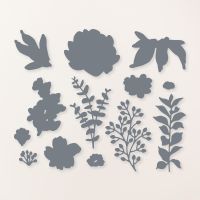
This die set includes dies that coordinate with all the stamp images, but it also includes 3 dies that create different branches and stems.  One of them looked like it might make a perfect Christmas Swag.  

To decorate my front door for Christmas I most often use a swag rather than a wreath because it seems to fit my door better.  So that's when the lightbulb went off, and I thought I'd create a swag for my Christmas Card.


I chose a couple of different Mossy Meadow patterns from the Season of Green & Gold Designer Series Paper (DSP) and die cut three branches.  Then I just adhered them together at the top leaving the rest of the branch floating free.


I felt my swag needed to be set off somehow, so I die cut a window with a Deckled Rectangle Die in another piece of DSP from the same Season of Green & Gold DSP and hung my swag in the window.


The above photo shows the texture of the swag that is created by only adhering the top of each branch together.

I had added a double gold bow and matted the Merry Christmas from Reindeer Fun with Gold Foil, but the card still felt like it needed something.

I started searching through my stash of gems and pearls and found these tiny Cherry Cobbler Pearls from Festive Pearls.  I had a lot of them, so went a little crazy and added over a dozen to the swag.  Unfortunately, they don't show a lot in the photo, but in real life, they added the little pop of color that the card needed.


To finish the inside of the card I added a strip of Gold Foil matted with Mossy Meadow cardstock.  The inside sentiment is from the Very Best Occasions stamp set.  If includes a little holly and pine branch to which I added some Old Olive color with my Stampin' Blends.

Use this link to download a tutorial for today's card. 

I feel it is good for us to stretch our stamps and dies further and try to use them in a non-expected way -- like making a Christmas card with stamps and dies that definitely were not made for Christmas.

For questions on any of the products used, please refer to the following list.  Click on any image to learn more or purchase a specific item.

2024 Fall Mini Item

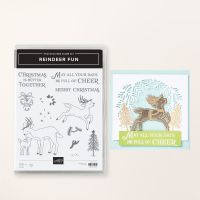
Reindeer Fun Stamp Set, Item #164167

Product List