
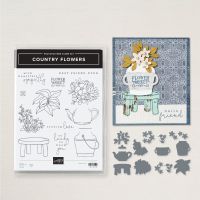
This week I will be sharing cards made with the Country Flowers Bundle which is part of the Country Woods Suite.

Today's card is a Double Triangle Fun fold comprised of two cards that are integrated to have lots of flips and flops.
The smaller card that contains the Country Flowers focal point opens vertically to reveal the first flip. Then the bottom left triangle can be opened to the left to show the inside of the small card.

Next, the top right triangle with the small card attached can be lifted. When opened the inside of the card is revealed to show that there is plenty of space to write a note to someone special.

Now that you know how the fun fold flips and flops, let's go back to the front of the card and look at it more closely.

The Country Flowers Bundle includes a couple of different "containers" to hold your flowers. For today's card I chose the teapot and decided to set it on the cute little Wild Wheat stool to show it off.
There are also three different bouquets of flowers available in the stamp set that you can mix and match with the different containers.

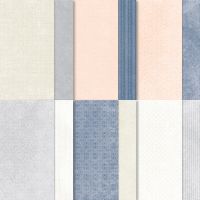
Most Fun Fold cards are great to showcase designer series paper (DSP) and this Triangle Fun Fold is no exception. I used three different patterns of the Country Lace DSP in shades of Basic Beige. A lost Lagoon Teapot and mat on the small front card provide a needed pop of color.
Use this link to down load free tutorial with ALL the details.
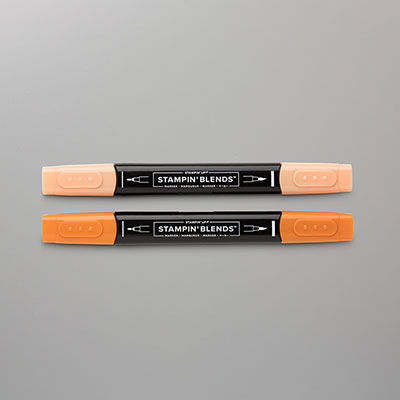
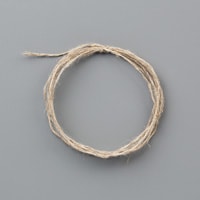
For more information or to purchase any of the products used, click on their image below. It will take you to my Stampin' Up! store for all the details.









![Autumn Leaves Photopolymer Stamp Set (English) [ 162179 ]](https://assets1.tamsnetwork.com/images/EC042017NF/162179s.jpg "Autumn Leaves Photopolymer Stamp Set (English) [ 162179 ]")
![Autumn Leaves Dies [ 162185 ]](https://assets1.tamsnetwork.com/images/EC042017NF/162185s.jpg "Autumn Leaves Dies [ 162185 ]")
![Deckled Circles Dies [ 162286 ]](https://assets1.tamsnetwork.com/images/EC042017NF/162286s.jpg "Deckled Circles Dies [ 162286 ]")
![Crumb Cake 8-1/2" X 11" Cardstock [ 120953 ]](https://assets1.tamsnetwork.com/images/EC042017NF/120953s.jpg "Crumb Cake 8-1/2\" X 11\" Cardstock [ 120953 ]")
![Copper Clay 8 1/2" X 11" Cardstock [ 161721 ]](https://assets1.tamsnetwork.com/images/EC042017NF/161721s.jpg "Copper Clay 8 1/2\" X 11\" Cardstock [ 161721 ]")
![Pretty Peacock 8-1/2" X 11" Cardstock [ 150880 ]](https://assets1.tamsnetwork.com/images/EC042017NF/150880s.jpg "Pretty Peacock 8-1/2\" X 11\" Cardstock [ 150880 ]")
![Dry Brushed Metallic 12" X 12" (30.5 X 30.5 Cm) Specialty Designer Series Paper [ 160837 ]](https://assets1.tamsnetwork.com/images/EC042017NF/160837s.jpg "Dry Brushed Metallic 12\" X 12\" (30.5 X 30.5 Cm) Specialty Designer Series Paper [ 160837 ]")
![Gold Foil Sheets [ 132622 ]](https://assets1.tamsnetwork.com/images/EC042017NF/132622s.jpg "Gold Foil Sheets [ 132622 ]")
![Pretty Peacock Classic Stampin’ Pad [ 150083 ]](https://assets1.tamsnetwork.com/images/EC042017NF/150083s.jpg "Pretty Peacock Classic Stampin’ Pad [ 150083 ]")
![Versamark Pad [ 102283 ]](https://assets1.tamsnetwork.com/images/EC042017NF/102283s.jpg "Versamark Pad [ 102283 ]")
![Timber 3 D Embossing Folder [ 156406 ]](https://assets1.tamsnetwork.com/images/EC042017NF/156406s.jpg "Timber 3 D Embossing Folder [ 156406 ]")
![Copper Clay 3/8" (1 Cm) Textured Ribbon [ 161629 ]](https://assets1.tamsnetwork.com/images/EC042017NF/161629s.jpg "Copper Clay 3/8\" (1 Cm) Textured Ribbon [ 161629 ]")
![Earth Tones Shimmer Gems [ 164070 ]](https://assets1.tamsnetwork.com/images/EC042017NF/164070s.jpg "Earth Tones Shimmer Gems [ 164070 ]")
![Metallics Wow! Embossing Powder [ 165678 ]](https://assets1.tamsnetwork.com/images/EC042017NF/165678s.jpg "Metallics Wow! Embossing Powder [ 165678 ]")
![Heat Tool (Us And Canada) [ 129053 ]](https://assets1.tamsnetwork.com/images/EC042017NF/129053s.jpg "Heat Tool (Us And Canada) [ 129053 ]")