Friday, December 13, 2024

REGAL WINTER MIURA FUN FOLD

For my last card this week, I have another Fun Fold Card.  I have been wanting to try this particular Fun Fold for quite a while, but, if I'm honest, every time I looked at it I would feel intimidated.


Sometimes I fret all for nothing.  The most difficult thing about this card was taking the pictures.  The way the folds are created, it doesn't really want to lay flat when it is closed so I had to get my hands in the picture to hold it in place.

But if you want a card that stands beautifully to display, you will love this version of the Miura Fold.


There is an additional panel attached to the back of this version of the Miura card, so it stands perfectly all on its own.

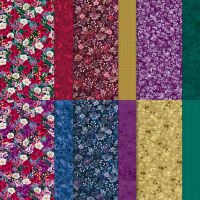
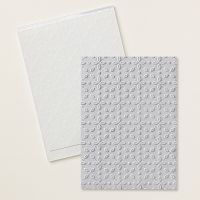
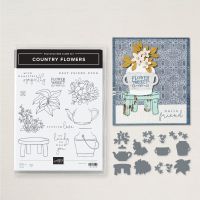
I was initially going to put my Country Flowers stool and teapot of flowers directly on the front of the card, but they sort of got lost on the gorgeous Regal Winter Designer Series Paper (DSP).  So, I added a strip of Basic White behind them.  I embossed the strip with the Eyelet 3D embossing folder to provide some texture.


That helps, right?


The colors I used for my stool and flowers were based on the colors in the DSP.  The teapot was stamped on a scrap of the same DSP as is on the far right panel of the card.  Doesn't it make a pretty teapot?


The BEST. FRIEND. EVER sentiment felt a little lonely when I stamped him on the center panel, so I stamped him again on a Basic White "swoosh" die from Friends for life.  He still looked lonely so I die cut additional swooshes from the same paper as on the front and right panel of the fun fold and layered them behind the sentiment.  I thought that helped!

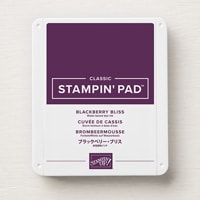
Since I had added the extra Blackberry Bliss panel on the back of the card to help it stand up, I decided I might as well also add a Basic White panel, so I could write my handwritten note on the back rather than "messing up" my pretty center panel with my bad handwriting!


I stamped the same flowers on the back but decided not to color them as I liked the simplicity of just the outline image.  I guess I can always color them later if the mood hits me.

If you would like to try this Miura Fun Fold, I encourage you to do so.  Use this link to download a Tutorial with several diagrams that will make it easy to score and cut the angled pieces.

All products used are listed below.  Click on any image to learn more about that product or to place an order.

Product List

Wednesday, December 11, 2024

SEASON OF ELEGANCE

For today's Designer Series Paper card I used the Season of Elegance Specialty Paper.
This paper is so pretty, that I'm ashamed to admit I have been hording it!


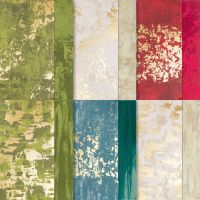
There are 4 different colors of gold foiled designs in this collection.  Cherry Cobbler, Pretty Peacock, Mossy Meadow and Basic Beige.

I decided to use them all on today's card.

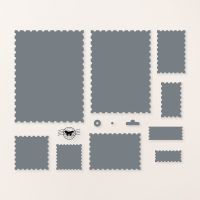
I used the smallest square die from Perennial Postage Dies and cut 4 pieces from each color.
I used 3 of each for the front and saved the others for the inside of the card. 
I laid them next to each other to create a pattern of 3 x 4 and that completely covered the 5-1/2" x 4-1/4" Cherry Cobbler cardstock on the front of the card base.

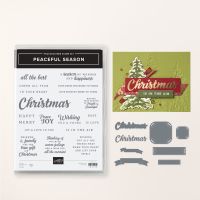
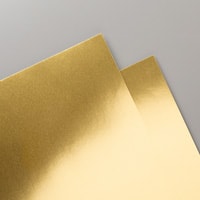
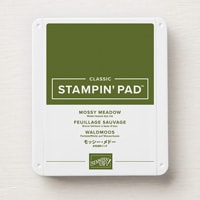
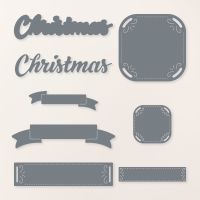
The "Merry Christmas" was made with the Peaceful Seasons Bundle.  MERRY was stamped on Basic White cardstock with Mossy Meadow ink and die cut with the smallest rectangle die from Perennial Postage dies.  The Christmas script was die cut from Gold Foil and its coordinating bubble was die cut from Mossy Meadow cardstock.

I wrapped the card front with some gold & vanilla ribbon from my stash and then adhered the completed assembly to the front of the Cherry Cobbler card base with dimensionals.

Such a quick and easy card -- but isn't it pretty?  


On the inside of the card leftover Perennial Postage die cuts were added at angles along the left edge of the Basic White cardstock.  A sentiment from Peaceful Season was stamped with Mossy Meadow ink and then the completed Basic White was added to a couple of layers to complete the inside.

Use this link to download a Tutorial for this easy card.

A list of current products is shown below.

Product List

Monday, December 9, 2024

SENTIMENTAL CHRISTMAS FUN FOLD

Rather than featuring a specific stamp set, bundle or suite, this week I am going to share cards made to showcase Designer Series Paper (DSP).

If you are a Paper Crafter, you probably have more Designer Series Paper than you "need", so let's look as some card designs that show off all that pretty paper.

Fun Folds are always a great option for Designer Series Paper (DSP), and this card is no exception.

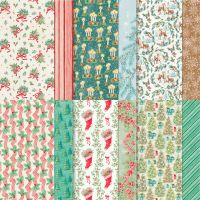
It uses four different designs from the Sentimental Christmas Collection.  This DSP is Stampin' Up!'s current #SUDifferenceMaker! product.  For each package sold, Stampin' Up! donates $3 to organizations around the world to benefit children's literacy.

This Fun Fold is the Accordion Double Gate Fun Fold.

On the front of the card you see three of the four different designs.  The Real Red "ribbon" with holly is on the panels on each side of the card, a stripe pattern is behind the stocking and the stocking itself is die cut with a coordinating die from another design.


Open the gates and you see the fourth design of Christmas Trees in the center behind the accordion.  It is also a great card to set out on display as it stands beautifully on its own.

Here's a closer look at the 5 panels of the accordion.


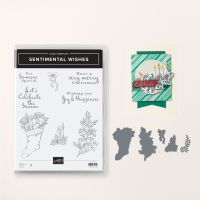
As I stated above the stocking on the front is simply die cut from DSP.  So easy!  No stamping or coloring.  Just zip it through the Stampin' Cut & Emboss Machine with the Sentimental Wishes Dies and you have a completed stocking.


The sentiments are all from the Sentimental Wishes Stamp Set.  The "For Someone Special" Sentiment was die cut with the smallest "square" die from Peaceful Seasons Dies.

There isn't a lot of room to write a message on this fun fold, but the easiest way to solve that issue is to add a panel to the back of the card.


Now there is plenty of room to add names and a personal message.

If you are wondering how this Accordion Double Gate Fun Fold goes together, I have put together a short video showing you how to assemble it.  To keep the video short it only shows you how to make the fun fold portion of the card.  


The cutting dimensionals for all the DSP and cardstock pieces are shown in the written tutorial.  They are just layered together and adhered to the fun fold base.  So, there is nothing unique about assembly once you know how to add the accordion portion to the base portion of the Fun Fold.

Use this link to download the PDF with all the dimensions and step-by-step assembly information.  A link to the how-to video is included on the PDF.

A list of the current products used is shown below.  The snippet of red ribbon on the stocking was from my stash.  Use what you have!

Product List