
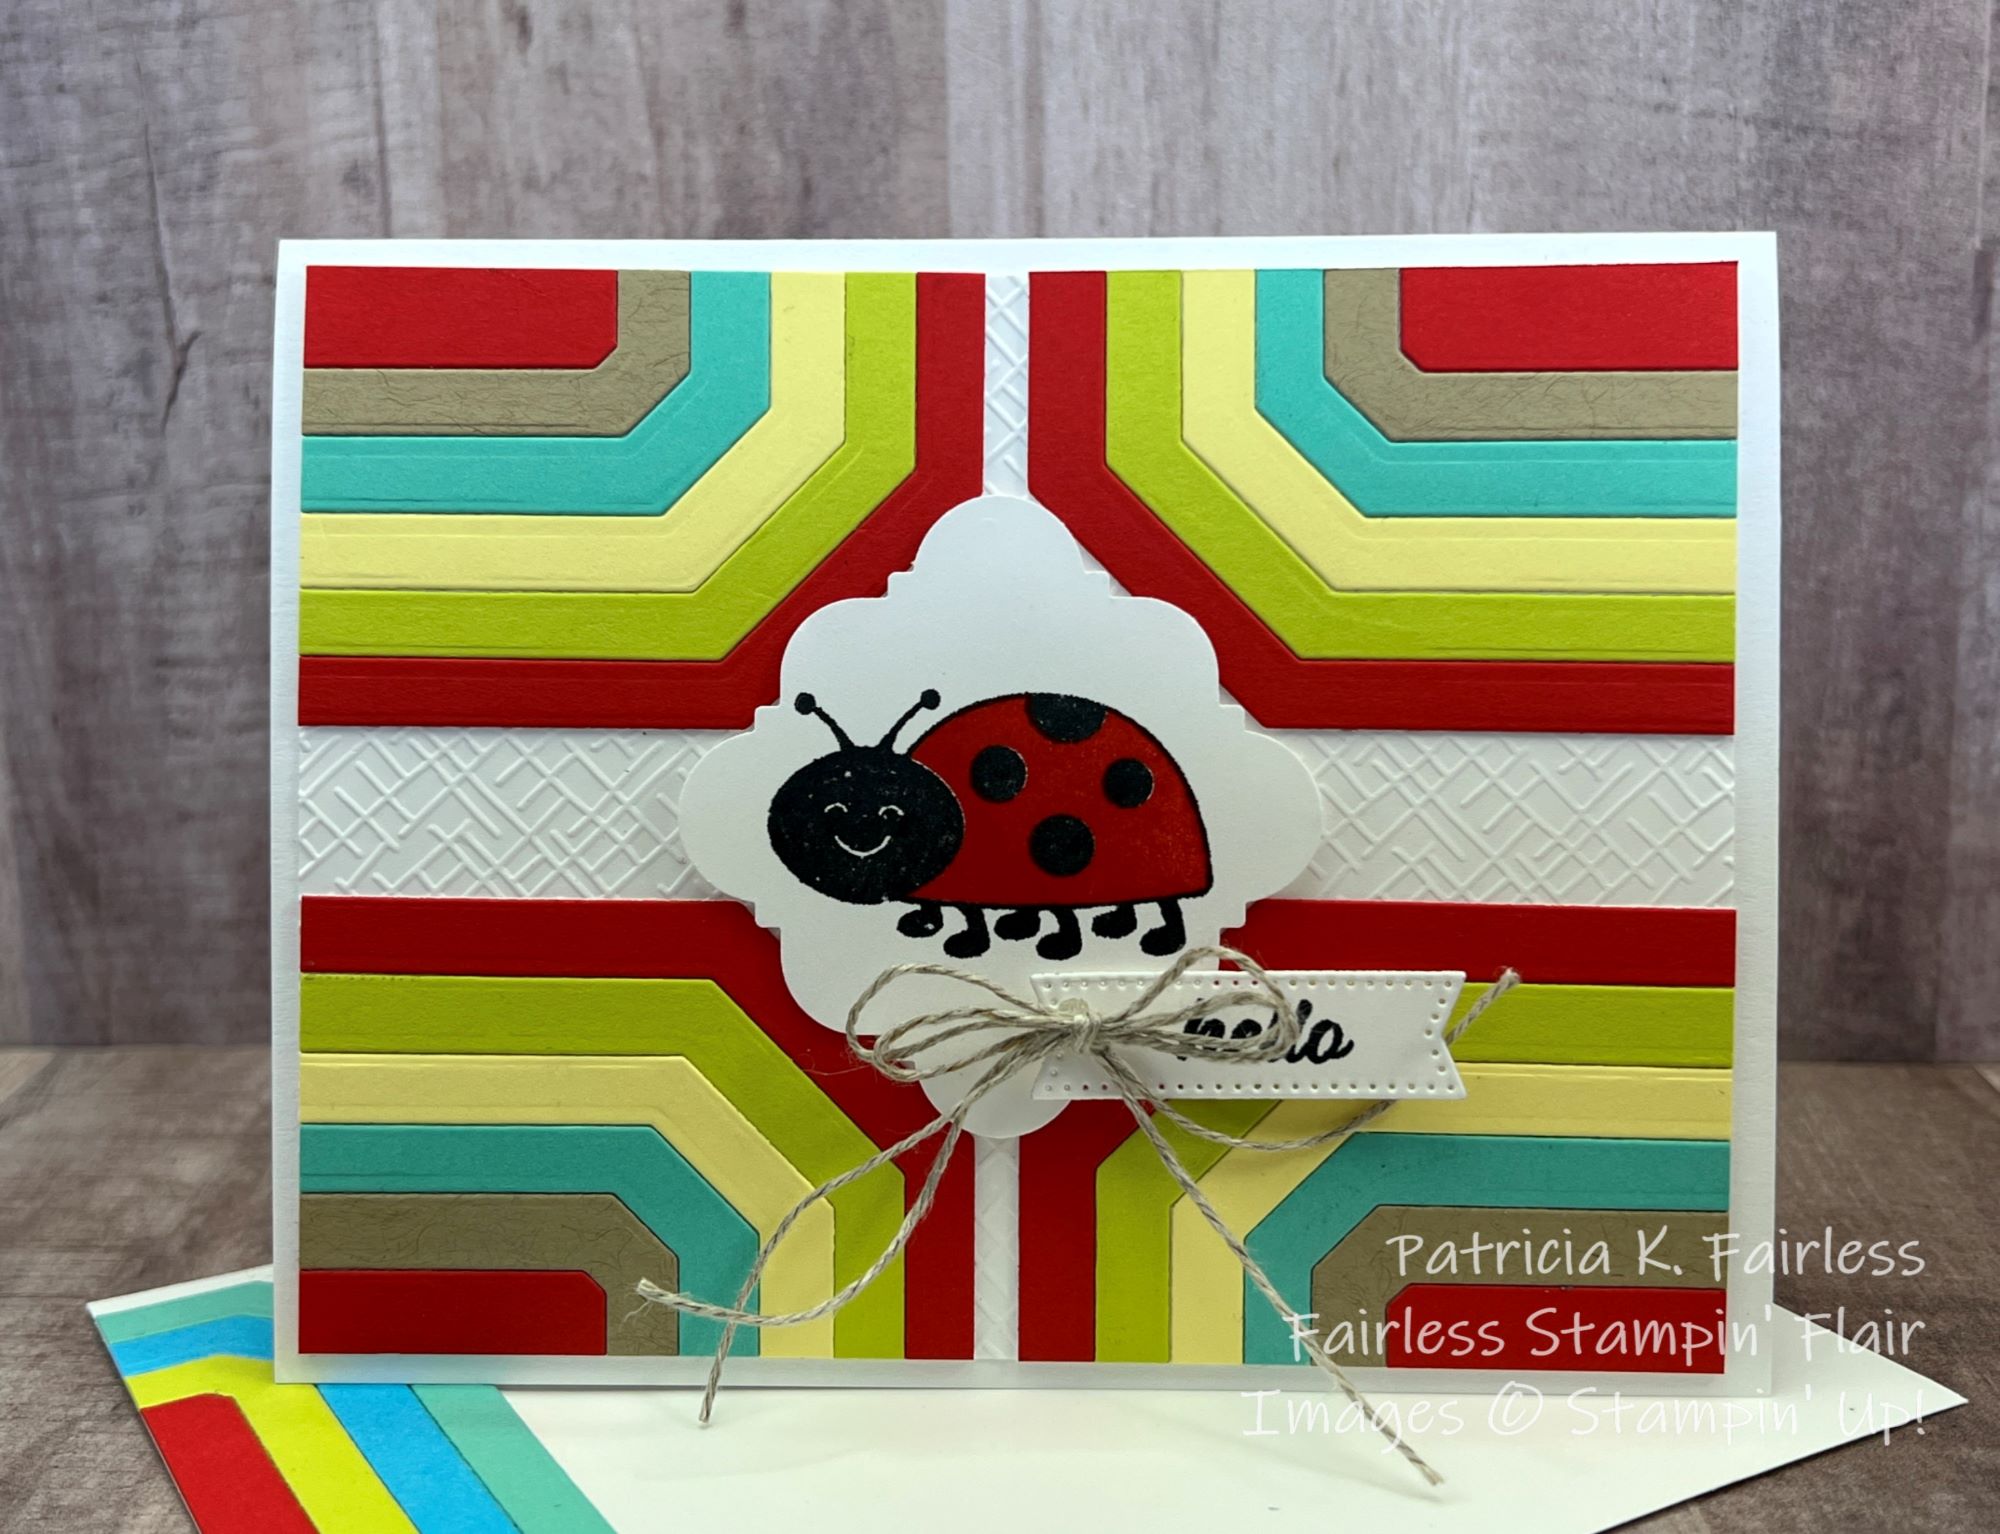
Let's send a colorful and happy Hello to someone today. I dare you not to smile when you look at this card!
First step: Choose up to 6 of your favorite bright and cheery colors. I used my Color Coach to help guide me on which colors work well together. My colors are Poppy Parade, Lemon Lime Twist, Lemon Lolly, Coastal Cabana, Crumb Cake and Tahitian Tide.
Step 2: Cut a 5-1/2" x 4-1/4" piece of cardstock in each of your favorite colors. If you decide to use 3 colors, you will be able to make 3 cards. If you choose 6 colors you will have enough pieces to make 6 cards.
Step 3: Layer each of the 6 largest dies from Countryside Corners on a piece of semi-sticky tape -- like Post-it Tape. Download the tutorial at this link for more hints on how to best layer the dies.
Step 4: Die cut each of your cardstock colors with the assembled and layered dies. Be sure to keep all pieces in the same orientation as you die cut them.
Step 5: With the largest Countryside Corner die-cut a backing piece to which you will adhere the Countryside Corner frame pieces. Use the color of your card base for this backing piece because if you end up with a little edge showing, it will blend into the card front.
Step 6: Starting with the largest frame, work from largest to smallest and assemble each to the backing.
You can now use that element as desired as your focal point on your card. See my card on Monday to see it used "as-is".

For today's card, I cut the focal point into quarters (vertically and horizontally). Then I rearranged the 4 pieces as shown. You could also cut the focal points diagonally from corner to corner or in strips. Use your imagination. And remember, if you used 6 unique colors, you will have six focal points to play with!
I used the Handmade Tag Punch to create a little perch for my ladybug. Doesn't she just make you smile?

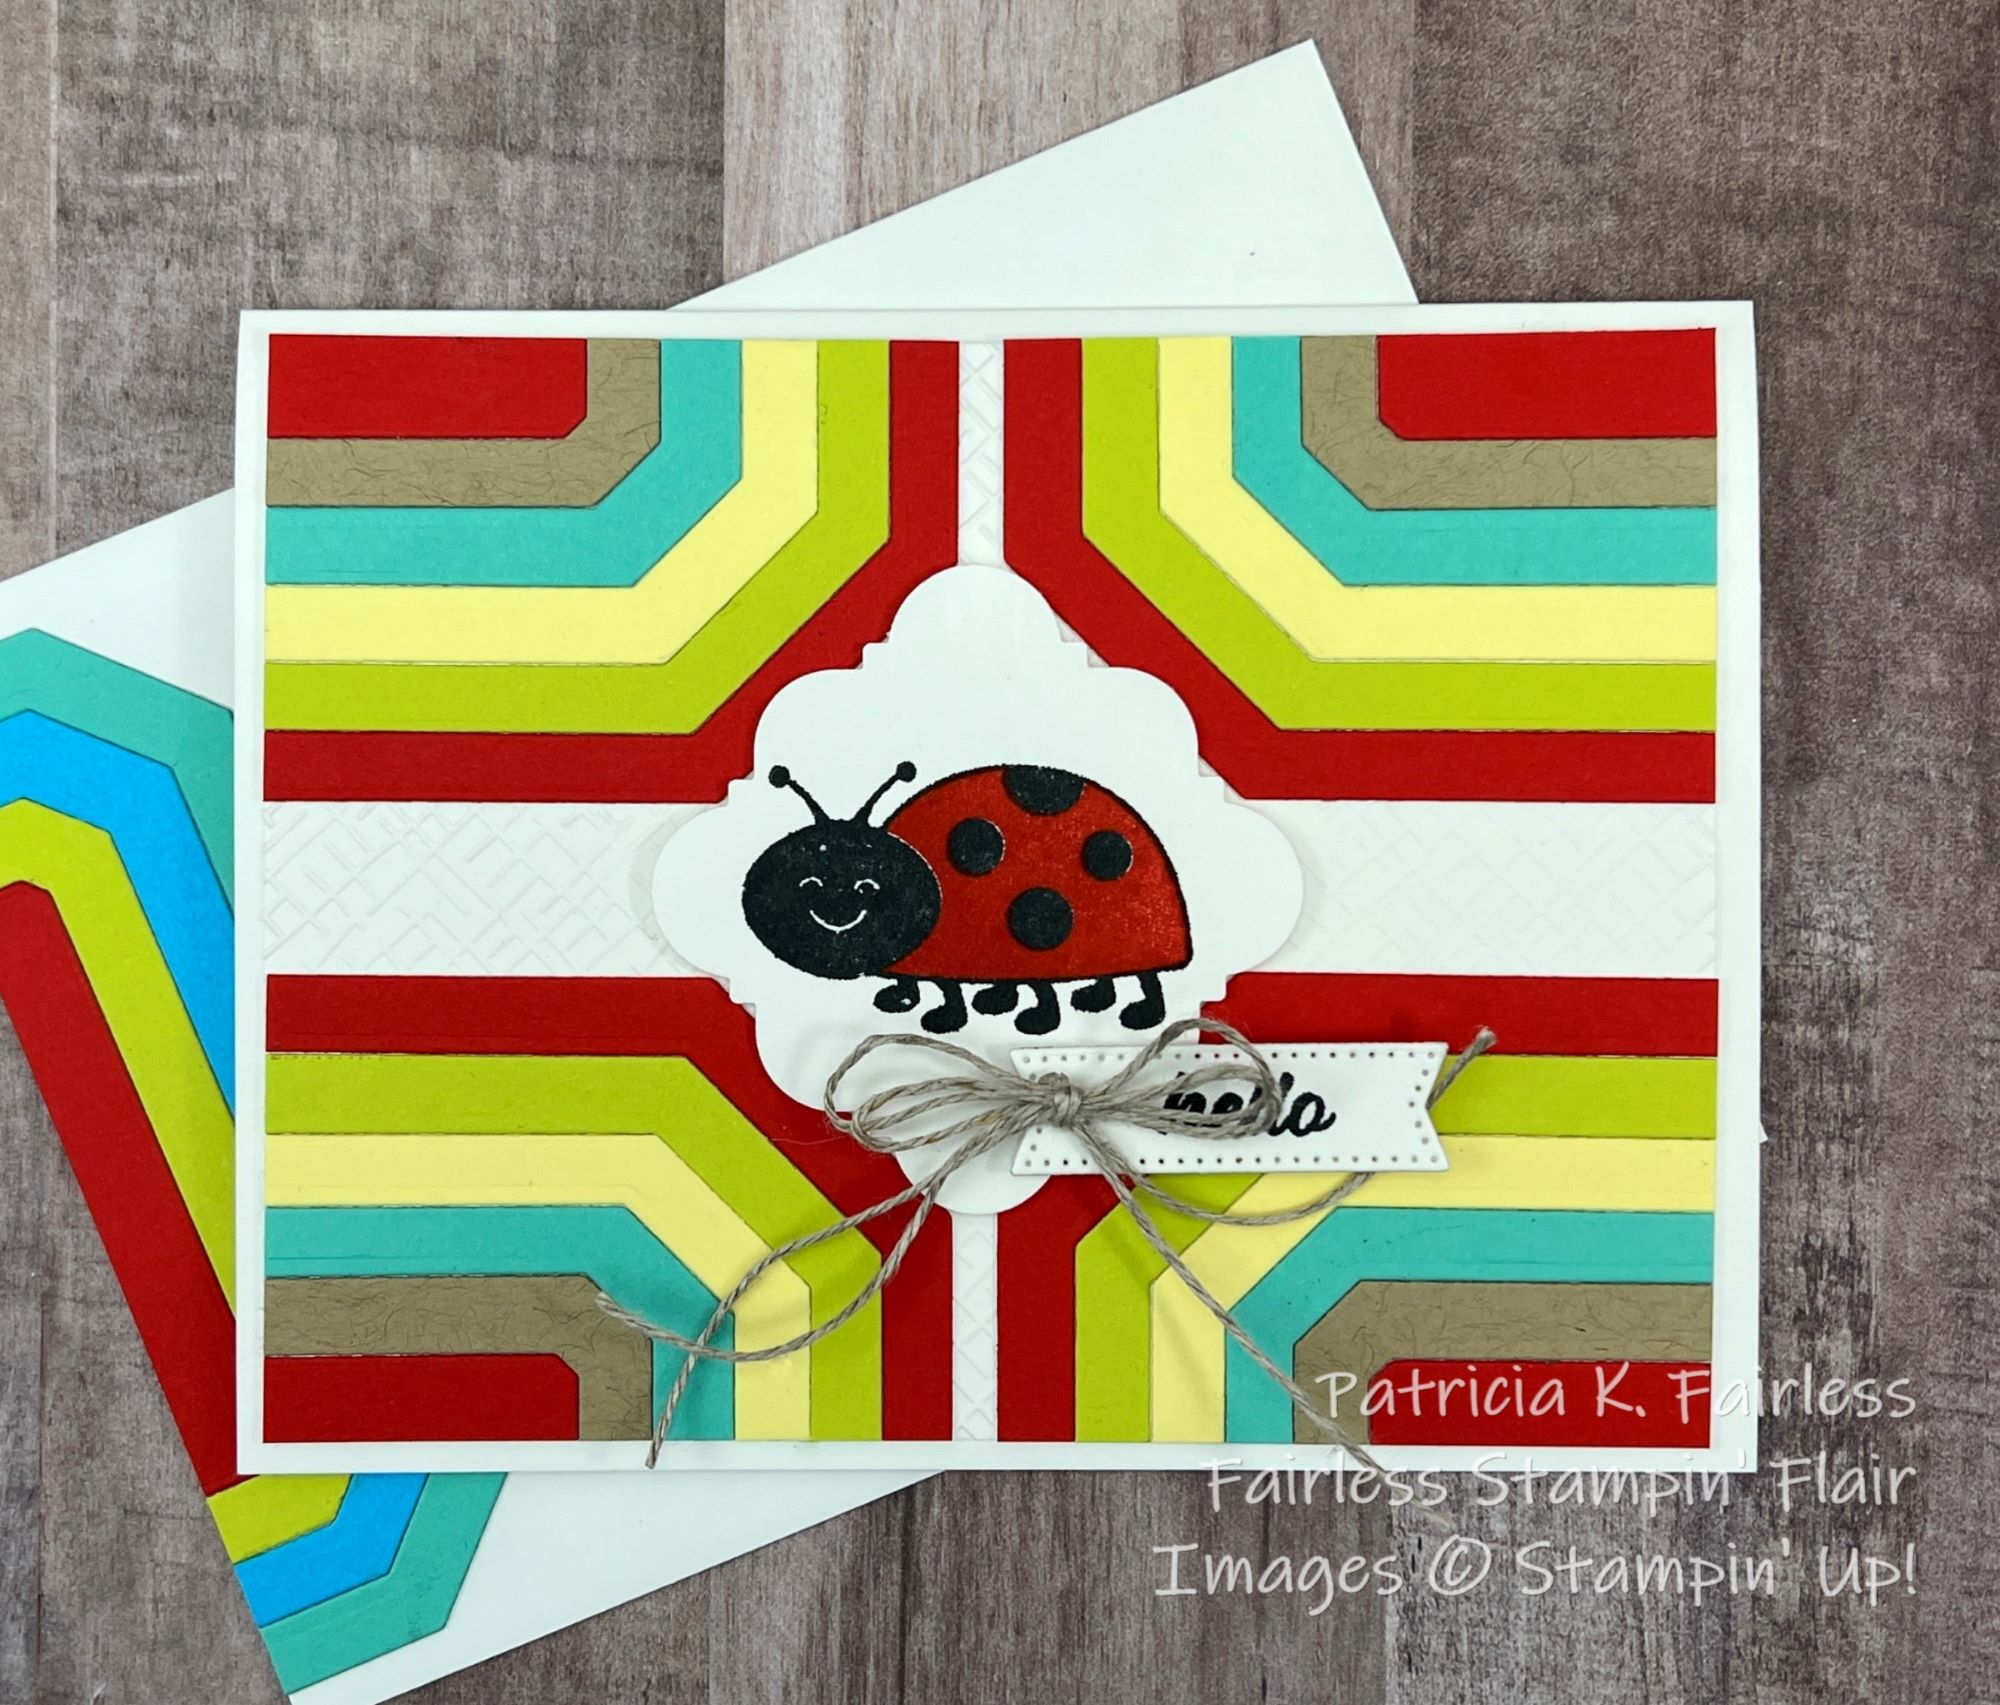
I used some of my extra die cuts to make a little smaller focal point so it would fit on the inside of my card. I then cut it in half and used it to decorate both the inside and the envelope.
A list of supplies used is shown below. For more information on any product, just click on the image.
Product List
")


No comments:
Post a Comment