Showing posts with label Hello Card. Show all posts

Monday, October 16, 2023

LITTLE MONKEY CRAYON RESIST

We are going to have lots of fun this week playing with the Little Monkey Bundle!  These cute little guys just make me smile.


Today, I'm introducing you to Crayola.  She said she wasn't crazy about her name, but she would feel much more accepting of it if I gave her lots of bananas.  So that's what I did.

What would a Monkey Stamp Set be if it didn't include bananas?  So Crayola has a banana in her hand and is surrounded by many more.


She looks very contented, doesn't she?  Either that, or she's flirting and batting her eyes at us.  Or she could be napping and dreaming of bananas.  I hope it isn't the latter as I would hate for her to fall off from her tree limb!

The Old Olive Polka Dot panel to Crayola's right (your left) was made using the Crayon Resist Technique.  If you are unfamiliar with this technique you can watch this Learning with Friends video that shows you how to do the Crayon Resist Technique.


All you need for this technique is a white crayon, an embossing folder, colored ink and some cardstock.  You can use a blending brush, sponge dauber, or water painter to apply your ink.  Each will give you a little different result, so have some fun, experiment and play with the technique.


Crayola was made with Copper Clay and Petal Pink cardstock.  Her bananas were colored with Lemon Lolly and Daffodil Delight Stampin' Write Markers and her tree limb was colored with Copper Clay and Old Olive.


To be sure that Crayola didn't run out of bananas (she really likes her bananas) there are also some stored for her on the inside of her card.

She also told me that I needed to make you a tutorial so you would know how to make her card.  If you would like Crayola's tutorial you can use this link to download a copy.  The Technique Instructions are included in the tutorial and it also has a link to the Crayon Resist Technique video.

A list of products used on Crayola's card are also below.

Crayola asked me to tell you that she would really like you to come back on Wednesday and meet some of her friends, so we hope you will come back for another visit.

Product List

Wednesday, May 31, 2023

COLORFUL GRAPHICS WITH COUNTRYSIDE CORNERS

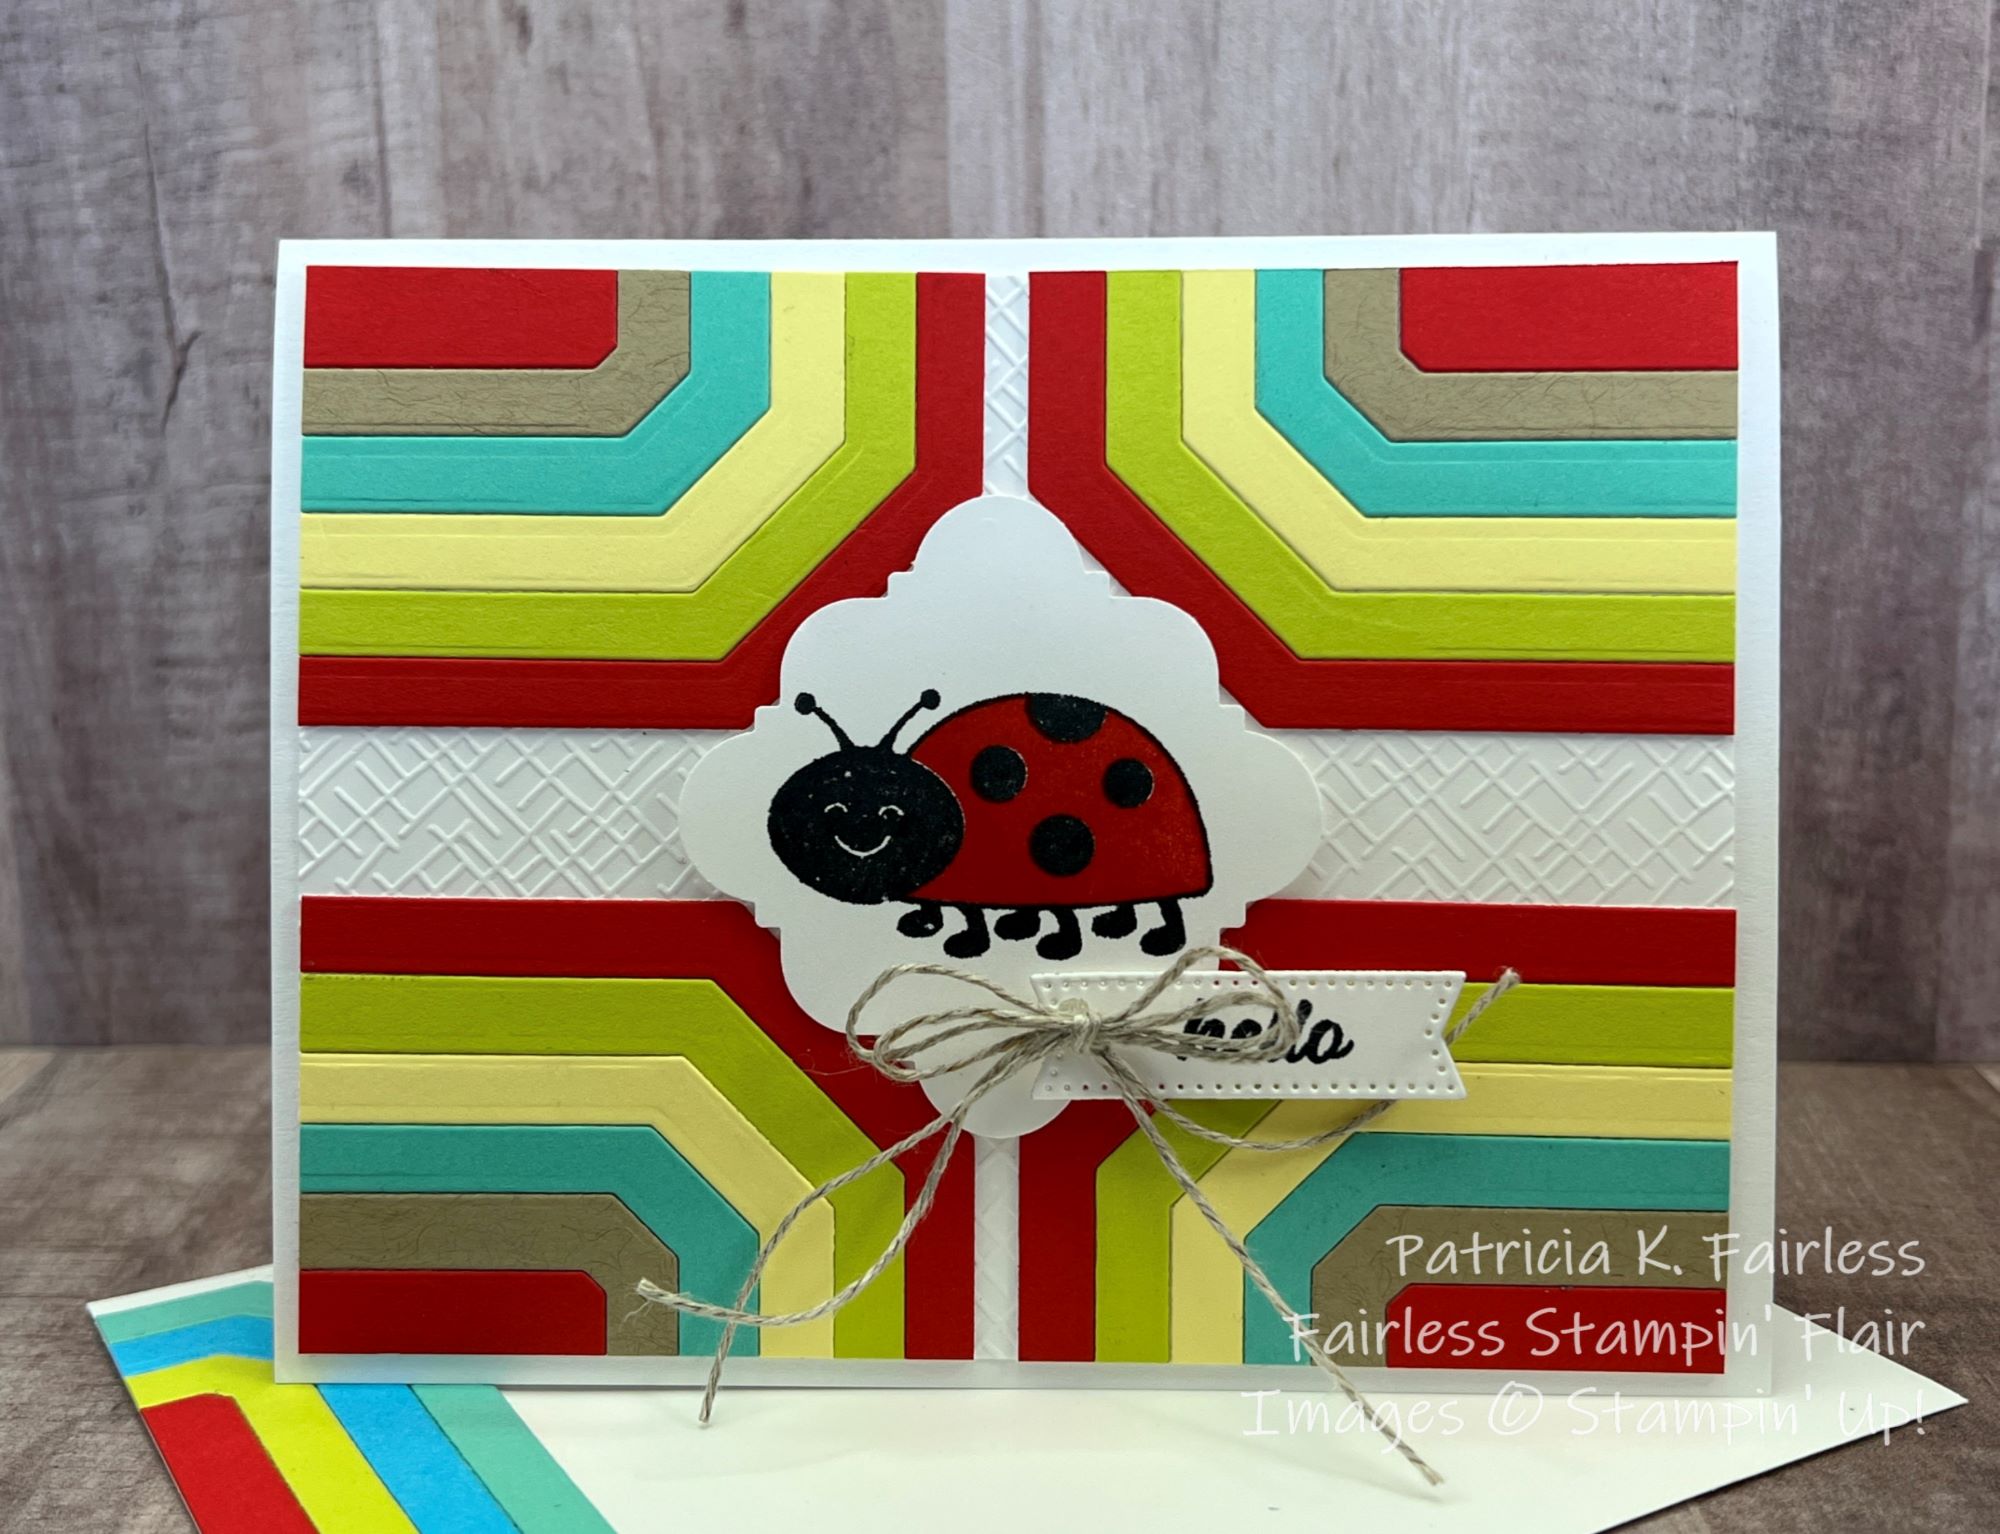
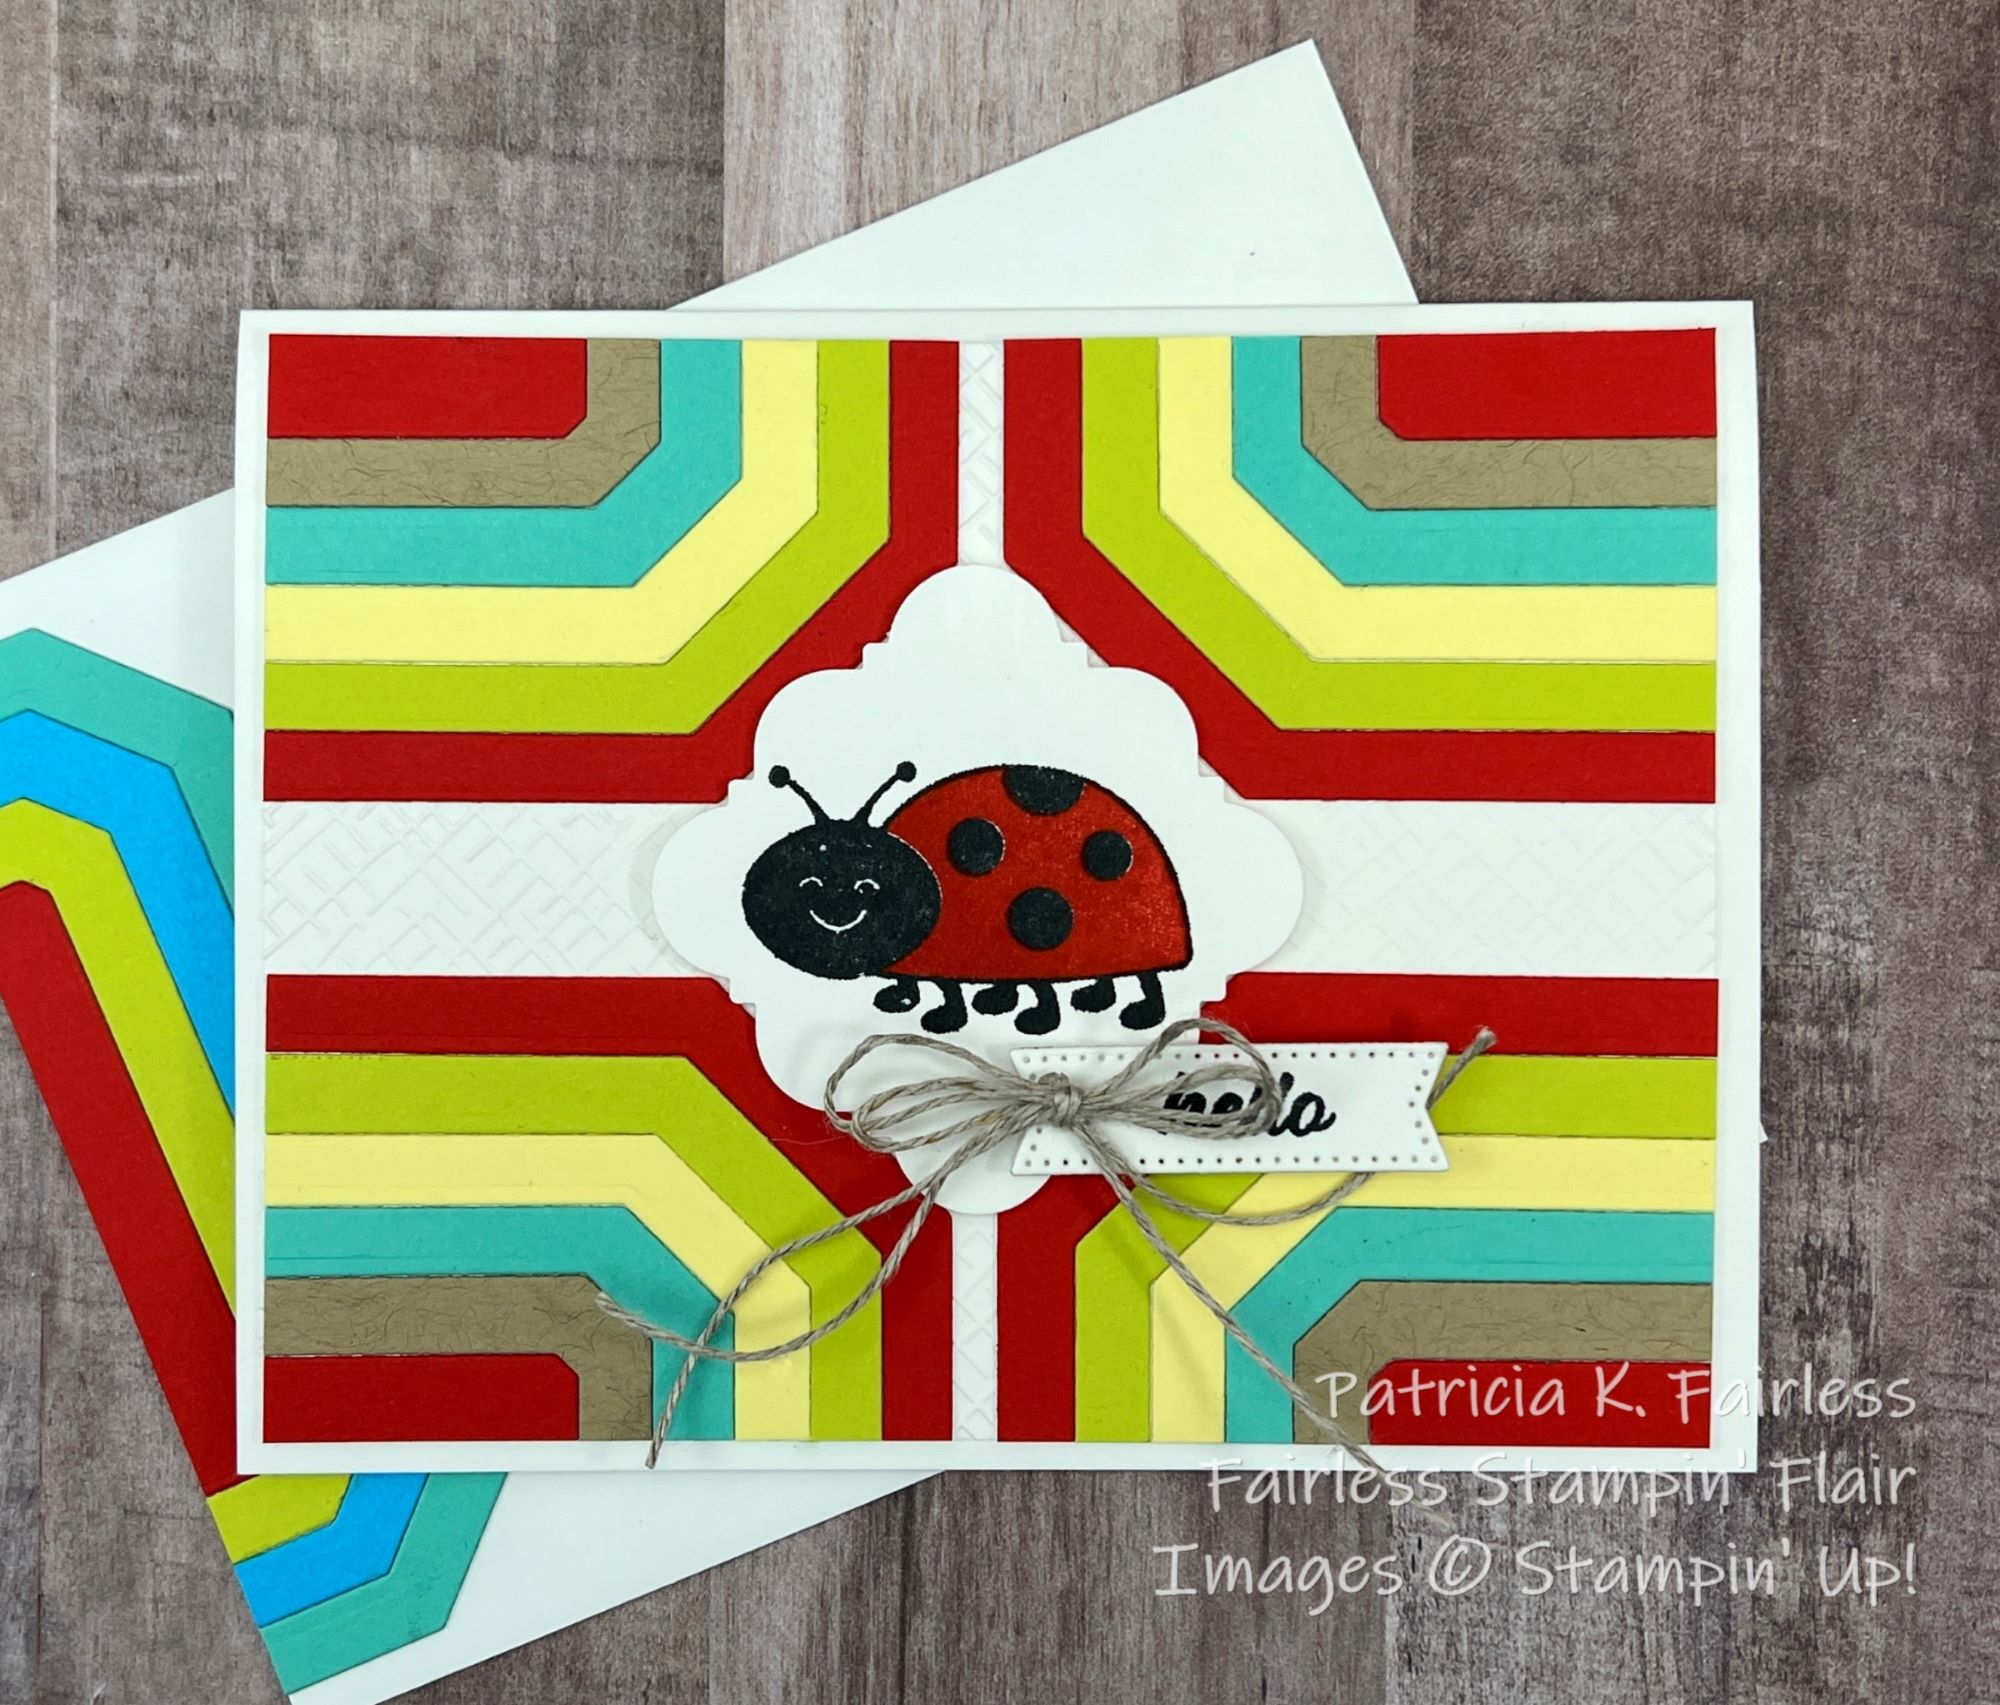
Let's send a colorful and happy Hello to someone today.  I dare you not to smile when you look at this card!

First step: Choose up to 6 of your favorite bright and cheery colors.  I used my Color Coach to help guide me on which colors work well together.  My colors are Poppy Parade, Lemon Lime Twist, Lemon Lolly, Coastal Cabana, Crumb Cake and Tahitian Tide.

Step 2: Cut a 5-1/2" x 4-1/4" piece of cardstock in each of your favorite colors.  If you decide to use 3 colors, you will be able to make 3 cards.  If you choose 6 colors you will have enough pieces to make 6 cards.

Step 3: Layer each of the 6 largest dies from Countryside Corners on a piece of semi-sticky tape -- like Post-it Tape.  Download the tutorial at this link for more hints on how to best layer the dies.

Step 4: Die cut each of your cardstock colors with the assembled and layered dies.  Be sure to keep all pieces in the same orientation as you die cut them.

Step 5: With the largest Countryside Corner die-cut a backing piece to which you will adhere the Countryside Corner frame pieces.  Use the color of your card base for this backing piece because if you end up with a little edge showing, it will blend into the card front.


Step 6: Starting with the largest frame, work from largest to smallest and assemble each to the backing.

You can now use that element as desired as your focal point on your card.  See my card on Monday to see it used "as-is".  


For today's card, I cut the focal point into quarters (vertically and horizontally).  Then I rearranged the 4 pieces as shown.  You could also cut the focal points diagonally from corner to corner or in strips.  Use your imagination.  And remember, if you used 6 unique colors, you will have six focal points to play with!

I used the Handmade Tag Punch to create a little perch for my ladybug.  Doesn't she just make you smile?

I used some of my extra die cuts to make a little smaller focal point so it would fit on the inside of my card.  I then cut it in half and used it to decorate both the inside and the envelope.

A list of supplies used is shown below.  For more information on any product, just click on the image.

Product List

Friday, March 3, 2023

SENDING A SNAPDRAGON HELLO

The Sending Smiles stamp set has one flower stamp in it that reminds me of Snapdragon flowers-- at least I think that is what those tall skinny flowers are called.

I decided to team up the Snapdragons with the Fancy Flora Designer Series Paper (DSP).


Besides my friendly Color Coach, I find using designer series paper for my color inspiration an excellent way to figure out color combinations.  This Fancy Flora DSP has interesting patterns that look like brushstrokes made with very thick paint, and it is abundant with color choices.  The design I chose for the background includes Balmy Blue, Gray Graphite, Night of Navy, Orchid Oasis, Calypso Coral, Petal Pink, and additional shades of those colors.  


I chose Basic Gray for my card base and added a layer of Night of Navy behind the designer series paper.  Before adhering the DSP, I ran it through the Stampin' Cut & Emboss Machine with the Stitched Greenery Die.


Initially I started my stamping by stamping the single stem/leaves stamp several times across the bottom of the Basic White cardstock, but then when I went to add the flowers on top of each stem, I learned my spacing did not work well -- at all!  So, I scrapped that piece and started again by stamping the flowers first.  This worked much better!  It was easier to determine the best spacing and height variation for the flowers when I stamped them first.  It was then simple to add the stem/leaf below each flower.  To complete the bottom edge, I filled in with a few more leaves using the leaf-only stamp from the set.

The die cut Night of Navy Sending script and a sentiment below it were added to the card front.  Several Brushed Brass butterflies fliting around the Snapdragons completed the card front.


A single strip of the same Fancy Flora designer series paper added a bit of color to finish the inside of the card base.

If you would like a tutorial with all cutting dimensions and step-by-step directions, you can download a copy by using this link.

A list of the products used on today's card is shown below.  Click on any image to learn more about that product.


Product List