Friday, February 28, 2025

BEAUTIFUL BUTTERFLIES AROUND THE DOORS

Today we have some beautiful silver butterflies fluttering around our front door!


This Open Door Fun Fold is an impressive card that is sure to WOW your special recipient.


I used several embossing folders to give lots of texture to our elegant card.  The "walls" on the side of our double doors were embossed with the Exposed Brick 3D embossing folder.  Our "roof" was embossed with the Dashing Details 3D embossing folder.  And the protective "awning" that is "covering" our doors was embossed with the Beautiful Butterflies embossing folder.

When making an "all-white", or any monochromatic card, consider adding lots of texture.  It is a great way to create interest.

As you slowly start to open the "awning", you see more of the beautiful, brushed silver doors.  Both sides of the double doors are covered with Brushed Silver Foil.


As you continue to raise the awning, the doors automatically open and you are welcomed inside.

Once inside you can give your recipient a special hug with your personal message.

Maybe you are thinking, "This Fun Fold looks complicated".  Yes, it may be a little more than some, but no worries, I showed you all the tips and tricks of making this Open Door Fun Fold during my Learning with Friends video.  If you missed it when it premiered yesterday, you can still watch the replay.

In the video I used the Storybook Friends Bundle and Storybook Moments Designer Series Paper, the that's just the "decor" of your card.  The mechanics are all the same!

In addition to the video tutorial you can download a written tutorial that includes all details you need.  There are several diagrams with dimensions and step-by-step directions to make the Fun Fold.  Use this link to download a copy.

Wednesday, February 26, 2025

BEAUTIFUL BUTTERFLY CARD BASE

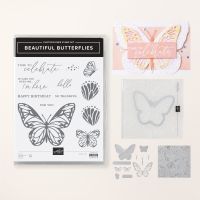
I promised earlier in the week that you would see a card sometime this week made with the Beautiful Butterflies Dies that creates a butterfly-shaped card base.  Today is the day!

Isn't this a FUN card!  There is a special die in the Beautiful Butterflies Dies that when you lay it on a folded piece of cardstock you get a butterfly-shaped card that opens at the top.  I have some tips for using this die.

  1. Look for the little marks on the top of the die and line those marks up with the fold on your cardstock.  You may be tempted to line the die up with the fold, but you want to line up those little marks with the fold.
  2. Because you are cutting two layers of cardstock (I used Thick Basic White cardstock), run the die back and forth through your die cutting machine at least twice as the little antenna need an extra trip or two through the machine to make sure they are fully cut.
  3. Do not run the straight edge for the fold through your die machine first.  Lay your die on your plate so that one of the wings goes through first. The effort will be lower and it will cut better.

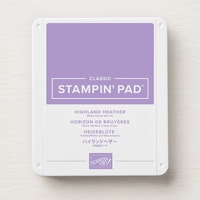
There are two different stamps to stamp the wing detail on your card base.  I stamped mine with Highland Heather ink, but don't sweat too much about figuring out which one to use in which wing section.  They are slightly different, but it isn't obvious (at least to me) which one goes where.  

If you know which one to use in each quadrant of the butterfly, please leave me a comment.  As an engineer, I thought for sure, it must make a difference.  As a result, I spent way too much time trying to figure it out.  In the end all the combinations looked fine to me.


I have another "hint" about the butterfly's body. 
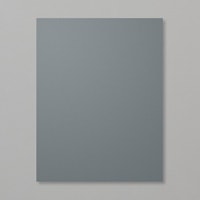
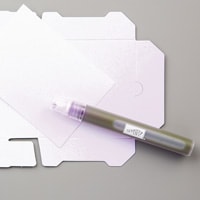
  • The body dies that come in the set felt too small for the card base, so I put a narrow piece of Basic Gray behind just the body section in the center of the card base die.
  • Then I just cut from the "tail" to the "head" with my paper snips.  
I liked the proportion better with the larger body.

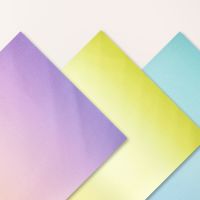
The top wings were die cut from Pastel Ombre Glimmer Paper.  Oh, so sparkly & pretty!


For the inside, I simply stamped the Time to Celebrate sentiment from the Beautiful Butterflies stamp set with Tuxedo Black Memento ink and a small butterfly with Highland Heather ink.


A list of the products I used is shown below.  For more information on any product, just click on the image and you will be taken to my Stampin' Up! store.  Once there you can get all the details or make a purchase.

Product List

Monday, February 24, 2025

EMBOSSED BEAUTIFUL BUTTERFLIES

Today's card is a quick and simple card made with the Beautiful Butterflies Bundle and a bit of Blending Brush action.


The background was made with the Beautiful Butterflies Hybrid Embossing Folder, but I did not use the Hybrid die -- only the folder.

This embossing folder has one large butterfly in the "center" with several other smaller butterflies surrounding it and some texture in between.


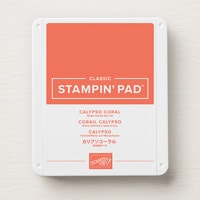
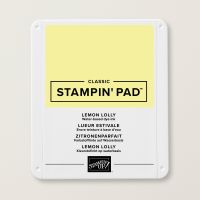
I die cut the large butterfly from Basic White cardstock with the detailed Beautiful Butterflies die.  But before die cutting, I used my Blending Brushes to cover my Basic White cardstock with Soft Sea Foam ink in the center and then used Lemon Lolly and Calypso Coral ink as I blended to each side.


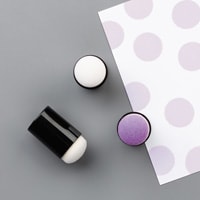
I then die cut the butterfly from the colored cardstock.  I could have also die cut first and then blended on my ink colors, but since the die is very detailed, I decided to blend first.  That way I didn't have to worry about potentially damaging my delicate die cut.  The butterfly's body is die cut from Basic Gray cardstock with another Beautiful Butterflies die.  I added a little Basic Gray ink around the edges of the body with a sponge dauber.  This adds the appearance of depth and dimension to the body.


The inside of the card may actually be my favorite part of this card.  I embossed the first layer of Basic White cardstock with the Beautiful Butterflies embossing folder and then added two small layers over the center for the sentiment.  A small die cut butterfly was also blended with Lemon Lolly and Calypso Coral ink to add a pop of color.

Both Butterflies (front and inside) were covered with a layer of Wink of Stella and the shimmer it gives, as mom would have said, "just does something to it"!


The products I used are on the tutorial are also listed below.
Product List

Sunday, February 23, 2025

BEAUTIFUL BUTTERFLIES WITH WATERCOLOR BACKGROUND

After a shot break from blog hopping, I have decided to join the Crafty Collaborations Share it Sunday Blog Hop again this month.  I like this particular hop because we can just share whatever we are currently working on.


All this week I will be sharing cards made with the Beautiful Butterflies Bundle.  When I saw this bundle in the January - April Mini Catalog my first thought was,  "I don't need any more butterflies!"


But there was something about this particular bundle that just kept pulling me back.  Not only does it have a die you can use to make a card shaped like a butterfly (you'll see it later this week), but it also has a coordinating Hybrid Embossing Folder -- and who doesn't want an embossing folder that embosses butterflies with the bonus that it can die cut them at the same time?

 
I have not played with watercoloring in quite a while so for today's card I decided to grab my Reinkers and a Water Painter Brush and see what I could come up with.  I used Pool Party and Fresh Freesia ink colors on Watercolor Paper to make the background for my sparkling Butterfly.


He is die cut from Pastel Ombre Glimmer Paper (an Online Exclusive) with the large detailed Beautiful Butterflies Die.  The sentiment is from the Beautiful Butterflies Stamp Set and was fussy cut before adhering it with dimensionals to the card front.

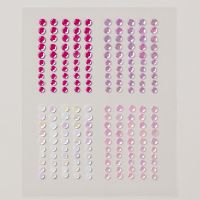
Sequins from the 2025 Sale-A-Bration Purple Sequins add a little more sparkle.


To make sure the inside of the card also sparkled, I first watercolored a scrap strip of watercolor paper for a background behind a strip of the Ombre Glimmer paper.  

Use this link to download a FREE TUTORIAL for today's card.  It includes all the dimensions you need, a list of the products used and step-by-step directions to make your own version of today's card.

A list of the products used is also shown below so you can easily learn about a particular product and easy shopping.

I hope you will now hop along and enjoy more inspiration from the very creative Crafty Collaborations stampers.  Have a great Sunday!


Product List