Showing posts with label Elegant All Purpose Card. Show all posts

Monday, April 13, 2026

LAYERS OF BEAUTY

This week, I am featuring some of my favorite retiring products from Stampin' Up! These products have recently been added to the Last Chance List, so once they are gone, they’ll be gone forever.

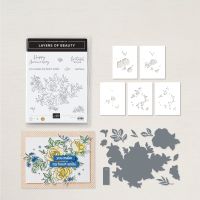
Today's card is made with the Layers of Beauty Bundle.  I love that this bundle has coordinating masks which makes coloring the large, beautiful, floral image so easy.

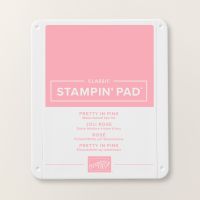
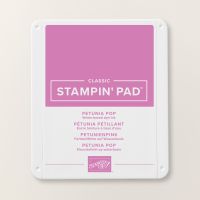
I used two of the retiring 2024-2026 In Colors: Pretty in Pink and Petunia Pop.  For me, it was love at first sight with this 24-26 Class of In Colors, so I'll admit I'm a little sorry to say goodbye.  


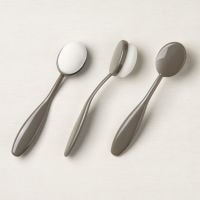
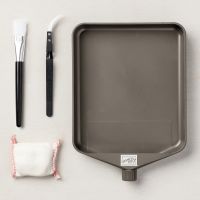
Before adding the flowers, the Basic White cardstock was very lightly shaded with Pretty in Pink ink using a Blending Brush.  A few speckles were also added by flicking the cap of a Basic Black Stamping Write Marker on the brush end of the marker.  

After creating the image with gold heat embossing, I colored it using blending brushes and the coordinating five layers of masks.   After die cutting the coloring image it was positioned in the lower right corner of the tinted Basic White cardstock so that some of the edges were extending off the cardstock layer.  Those edges were then trimmed flush with the Basic White layer.

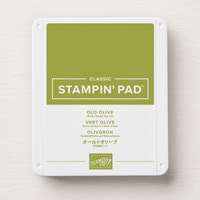
The sentiment was stamped with Old Olive ink and die cut using the small label die from Layers of Beauty Dies.

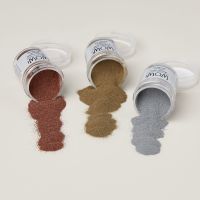
For the inside of the card, I stamped a portion of the large floral image and heat embossed it with gold embossing powder.  The coloring process using masks and blending brushes was repeated, just as on the card front.

Use this link to download a free tutorial.

Below is a list of the products that were used.

Product List
Friday, February 28, 2025

BEAUTIFUL BUTTERFLIES AROUND THE DOORS

Today we have some beautiful silver butterflies fluttering around our front door!


This Open Door Fun Fold is an impressive card that is sure to WOW your special recipient.


I used several embossing folders to give lots of texture to our elegant card.  The "walls" on the side of our double doors were embossed with the Exposed Brick 3D embossing folder.  Our "roof" was embossed with the Dashing Details 3D embossing folder.  And the protective "awning" that is "covering" our doors was embossed with the Beautiful Butterflies embossing folder.

When making an "all-white", or any monochromatic card, consider adding lots of texture.  It is a great way to create interest.

As you slowly start to open the "awning", you see more of the beautiful, brushed silver doors.  Both sides of the double doors are covered with Brushed Silver Foil.


As you continue to raise the awning, the doors automatically open and you are welcomed inside.

Once inside you can give your recipient a special hug with your personal message.

Maybe you are thinking, "This Fun Fold looks complicated".  Yes, it may be a little more than some, but no worries, I showed you all the tips and tricks of making this Open Door Fun Fold during my Learning with Friends video.  If you missed it when it premiered yesterday, you can still watch the replay.

In the video I used the Storybook Friends Bundle and Storybook Moments Designer Series Paper, the that's just the "decor" of your card.  The mechanics are all the same!

In addition to the video tutorial you can download a written tutorial that includes all details you need.  There are several diagrams with dimensions and step-by-step directions to make the Fun Fold.  Use this link to download a copy.