Showing posts with label Open Door Fun Fold. Show all posts

Wednesday, March 26, 2025

FLOWER SHED

Have you ever dreamed of having a "She Shed?"  This is my version of a She Shed.  It's a shed of Juxtaposition.   It's a little rustic with a little sparkle!

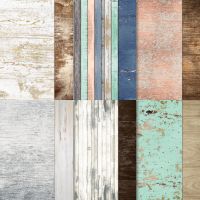
The Open Door Fun Fold Shed is made with the Country Woods Designer Series Paper (DSP), and the door is decorated with lots of inlaid sparkle!

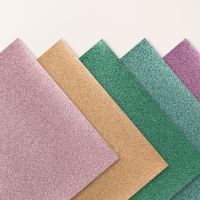
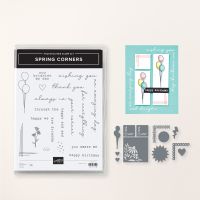
The corner flowers from Spring Corners Dies were die cut four times -- once from Basic White cardstock, Petunia Pop 24-26 In-Color Glimmer Paper, 24-26 Summer Splash In-Color Glimmer, and a scrap of retired white glimmer paper.

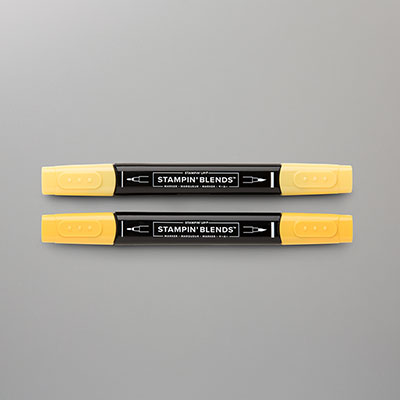
After stamping the Spring Corners sentiment on the Basic White cardstock, the glimmer paper leaves and petals were inlaid into the cutouts on the Basic White.  The flower centers were made by coloring White glimmer paper with Dark Daffodil Delight Stampin' Blends and then also inlaying them into the Basic White die cut.  


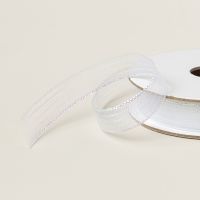
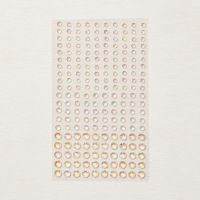
A small bow of Iridescent Striped Ribbon and Rhinestones adds a bit more glam to the door of my She Shed.

As you start to lift the overhead door of the, you begin to get a peek inside as the double doors automatically open.


Open the Overhead Door fully and you can see what waits for you in the shed.


The corners are decorated with Pool Party floral borders and a tiny Petunia Pop Glimmer flower is hung in each corner.

If you would like to make your own She Shed here is a video that will lead you step-by-step through the Fun Fold.

Use this link to download a written tutorial  that is specific to this card.  Use it to follow along with the Fun Fold video.

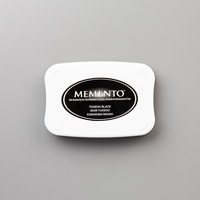
A list of the products used is shown below.

Product List

Friday, February 28, 2025

BEAUTIFUL BUTTERFLIES AROUND THE DOORS

Today we have some beautiful silver butterflies fluttering around our front door!


This Open Door Fun Fold is an impressive card that is sure to WOW your special recipient.


I used several embossing folders to give lots of texture to our elegant card.  The "walls" on the side of our double doors were embossed with the Exposed Brick 3D embossing folder.  Our "roof" was embossed with the Dashing Details 3D embossing folder.  And the protective "awning" that is "covering" our doors was embossed with the Beautiful Butterflies embossing folder.

When making an "all-white", or any monochromatic card, consider adding lots of texture.  It is a great way to create interest.

As you slowly start to open the "awning", you see more of the beautiful, brushed silver doors.  Both sides of the double doors are covered with Brushed Silver Foil.


As you continue to raise the awning, the doors automatically open and you are welcomed inside.

Once inside you can give your recipient a special hug with your personal message.

Maybe you are thinking, "This Fun Fold looks complicated".  Yes, it may be a little more than some, but no worries, I showed you all the tips and tricks of making this Open Door Fun Fold during my Learning with Friends video.  If you missed it when it premiered yesterday, you can still watch the replay.

In the video I used the Storybook Friends Bundle and Storybook Moments Designer Series Paper, the that's just the "decor" of your card.  The mechanics are all the same!

In addition to the video tutorial you can download a written tutorial that includes all details you need.  There are several diagrams with dimensions and step-by-step directions to make the Fun Fold.  Use this link to download a copy.