Today I have a simple Fun Fold card for you. Since I am featuring the Amazing Silhouettes Stamp Set this week, today I'm using the Branch Silhouette stamp.
This Fun Fold folds vertically with an upper and a lower flap. I used the By the Bay Designer Series Paper (DSP) collection to decorate the two flaps.
As I mentioned in Monday's post, the Amazing Silhouette stamp set is an excellent set to use with Techniques. The stamps themselves create "simple" images and so techniques can be used to jazz them up a bit.
For today's card, I used the Baby Wipe Technique for stamping my image. For this technique, a baby wipe is used to create a multi-color "stamp pad". If you are not familiar with this technique the following short Connect to Create video by my friend and collaborator, Kathi Ondus, shows you how to do the technique.
All you need are a Baby Wipe, some re-inkers, and a stamp. The colors I used to stamp my Branch Silhouette were pulled from the colors in the designer series paper, Night of Navy, Mint Macaron, Balmy Blue and Blushing Bride.
After stamping the image, I used the Layering Diorama Dies to die cut and mat the stamped image. I thought the curvy shape coordinated well with the flowy feeling of the DSP on the top flap.
The image is attached to only the top flap which is held closed by the sentiment. I placed the sentiment so I could tuck the edge of the Diorama Die cut under the edge of the sentiment.
A Night of Navy bow and some retired Iridescent Pearls finished the card front.
For the inside of the card, I again stamped the Branch Silhouette using the Baby Wipe Technique.
If you are planning to use your Baby Wipe "ink pad" multiple times, for example for the card front, the inside and perhaps the envelope, my recommendation is that once you ink your Baby Wipe, you stamp all the images.
Maybe it is my particular Baby Wipe brand, but it does seem to dry out fairly quickly. You can easily reink it, but to save ink -- and time -- I have found it easiest to just stamp all the images at once. As a bonus, the more times you use the Baby Wipe "ink pad", the color will tend to blend together more, and it makes for interesting variation in the stamped images.
If you would like more information on how to create today's card, you can download a FREE TUTORIAL at this link. With Fun Fold cards, the scoring step is often the most critical, so the tutorial does include a scoring diagram.
If you would like more information on any of the products I used, you can click on the images in the Product List below. The link will take you to my Stampin' Up! store where all the product details are available, and you can also purchase products.
This week I am featuring the Forever Fern stamp set and its coordinating dies. This set has been around for quite a while, and it is definitely an old favorite. I like the fact that it is so versatile, and you can use it for many different occasions.
Today, for Halloween, I decided to use my Forever Fern Bundle to make a fall card. Since pumpkins are often used for fall themed cards, it seemed like a bouquet with a pumpkin as the "flowerpot" was appropriate. The challenge was, I don't have any current stamps that contain pumpkins. Yup, weird, and probably surprising that I don't have one, but I don't. However, I remembered that when I first discovered paper crafting over 15 years ago, one of the ways we made pumpkins was to use our Oval Punch. Sometimes with all the dies and tools we have today, we forget about those old techniques. So, I got out my Double Oval Punch and punched out 3 ovals from Pumpkin Pie cardstock. Each is sponged with Pumpkin Pie ink around the edges and then the center one that straddles the other two is popped up on dimensionals. Looks like a Pumpkin, right?
The background for this card was made using the Rubber Band Stamping Technique. This is a super easy and fun technique to create interesting backgrounds. Last week on Connect to Create, I shared a video showing how to do this easy technique. If you are unfamiliar with it, please take a look! I hope it inspires you to try it. The colors I used were Pumpkin Pie, Old Olive, and Merry Merlot.
I also took inspiration from Kathi Ondus, Simply Cards by Kathi, in her recent Connect to Create Video. She demonstrated the Baby White Technique. Her cards were so pretty, and it had been a long time since I played with that technique. So, I decided to use the Baby Wipe Technique to make some colorful fall leaves for my Pumpkin Bouquet. Below is her video. Take a look and you can learn two great techniques today!
The large leaves in my pumpkin bouquet were made with the Baby Wipe Technique.
I also used that technique for the leaves on my envelope flap and on the inside of my card.
I made my Baby Wipe "Ink Pad" with the same colors as I used for the Rubber Band background except, I also added a few drops of Daffodil Delight. Aren't these colors pretty?
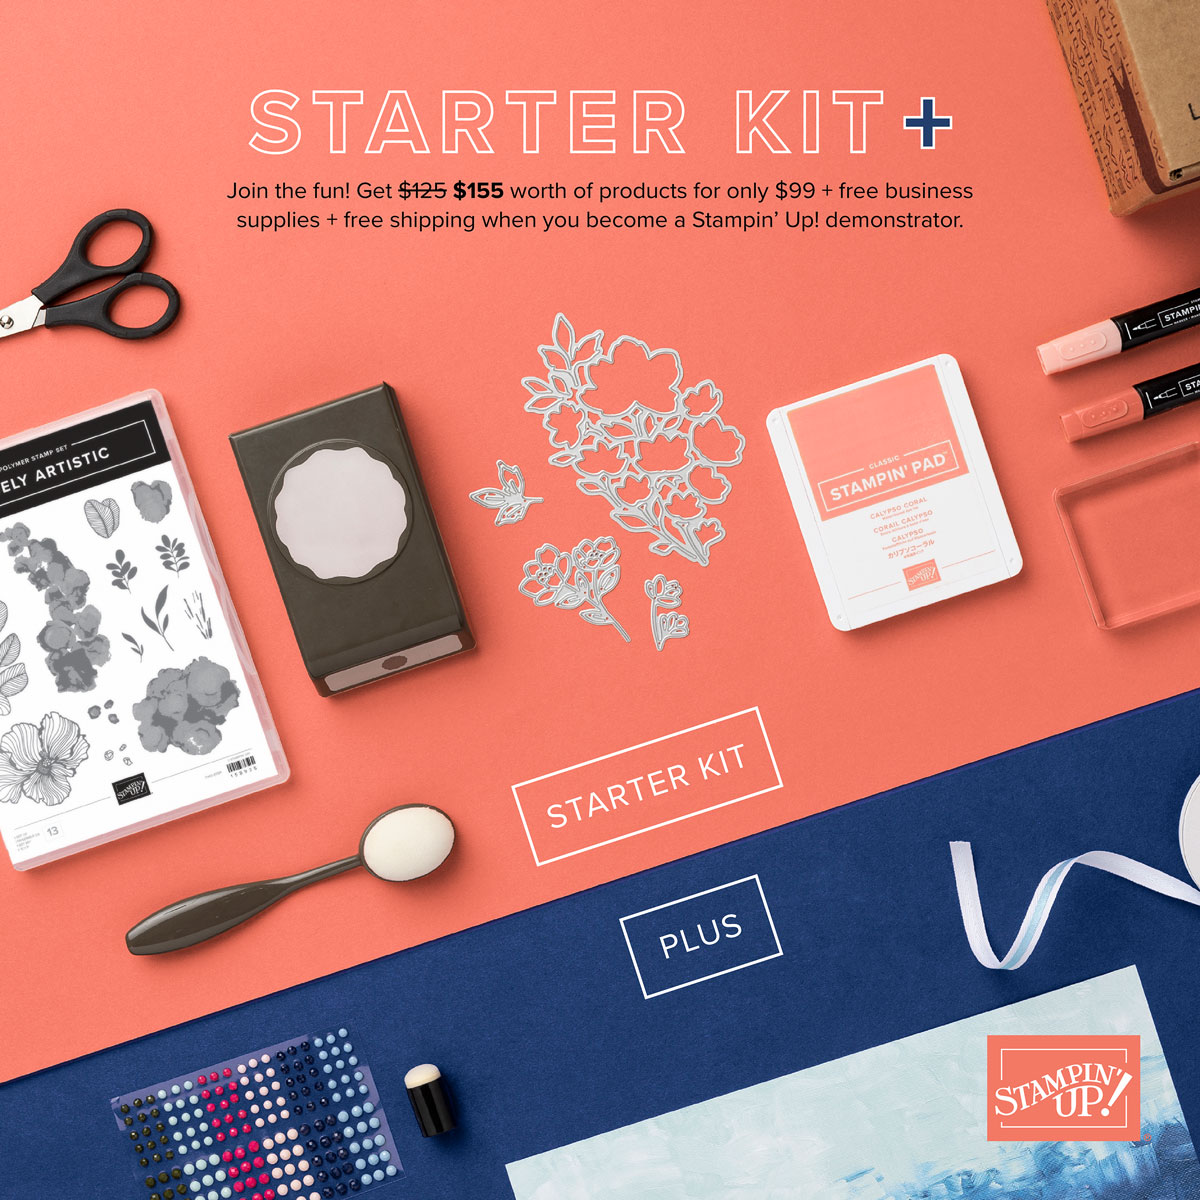
A quick reminder. Today is the last day of October, so today is the last chance to take advantage of the awesome Starter Kit+ Promotion. Normally, you can select $125 worth of product for $99, but through today, you can select $155 worth of product for $99. And SHIPPING IS FREE! I would love to have you join my Fairless Flair Team! If you have questions or would like to learn more, please send me an email directly at fairlessflair@gmail.com. But today is that last day for this terrific opportunity!
The following Product List shows the current Stampin' Up! products I used for today's card.
I used the Baby Wipes Technique to make the Watering Can flower bouquet on today's card. Can you see how the flowers are all different colors?
If you aren't familiar with the Baby Wipe Technique, it is super simple! Just take a Baby Wipe and fold it up a bit so you have 3 - 4 layers of the baby wipe material. Then, using your re-inkers, add 3 - 4 drops of ink on the baby wipe. Add additional drops of different color inks. For this card I used Bermuda Bay, Melon Mambo, and Mango Melody Ink. You want the drops to be close enough together so as the ink spreads it "just meets" the next color. A little overlap of color is OK, but if you get multiple colors too close, they can mix and become muddy. A small gap between colors is better than too much overlap. When the ink is the way you like it on the baby wipe, you
then use the inked baby wipe as your stamp pad to ink your stamp.Tap a few times to make sure the image is
completely inked. Solid image stamps tend to work best with the Baby Wipe
Technique. My bouquet of daisies is more of a line image stamp, so I
wasn't sure how well it would work with this technique, but I like how it
turned out. So don't be afraid to try new things!
The layout for my card is a variation of one of my go-to layouts--two rectangles and a circle. It works well with designer paper or embossed solid panels to add texture. I added a second smaller circle this time for the sentiment and also embossed the front 5-3/8" x 4-1/8" panel with the Splatters & Stripes Embossing Folder. All the cutting dimensions are available on the FREE TUTORIAL that you can download using this link.
For the inside of the card, I used the Baby Wipe Technique again to create another daisy bouquet in the Flowerpot. You can also see a sneak peak of the envelop where I again used the same Technique to decorate the front corner of the envelop. Once you have your Baby Wipe inked up, you can use it multiple times.
See the complete list of Products used on today's card below. The Designer Series Paper is from the Sale-A-Bration Sunshine & Rainbows collection, which is no longer available, but you can use any designer series paper that you have in your stash!
If you have never tried the Baby Wipe Technique, I challenge you to try it! Experiment with different colors and different stamps. I think you'll have fun playing with it!