Today's card, admittedly, is a bit over the top. But sometimes a product suite deserves over-the-top cards because the suite itself is so spectacular.


Before we open today's card and take a look at the inside fun fold, let's take a closer look at the card front.

You can see that I used totally different colors for my lighthouse, but the class was very valuable in teaching the technique and providing the inspiration.
If you have never considered one of Stampin' Up!'s Craft Classes, I would highly recommend trying one of them. You will definitely learn some new tips, tricks and techniques!
Now let's open the card and take a look at the inside Fun Fold.

I have made a very similar fun fold previously with smaller squares on the inside, but these larger ones provide a nice space to make four pretty focal points that could each stand alone on their own card.
I wanted to use as many of the die cuts and products from the suite as I could and these four inside rectangles provide the perfect way to do that.
The best way to share this card is with lots of pictures and fewer words, so let's look a little closer.

Above are the two rectangles on the left of the inside and below are the two on the right.

And here are all four of them lying flat with the card fully open.

You may be wondering, where do I write my personalized note? Well, remember, every piece of paper has two sides, so every card also has a front and a back.

On the back on this card there is a pocket where you can tuck your message layer.

You may be wondering... with all of these layers, how thick is this card? It definitely is on the thicker side, so that is why it is held closed with a ribbon. It will fit into a standard A2 envelope, but you will need to add extra postage if you want to mail it. Or you could hand deliver it!
Are you thinking "this Fun Fold looks way too complicated"? It's not! It actually is quite simple. Yes, this particular card did take a while to create due to the details on each rectangle, but the basic fun fold is simple.
I've made a video where I make a simple template version of the Fun Fold. This video will show you how the fun fold is made. It is then your choice how much detail you want to add on each of the sections.
Use this link to download the PDF Tutorial with all the details for today's card. Don't let the length of the tutorial scare you. Each of the 4 elements on the inside are basically a card, so the tutorial gets a little long to cover it all.
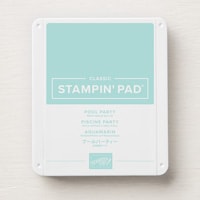
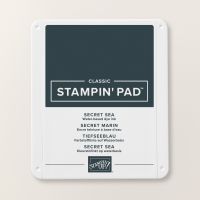
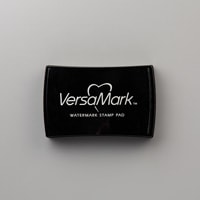
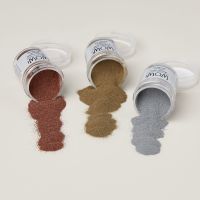
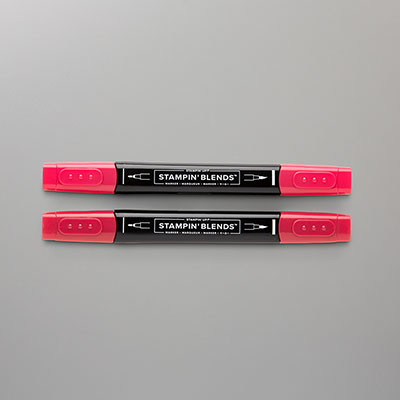
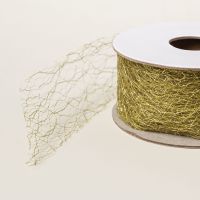
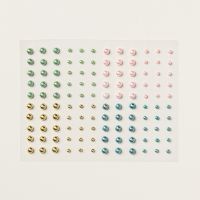
A list of the products used is shown below. Click on any image to learn more about a specific product.