Showing posts with label Inspirational Sketches. Show all posts

Wednesday, March 5, 2025

MIXED FLORALS ON THE BANDSTAND

Today's card uses a unique technique and a very special Fun Fold.  I've included two videos with this post that show you how to do them both!


The Fun fold is the Bandstand Fun Fold.  It looks complicated, but it is surprisingly easy!  Watching my how-to video makes it even easier.


The following image gives a better perspective showing the 3D nature of the Bandstand Fun Fold.


Isn't it unique?

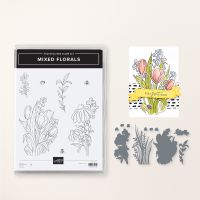
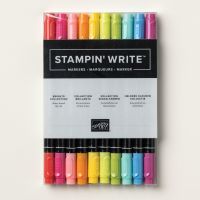
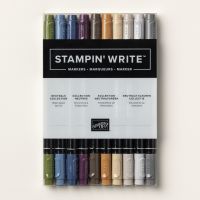
The daisies on the front of the bandstand are from the Mixed Florals Bundle which I am featuring this week.  The flowers and leaves were colored using the Pointillism Painting Technique.  I used Stampin' Write Markers for my "paint".  This technique basically paints images with tiny dots.

Watch my Learning with Friends video where I demonstrated how to do Pointillism.  I also gave some pros and cons for using different types of "paint", i.e. Stampin' Write Markers vs. Stampin' Blends.


Here is a close-up of the Daisy colored with the Pointillism Technique.


After looking at this card you may be wondering, "where do I write my message"?

On my card I added a panel on the back that provides plenty of room for a hand written note.


Since I had embossed the panel behind the daisies with the Exposed Brick embossing folder, I decided to carry on that theme on the back panel by embossing a narrow decorative strip with the same folder.

If you have enjoyed this card, I hope you will try either the Bandstand Fun Fold or the Pointillism Technique -- or maybe combine the two like I did.

If you do, I'd love it if you would leave me a comment if you found the videos helpful or if you have questions.

Use this link to download a written tutorial with all the dimensional information and step-by-step directions.  Sometimes it is helpful to follow along with the tutorial as you watch the videos.

Below is a list of the products I used.


Product List

Friday, August 16, 2024

INSPIRATIONAL SKETCHES FOR CHRISTMAS

It's time for our weekly Christmas Card!  This week's Inspirational Sketches stamp set wasn't as difficult as a few have been to create a Christmas Card.  Often birds are used on Christmas cards.  Do you know why?  I googled it, and there were some interesting stories.

One reason was that birds, specifically cheery, red cardinals, are a symbol of hope and joy.  I didn't know that, but anything that symbolizes hope & joy certainly seems appropriate as a symbol of Christmas.   Other stories date back to Victorian Britain where the postmen wore red-breasted uniforms and red-breasted birds became associated with the postman who delivered Christmas cards.

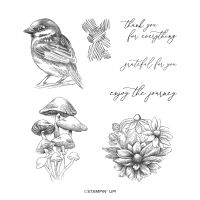
Well, my little bird is neither a cardinal nor red-breasted, but I think she is elegant all decked out in her gold finery!  So, I decided to let her bring some Christmas Wishes of her own.  Besides, it was the only stamp that I hadn't used yet from Inspired Sketches.  😄


My card is a simple Fun-Fold card that is basically made with two cards.  The larger one sports a half-front and is placed upside-down on a 5-1/2" x 4-1/4" Thick Basic White backing.

The back of the smaller card with the little golden bird is adhered to the "inside" of the larger card, and it's front overlaps the bottom half-front of the larger card.


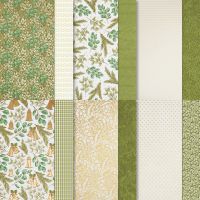
The designer series paper (DSP) is from the Season of Green & Gol, an ONLINE EXCLUSIVE collection.  If you love the traditional greens and gold for Christmas, you will love this DSP.


Since my new Christmas sentiment set had not yet arrived when I made this card, I used retired sentiments from my stash.  The Merry Christmas sentiment on the front of the small card is from Regal Reindeer, and the sentiment on the inside is from Brightest Glow.

Use this link to download a detailed tutorial with cutting and scoring dimensions and step-by-step directions to create the card 

The Product List below shows all currently available products.  Retired Products are listed on the Tutorial.

Product List

Wednesday, August 14, 2024

SALTED MUSHROOMS

Are you a Mushroom Lover?  Me? Not so much.  I don't really like them or dislike them.  The texture is a bit funky, and the flavor is -- well, bland.  
But while I may not enjoy eating them, I do like making cards with the mushroom image from Inspired Sketches.  

It is a beautiful DisINKtive stamp.  The shading on it amazing and all you need to do is pick a color and stamp it.  

The background was created using the Salted Background Technique.  If you are unfamiliar with this technique you can watch the replay of the Learning with Friends video where I demonstrate how to do the technique.

This technique makes beautiful backgrounds that a lot of fun to make.  I hope you are inspired to try it!

The colors used for the background were Pretty Peacock, Daffodil Delight and Pumpkin Pie.  The salt creates the beautiful, mottled look of the background.  As I mention in the video the mottling does tend to be more distinctive on darker colors.


The Mushroom Image was die cut with an Everyday Details die.  The die cut holes that create the border sets off the image without overpowering it or detracting from the pretty Salted Background.

When I make my Technique Sheets, I often make them larger than the intended finished size.  That allows me to trim them down and hopefully have a leftover scrap to decorate the inside of the card.


Doesn't that pop of color add a pretty accent to the inside of the card?

Use this link to access a written tutorial for today's card.  There is also a link to the video on the tutorial, so when you reference it in the future you will always be able to easily find the video.

A list of current products used is listed below.


Product List