Today's card uses a unique technique and a very special Fun Fold. I've included two videos with this post that show you how to do them both!
The Fun fold is the Bandstand Fun Fold. It looks complicated, but it is surprisingly easy! Watching my how-to video makes it even easier.
The following image gives a better perspective showing the 3D nature of the Bandstand Fun Fold.
Isn't it unique?
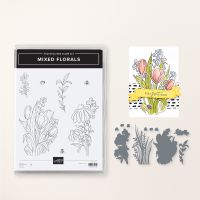
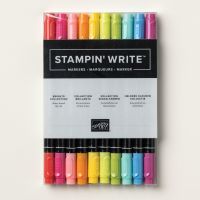
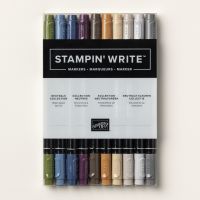
The daisies on the front of the bandstand are from the Mixed Florals Bundle which I am featuring this week. The flowers and leaves were colored using the Pointillism Painting Technique. I used Stampin' Write Markers for my "paint". This technique basically paints images with tiny dots.
Watch my Learning with Friends video where I demonstrated how to do Pointillism. I also gave some pros and cons for using different types of "paint", i.e. Stampin' Write Markers vs. Stampin' Blends.
Here is a close-up of the Daisy colored with the Pointillism Technique.
After looking at this card you may be wondering, "where do I write my message"?
On my card I added a panel on the back that provides plenty of room for a hand written note.
Since I had embossed the panel behind the daisies with the Exposed Brick embossing folder, I decided to carry on that theme on the back panel by embossing a narrow decorative strip with the same folder.
If you have enjoyed this card, I hope you will try either the Bandstand Fun Fold or the Pointillism Technique -- or maybe combine the two like I did.
If you do, I'd love it if you would leave me a comment if you found the videos helpful or if you have questions.
Use this link to download a written tutorial with all the dimensional information and step-by-step directions. Sometimes it is helpful to follow along with the tutorial as you watch the videos.
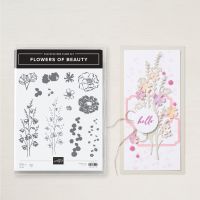
Welcome back to Hodgepodge week where you are going to see a little of this and a little of that. Yesterday I shared a card made with the Herringbone Technique, and today's Card has a pretty display of Flowers of Beauty on "linen".
This card is bright and very cheery. The colorful display of flowers and leaves were stamped on white tissue paper. After stamping the tissue paper was crinkled up tightly, smoothed out a little and then adhered to Basic White cardstock. The result is a technique that looks like linen.
If you are unfamiliar with the Faux Linen Technique watch the video below to see exactly how it is done.
In the video I talk about the similarities between the Faux Linen Technique and the Faux Silk Technique. Both of those fabrics have a similar trait -- they tend to wrinkle! Personally, I tend to avoid clothes made with either of these fabric because of the wrinkling. And don't they usually have to be dry cleaned as well? But I do think both techniques make pretty backgrounds for cards. So, I will just stick to putting my "linen" and "silk" on cards.
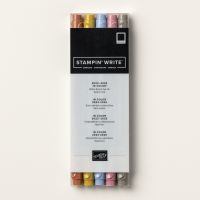
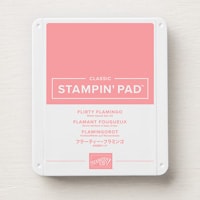
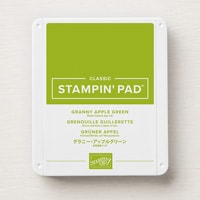
The colors used for today's Flowers of Beauty are all from the Brights Color Family Collection -- Pumpkin Pie, Daffodil Delight, Berry Burst, Flirty Flamingo and Granny Apple Green. For cards where I want to use many colors, I know that if I pick them all from the same family they will coordinate well together. So, today we celebrate the Bright Family of colors.
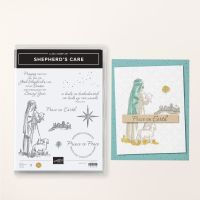
I used a stamp from the Shepherd's Care stamp set to add a few black dots. I could have used any speckles stamp or just used a Black Stampin' Write Marker to splatter some specs but the Shepherd's Care stamp set was laying on my craft table, so it was handy.
For the inside of the card and the envelope I decorated the corner with more Flowers of Beauty.
The one thing on the front of my card that I wasn't really crazy about was the placement of the leaves. So for the inside and the envelope, I decided to mask the flowers and then stamp the leaves. By masking I was able to get mostly leaves with minimal stems. The masking added a step so it was a little more work, but I liked the result better. What do you think? Stems or minimal stems.
Use this link to download a PDF Tutorial for today's card. The tutorial also includes a link to the Faux Linen Technique video on my YouTube Channel so if you download the tutorial you will always be able to easily find the Faux Linen Video.
A list of the products used on the Flowers of Beauty Faux Linen card is shown below. Don't forget to add tissue paper and a glue stick (or adhesive of your choice) to your list of supplies.
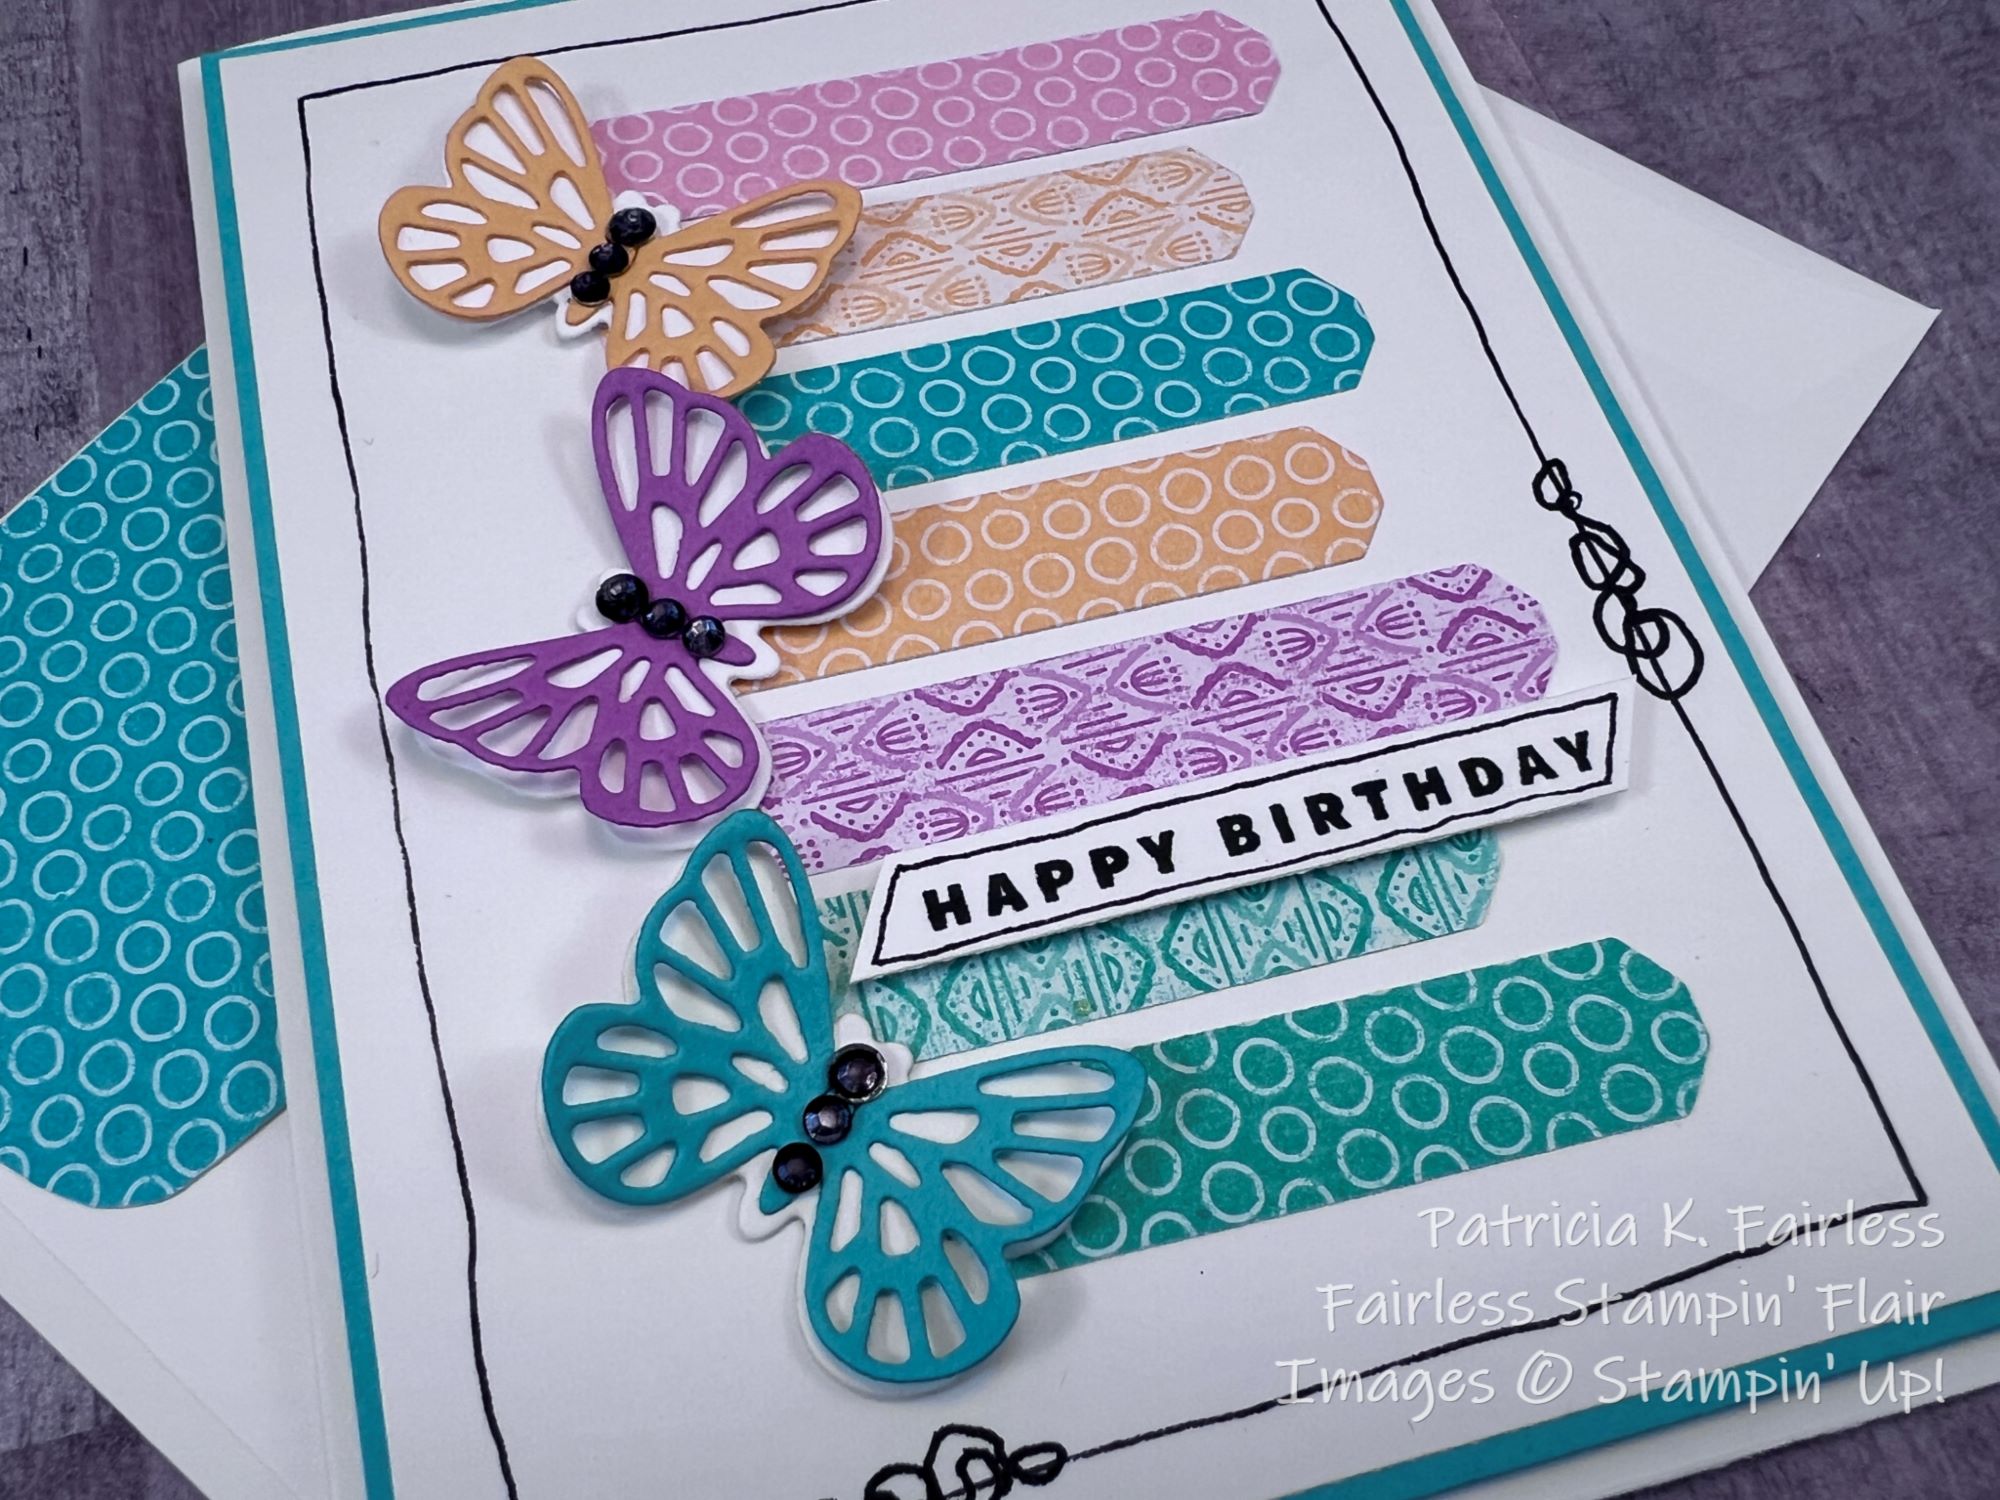
Where do you find your inspiration for cards? I find a lot of mine from projects that other demonstrators share. Today's card layout was inspired by a card that I saw a few weeks ago on Laura's Creative Pages. The black doodles around the border are definitely one of her trademarks!
I'm amazed how much of a "pop" her simple doodles add to a card. Definitely, not something I would have come up with on my own.
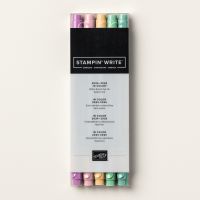
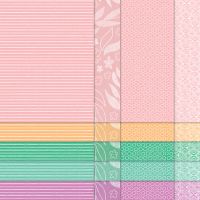
This card showcases the five 2024-2026 In-Colors. I think I say this every year, but these in-colors are some of my favorites ever!
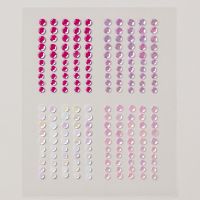
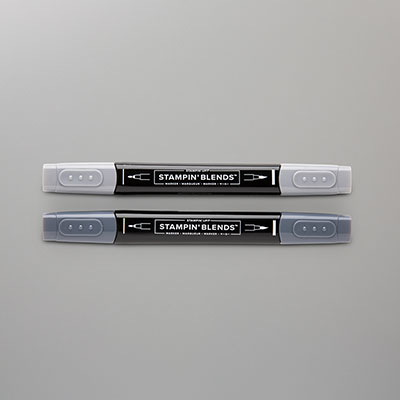
The butterflies were made using dies from the Sketched Butterflies Bundle and the colorful In-Color strips were made with a die from Delicate Forest Dies. The bodies of the butterflies are made with Rhinestone Basic Jewels colored black with a Stampin' Blend.
The Delicate Forest die made longer strips than I wanted, but I just snipped them off to create various shorter lengths. Being someone who can never let a good "scrap" go to waste, I used the snipped off ends to decorate the inside of the card.
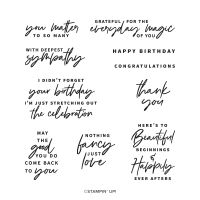
The front and the inside sentiments are from the Something Fancy stamp set.
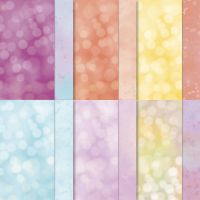
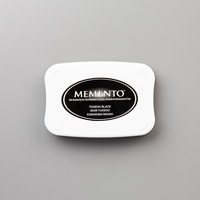
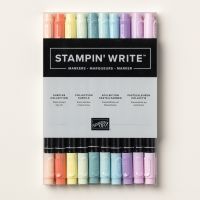
A list of products used is shown below. Click on any image and you will be taken to my Stampin' Up! store where you can learn more details or make a purchase.