My last card this week is a Spanner Fun Fold and surprise, surprise it is not another Christmas Card.
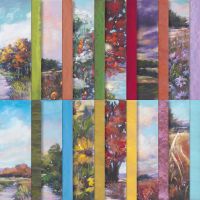
This card was made with Sharon Armstrong's Million Dollar stamp set called Happy Place. Even though the "HAPPY" is designed as a tropical beach scene, I decided to combine it with the gorgeous Splendid Autumn Designer Series Paper.
It's Autumn (going on winter) here in Michigan and our summer boats and toys have been put away for a couple of months but it is always a good season to be HAPPY!
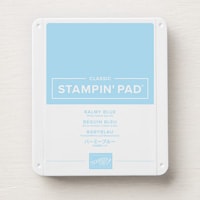
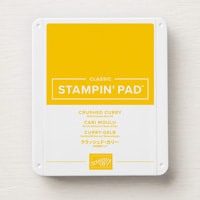
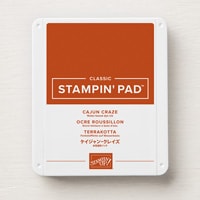
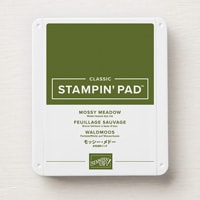
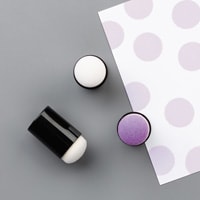
I inked my "HAPPY" stamp with sponge daubers working from top to bottom with Balmy Blue, Crushed Curry, Cajun Craze and Mossy Meadow -- some good Autumn colors.
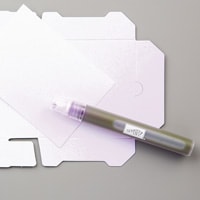
My biggest challenge with this card was that I wanted as much of the Autumn path on the arch to show as possible. I played a bit and finally a lightbulb went off when I remembered there is such a thing as Acetate Sheets. So I decided to cut apart each letter from the "HAPPY" and mount them to a strip of Acetate with dimensionals.
This way I could at least see through between the letters, and then when you lift up the spanner portion of the card you can see the full path. (Yes, you can see the dimensionals on the backside of the letters when you open the spanner, so just place with neatly!)
What do you think?
Isn't this Splendid Autumn DSP beautiful? I honestly thought it was retired, but when I looked it up on the Stampin' Up! Online Store I was pleasantly surprised to see that it is still available! YAY!
Flip up the middle flap and you see the inside of the card. The "BIRTHDAY" was also inked with sponge daubers to create a bit of ombre effect with Crushed Curry and Cajun Craze ink.
I think this card would work well for men or women. What do you think?
It is the last Sunday of the month and that means it is time for the monthly Share It Sunday Blog Hop with Crafty Collaborations.
I recently did a little research on Herringbone patterns and I found several paper crafting video tutorials on how to make them, but none of them really looked like a "true" herringbone pattern to me. So I decided to try to see if I could create one.
This is one of the cards I came up with. It is simple in color and keeps the herringbone technique as the focus.
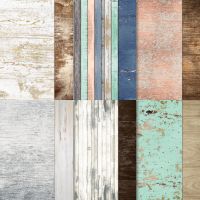
The herringbone pattern was made with designer series paper from Stampin' Up!'s Country Woods collection.
I created a Learning with Friends video to demonstrate how to make this more realistic herringbone pattern and in the video I also contrast it to the more typical pattern I found for paper crafting.
Here is a close-up photo of the card to better see the herringbone pattern.
The Happy Birthday die cut was made with the Wanted To Day dies. Keeping everything simple I just matted the herringbone technique sheet on Basic Black before adhering it to my Thick Basic White card base.
Three Black Matte dots completed the card front.
When I make my technique sheets I usually make them larger than my final desired size. That allows me to usually have some "extra" strips after I trim them to size. These strips work great to carry the theme of the technique to the inside of the card.
In the case of today's card, I had about a 1/2" leftover "scrap" that I used to decorate the bottom of the inside of the card.
What do you think of my Herringbone Technique? I'd love to know if you think you will try it.
A list of the current products used are shown below. The Classic Matte Dots that I used are retired but were on the Clearance Rack the last time I checked--and they were 60% off. Unfortunately Clearance Rack Items are only available while supplies last but it might be worth checking to see if they are still available.
Enjoy hopping along with the other talented Crafty Collaborators and being inspired.
This week I am sharing cards made from a new bundle called In the Grove. This bundle coordinates well with the Grassy Grove Stamp Set & Dies that carried over from the 23-24 Annual Catalog. I really like stamp sets like these because they can be used to create beautiful scenery cards that make you feel like an artist!
The background for today's card was made using the Salted Background Technique that I shared on Learning with Friends a few weeks ago. If you missed that video here is a link to the video on my YouTube Channel.
This Salted Background Technique is easy and makes interesting backgrounds. It wasn't planned to look like the Northern Lights, but after I made the card that is what it reminded me of. I think I need to try it again with some colors that would be even more likely to be in Northern Lights.
The birch trees on this card were made with a die from In the Grove. I'm not sure if the animal peeking out from behind the trees is a fox or a wolf, but I stamped him in Gray Granite, so I'm calling him a wolf and naming him Ash. The cute little bunny sitting by the pines is die cut with an In the Grove die. There is not a bunny stamp, but I thought he needed at least an eye and a nose, so I just used a black Stampin' Write Marker and gave him one of each. Since he is white, let's call him Marsh, short for Marshmallow.
Marsh looks like he is hiding behind the pine trees so Ash doesn't see him, but they are actually friends, so I'm not worried about Marsh becoming Ash's lunch! I think they are just playing hide-and-seek.
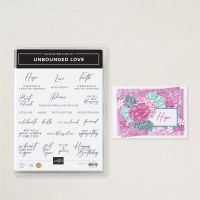
Since there are not greetings included in the In the Grove stamp set, both my front and inside sentiments are from the Unbounded Love stamp set. I think this will make a great masculine birthday card, don't you?
The Gray Granite woodgrain designer series paper that I used on the front of the card base, the envelope flap and above on the inside of the card is from the Country Woods Designer Series Paper Collection. It's how I decided what color Ash needed to be.
If you would like a tutorial for today's card, you can use this link to download a copy. The tutorial also includes a link to the video showing how to create a Salted Background.
A list of the Stampin' Up! products I used is shown below. Click on any image to see the details about a specific product or to purchase it.