Monday, June 6, 2022

LET'S BLOW BUBBLES

Happy Monday!  You know what that means.  It's time for a new featured bundle of the week.  This week I am going to be using the Waves of Inspiration Bundle, but I will also be playing with a few of my other new toys from the Annual Catalog.


One of my favorite new things in the catalog is the Charming Sentiments Bundle and the sentiment for today's card was made with that bundle.  I have a weakness for sentiment stamp sets (In my opinion, you can never have too many sentiments), and this Charming Sentiments Bundle was one of the first things that caught my eye when I went through the catalog for the first time.   Not only does it have 17 great sentiments, but each sentiment has a coordinating die that makes it look like you fussy cut the sentiment!  I love that!  In addition to the 17 coordinating sentiment dies, the Sentiment Silhouettes Dies includes 13 additional dies for things like hearts, candles, stars, bows, a polka dot border, and a couple of things that I haven't figured out yet what they are.  LOL

The focal point for today's Starry Sky card was made with one of the dies from Designer Tags dies.  The background on the Shimmery White tag was made using the bubble technique.  It's so much fun to blow soapy bubbles and create a unique background.

I added a piece of Crumb Cake cardstock also cut with the Designer Tag die and then tore off the top edge to create my sand.


The Pelican on the Pilings and the birds in the background are from Waves of Inspiration stamp set.  The beach grass and sand is from the Oceanfront stamp set which I was so happy to see carried over from the January - June Mini into the New Annual Catalog.  


Another couple of products that have carried over from the Mini into the Annual Catalog are the Timeworn Type embossing folder and the White Frayed Ribbon.  I used the embossing folder for the Starry Sky card front as it gives a subtle texture that sort of looks like sand.  The Frayed Ribbon is wrapped behind the back of the front panel and through the slots in the Designer Tag.  I tied it in a simple double knot at the top and added more "fraying" on the ends.

For more information on all the products I used, you can refer to the Product List below.

I kept the inside of the card quite simple and just used the colors from the card front as borders to my Basic White Sentiment mat.

If you would like additional details on how I made this card, you can download a FREE TUTORIAL by using this link.

I hope you will come back the rest of the week to Ride the Waves with me!


Product List

Friday, June 3, 2022

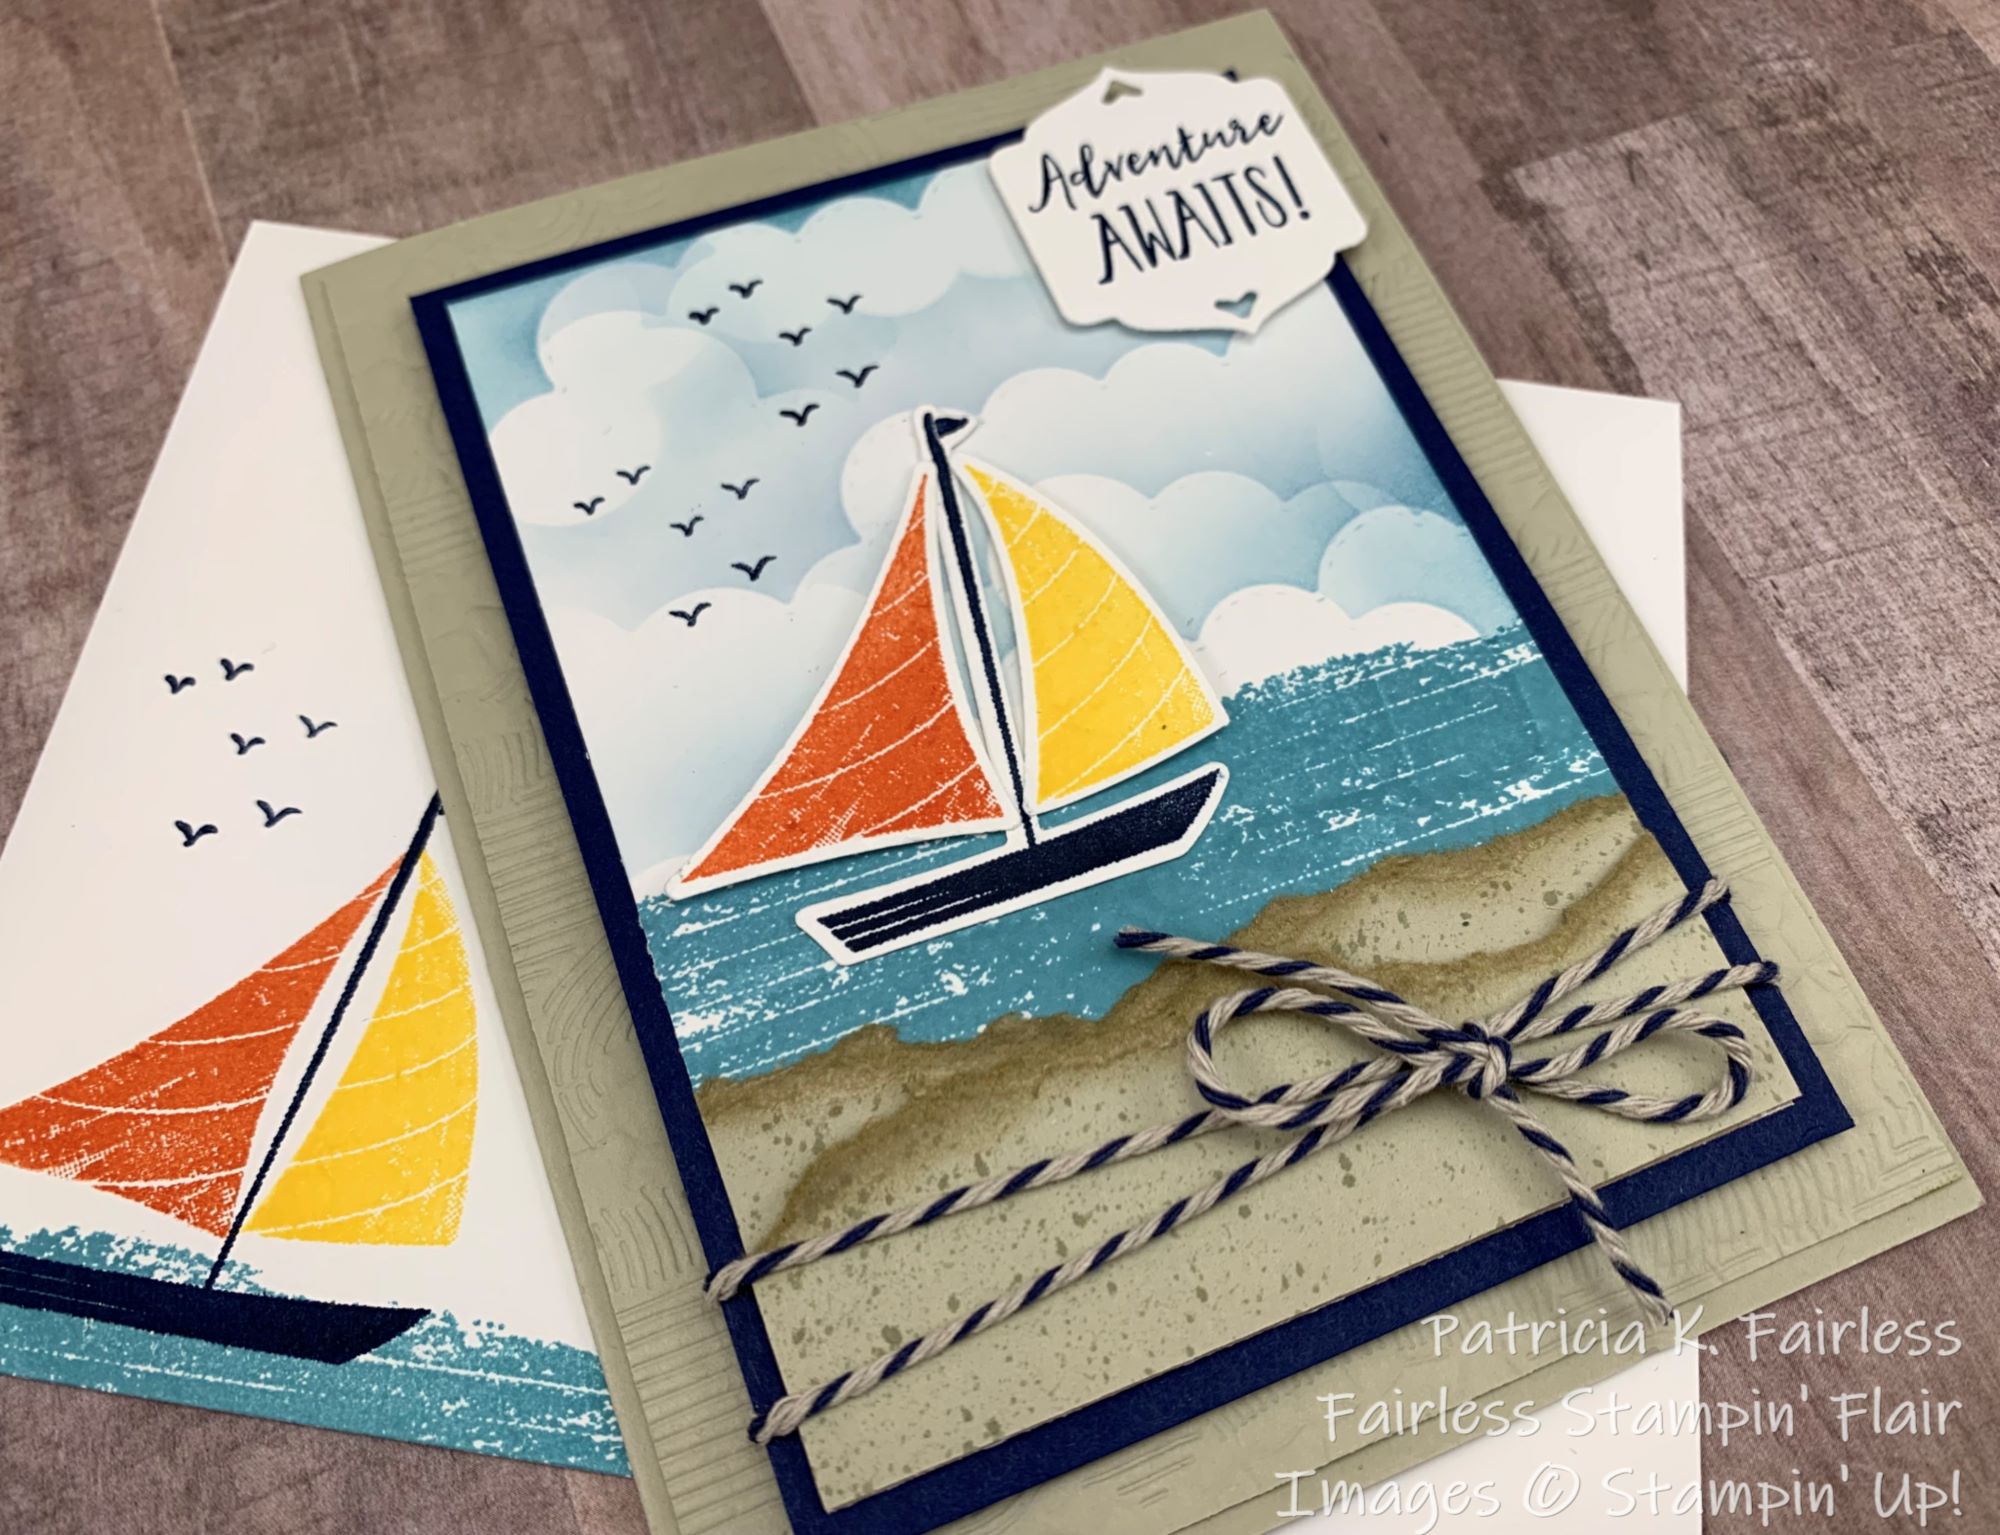
SAILING WITH THE WIND

I think the card today is made with a very "Nautically" expected color combination.  Night of Navy and Sahara Sand seems to be a common color combination used on nautical cards, so, I decided to just go with the flow -- or maybe with the wind.


First, I tore a couple of pieces of Sahara Sand to create my sandy beach.  I added speckles by flicking the cover of my Sahara Sand Stampin' Write Marker across the brush end of the marker. This takes a bit of practice, and it is not very predictable where the speckles are going to end up so don't wear a white shirt when using this technique!  Next, I used a sponge dauber to ink the torn edges

The water is stamped with Balmy Blue ink.  To make the clouds I used one of the Basic Border dies to create a mask from copy paper.  I then used my Blending Brush and Balmy Blue ink to make the clouds.


The Bakers Twine that I have wrapped around the bottom portion of the card front is an old, retired Bakers Twine that I have been hoarding.  It's time to start using it.  I believe we should use those things we have so I need to do a better job and stop hoarding embellishments that I love.


The sentiment is from Let's Set Sale, but the die cut was made with a die from Heron Dies.

For the inside of the card, I repeated the same sailboat as on the card front.  It is stamped with Night of Navy for the boat and Calypso Coral and Daffodil Delight Ink for the sails.  You can also see a portion of my coordinating envelope which has the same design.


I hope you have enjoyed this week's cards made with the Let's Set Sail Bundle.  I am not a sailor, but it does make me want to get out on my Pontoon boat and enjoy the water.


A list of products used on the card is shown below.  The Bakers Twine is Retired.


Product List

Thursday, June 2, 2022

LAST CHANCE SALE


The Last Chance Sale for the Retiring Products in the January -June 2022 Mini Catalog has begun. Some Products are reduced up to 50%. Remember, these retiring products are only available while supplies last, so if there is something you like, don't dawdle. They can go quickly!

Once these retiring items are sold out, they are gone forever.

Use this link to access the Last Chance List.

Wednesday, June 1, 2022

LET'S SET SAIL - ABSTRACT BEAUTY

Today's Let's Set Sail card has a different feel from Monday's card.  Monday's card was bold and colorful while today's card is calm with pastel colors.


This card is a Double Z-Fold card and for this Fun Fold Style I always like to use designer series paper.  For today's card I used the Abstract Beauty Designer Series Paper.  This paper is in the January - June Mini and is currently on the Last Chance List for 50% off.  It is beautiful designer paper!  To see more of the patterns, click on the Product List link below.


I also used the new Charming Sentiments Bundle for the sentiment on this card.  This new bundle comes with dies that cut out each sentiment, so it looks like it was fussy cut!  This sentiment bundle is definitely in my Top 5 favorite items in the new catalog.

The sky was made with Balmy Blue and Polished Pink ink and a Blending Brush.


The sails were punched from the Abstract Beauty designer series paper, and, like Monday's card, I drew the lines on the sail with a glimmer gel pen to provide the illusion of curvature.


Here is a better view of the partially open Double Z-Fold Fun Fold.  This fun fold is actually very easy to make and once you decide which Designer Series Paper you want to use, they come together quickly.

If you would like a Tutorial with the cutting and scoring dimensions and step-by-step directions on how to make the Double Z Fun Fold you can download one at this link.

The picture below shows the card lying flat so that you can see each section more clearly.

What do you think of this card?  I'd love to hear your comments.

Below is a list of the Products used on today's card.  And don't forget, the Abstract Beauty DSP is on the Last Chance List for 50% off.  Last Chance items are only available while supplies last, so don't wait too long, and miss out!

Product List