Wednesday, August 14, 2024

SALTED MUSHROOMS

Are you a Mushroom Lover?  Me? Not so much.  I don't really like them or dislike them.  The texture is a bit funky, and the flavor is -- well, bland.  

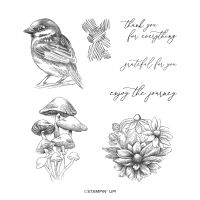
But while I may not enjoy eating them, I do like making cards with the mushroom image from Inspired Sketches.  

It is a beautiful DisINKtive stamp.  The shading on it amazing and all you need to do is pick a color and stamp it.  

The background was created using the Salted Background Technique.  If you are unfamiliar with this technique you can watch the replay of the Learning with Friends video where I demonstrate how to do the technique.

This technique makes beautiful backgrounds that a lot of fun to make.  I hope you are inspired to try it!

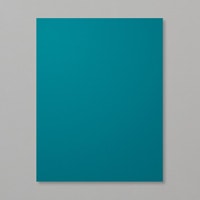
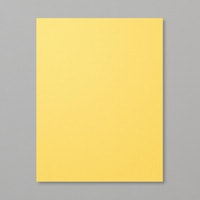
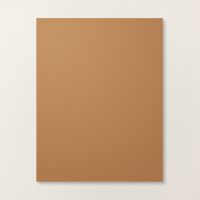
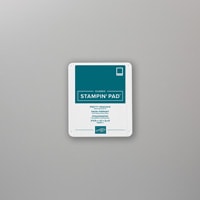
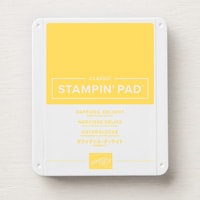
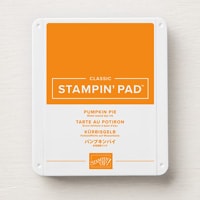
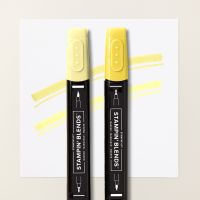
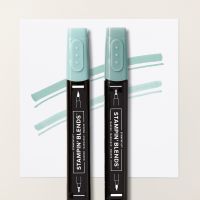
The colors used for the background were Pretty Peacock, Daffodil Delight and Pumpkin Pie.  The salt creates the beautiful, mottled look of the background.  As I mention in the video the mottling does tend to be more distinctive on darker colors.


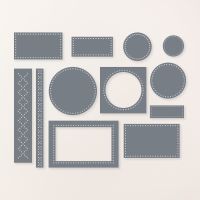
The Mushroom Image was die cut with an Everyday Details die.  The die cut holes that create the border sets off the image without overpowering it or detracting from the pretty Salted Background.

When I make my Technique Sheets, I often make them larger than the intended finished size.  That allows me to trim them down and hopefully have a leftover scrap to decorate the inside of the card.


Doesn't that pop of color add a pretty accent to the inside of the card?

Use this link to access a written tutorial for today's card.  There is also a link to the video on the tutorial, so when you reference it in the future you will always be able to easily find the video.

A list of current products used is listed below.

Product List

Monday, August 12, 2024

EMBOSSED iNSPIRATIONAL SKETCH

This week I will be using the Inspirational Sketches Stamp set for my cards.  I was drawn to this stamp set when it was first introduced, but it took me a while to add it to my collection.

I have used the stamp set several times in my Learning with Friends videos, so I'm going to be sharing a couple of the cards that I made to showcase various techniques.

Today's card uses the simple Embossed Designer Paper (DSP) Technique.  This is so simple but was not something that even crossed my mind until I saw a very old Technique Video by Sharon Armstrong from TXStampinSharon.  Isn't it strange how we never even think of some of the simplest ideas when we are making our cards?

If you missed my video, you can still watch the replay.  But honestly, I'm not sure you really  need a video to figure out how to emboss DSP.  LOL


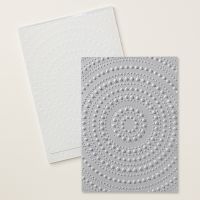
For this card I used the Dotted Circles 3D Embossing Folder.

 
This is a great Embossing Folder to accent a circular focal point like the one on today's card.  The Dotted circles embossing folder is one of the new larger size (8-1/2" x 6") folders so you can easily move it around on your card to put the center of the circle in different places on the card.  On this card I offset it to the right where I wanted my focal point to be.


I used the gorgeous Thoughtful Journey 6" x 6" DSP for this card.  If you can't find a design you love in this collection, well, then I just don't know what to say.

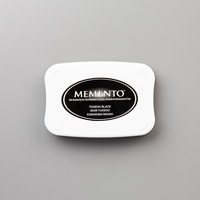
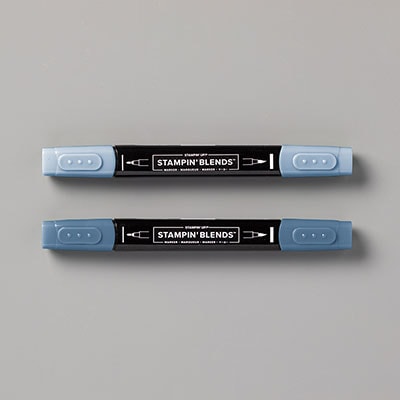
I stamped the flower stamp from Inspirational Sketches with Tuxedo Black Memento ink and then colored it with Stampin' Blends choosing colors that were in the DSP--and there were a lot to choose from!

The focal point circle was die cut with a die from Spotlight on Nature dies.  Since there are no coordinating Inspirational Sketches dies, I fussy cut the flowers.

For the inside of the card I used a strip of the Thoughtful Journey DSP that was trimmed from the piece used on the front.


Add a coordinating mat and it doesn't get much easier than that to insure the inside of your card is not naked!


A list of the products used is shown below.


Product List


Today's Thoughtful Journey Designer Series Paper is just one of the beautiful choices available that are on sale for 15% off this month.  It's a great time to stock up on those favorites.  I know I did!
Friday, August 9, 2024

WINTER CHRISTMAS LIGHTS

Turning a branch of tiny leaves into Christmas Lights--who would have thought of that?  I wish I could take credit, but I can't.  This was another idea from the Creativity Now Event.


Aren't the little lights adorable?  

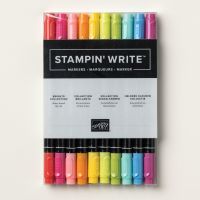
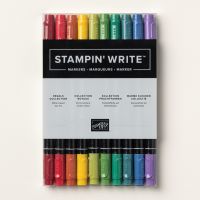
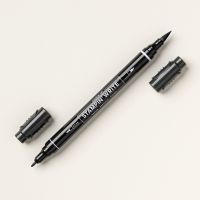
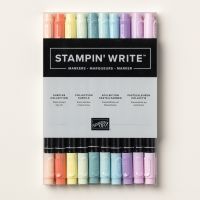
Now I have a confession.  I had set out a large Christmas sentiment to stamp on the card front, but since I typically stamp my sentiments last, I started with the lights.  I stamped them with Tuxedo Black Memento ink and then used various colors of Stampin' Write Markers to color the lights.  My hint when coloring the lights is to leave a tiny white spot on each light as that makes it look like the light is on!  I also found that the Stampin' Write Markers made more realistic lights than Stampin' Blends.  The blends wanted to "blend" and I wasn't getting the white highlight spots that I wanted.


Next, I stamped and colored the bird with Boho Blue and Lemon Lolly Stampin' Blends and die cut it with the coordinating die.  I also found that Peach Pie is a perfect color for birds' beaks. 

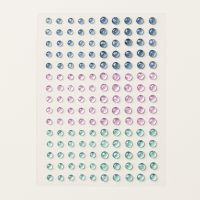
I added the torn strip of DSP at the bottom edge below the lights and colored a piece of white Baker's Twine with a Cherry Cobbler Stampin' Write Marker for a bow below the bird.  I then stamped my sentiment, added the bird with dimensionals and adhered my completed assembly to the Cherry Cobbler card front.  Lastly, I colored three clear Faceted Gems with a Cherry Cobbler Blend and adhered them to the completed card front.

I was cleaning up my very messy workspace when I saw my large Christmas sentiment stamp laying there -- looked at the card, and realized I had grabbed the friend like you stamp and stamped it on the card rather than the Christmas stamp.  I was not happy!  I called it a day!

Day 2:  I tried various things to salvage the card.  My first thought was to stamp the large Christmas Sentiment on a separate piece and pop it up it over the friendship stamp.  That solution didn't work as it either covered part of the bird's head or extended too far over the edge of the card.  I was about ready to start completely over, when I tried adding the tiny Merry Christmas below the existing sentiment.  Appropriately, I found it in a retired set called Teeny Tiny Wishes.

I thought it worked.  What do you think?  

I found the inside sentiment in another retired stamp set, Brightest Glow, and added a string of lights below it.

I'm happy that demonstrators can now place a pre-order from the Fall Mini catalog as I need some current Christmas Sentiments.  Don't get me wrong.  I love many of my retired Christmas sentiments, but I feel bad showing you things that are no longer available.

Use this link to download a tutorial for today's card.

Below are the items in the Nests of Winter Suite that you will be able to order September 4 -- unless you are a demonstrator, then you can order them now!  Getting my hands on items early is one of my favorite Demonstrator Perks!

  • Nests of Winter Suite                Item # 164072
The Suite includes the following items:
  • Winterly Tree Tops Bundle (stamp set & dies) - Item # 164066
  • Natural Tones Linen Thread - Item # 164071
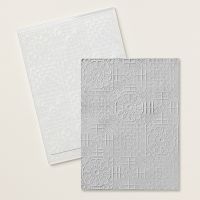
  • Birch Wood 3D Embossing Folder - Item # 164069
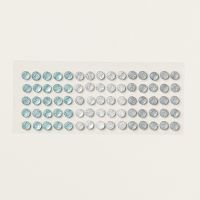
  • Earth Tones Shimmer Gems - Item # 164070
  • Nests of Winter 12" x 12" DSP - Item # 164183 

 Below is a list of current items used on today's card.

Product List