Friday, December 6, 2024

A HOT CHRISTMAS TREE

What do Hot Glue and Christmas Trees have in common?  Nothing really, except my card has Christmas tree is sitting on a background made with the Heat Embossed Hot Glue Technique.

This card uses the extremely unique technique that Brandy Cox, one of the Creativate Team, demonstrated during the Creativate Fall Retreat.  To say that I was amazed by her creativity is putting it mildly.  

If you have followed my Learning with Friends Weekly Videos, you know that I love techniques, but how Brandy came up with this idea is amazing.

If you haven't seen how this technique is done, you can watch a replay of my Learning With Friends video.  A huge THANK YOU to Brandy for introducing this idea to us!


The colors I used for my background were Petal Pink and Cherry Cobbler.  I didn't come up with that color combination either, but my Color Coach told me Cherry Cobbler, Petal Pink and Mossy Meadow "go together", so who am I to second guess the coach!

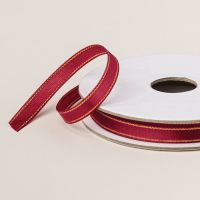
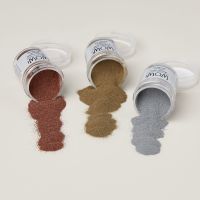
After adding the hot glue in a grid pattern, I embossed with Gold Embossing Powder.  This was my very first attempt at the Heat Embossed Hot Glue Technique.  At first I wasn't too happy with my "lines" as they were inconsistent and not straight, but once I added the Mossy Meadow tree and a bit a ribbon, it looked so much better!  It's amazing what can be covered up with a Christmas Tree!   LOL

The Petal Pink Stylish Shapes sentiment covered up another area I wasn't crazy about!  

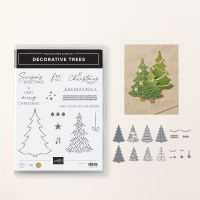
The Christmas tree was stamped with Mossy Meadow ink on Mossy Meadow cardstock before die cutting with the Decorative Trees die.  Little Cherry Cobbler Bows decorated with tiny Rhinestone Jewels finish the tree.


The same tree was stamped on the inside of the card, and a Cherry Cobbler sentiment was added before adhering the stamped Basic White cardstock to a Petal Pink Mat.

Use this link to download a tutorial for step-by-step details.

A list of products used is shown below.

Product List
Wednesday, December 4, 2024

O CHRISTMAS TREE! O CHRISTMAS TREE!

I have another fun fold card for you today that uses the Decorative Trees Bundle.  I have no idea what the official name of this Fun Fold is, but I'm calling it a Side Box Fun Fold.


I gave it that name because the left side of the card actually opens to a box shape allowing the tree panel to pop up.


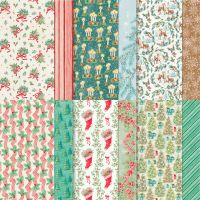
This gives the card a little bit of WOW when it is opened!  It also provides a nice sturdy base for displaying the card.  The designer series paper (DSP) is from the Sentimental Christmas Collection.

I showed how to make this fun fold last week on my Learning with Friends Video Series.  If you missed it, you can still watch the replay.


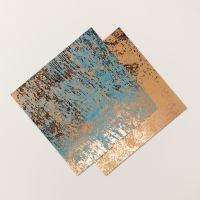
The Thoughtful Expressions "medallion" that the tree is sitting on is made with two layers of beautiful Specialty Paper that adds some shimmer & shine and elegance to the card.  It is called Oxidized Copper, and I thought it worked nicely with the more country feel of the Sentimental Christmas DSP.

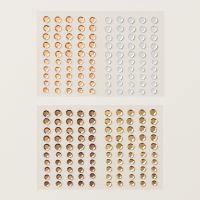
To keep the copper theme going I decorated the tree with Copper Foil trim that was die cut using more dies from the Decorative Trees Bundle.  Copper Sequins from Neutrals Adhesive-Backed Sequins add even a bit more bling!

When the card is opened, the sentiment is revealed on a second Thoughtful Expressions medallion assembly that was hidden behind the medallion on the card front.


Use this link to download a copy of the tutorial.  The link to the video is also included on the Tutorial, so you can easily access it later.

A list of the products used for today's card is shown below.  Click on any image to learn more or to place an order.


Product List
Monday, December 2, 2024

DECORATIVE TREES VARIETY

This week let's decorate our Christmas trees!  I will be using the fun Decorative Trees Bundle this week.  When I first saw it in the Fall Mini catalog last summer, I didn't think I needed another Christmas Tree set, but then I saw the die cuts for this bundle at a retreat I attended in August.  And that totally changed my mind!

This bundle has multiple decorative dies to put on your solid tree die cut, and I'm going to show them ALL to you today.  We made this simple little fun fold card at my Christmas Card Stamp a Stack in October, and since we were creating a "stack" of Christmas cards, the attendees made one card with each of the trees.  This first one uses the plaid die cut.

Before I show you the other three cards, let's look at the fun fold a little closer.  It is basically comprised of a card within a card and is a vertical version of a Joy Fold.  The smaller card in the center overlaps the fold of the larger card at the bottom.


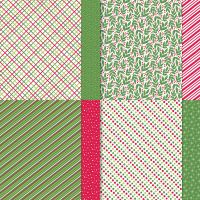
First the small card opens and then the lower part of the larger card opens.  Super quick & simple to make.  The designer series paper (DSP) is the Take a Bow 6" x 6" DSP, and every piece of a 6" x 6" piece was used to make one card -- including the decorative strip on the envelope flap!

For all the details on this Fun Fold, here is a tutorial that you download.  It includes a cutting diagram to maximize the use of a 6" x 6" piece of DSP.

Now here are the rest of the tree design die cuts.

Here is the "striped" version.


Here is the version I call a Charlie Brown Tree.


And maybe my favorite -- the snowflake tree.

Which is your favorite?  They are all so cute aren't they?  The die set includes a die that cuts out 6 bows at once, so each tree got 6 little Real Red Bows.

Since the Take a Bow DSP has 4 different double-sided patterns, I used a different DSP pattern for each card which shows off all 8 of the different patterns.  The Basic White background behind the trees was embossed with the Snowflake Sky Embossing Folder.

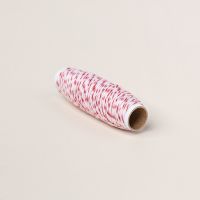
Listed below are the supplies for each card.  A tiny double bow was made with Real Red & white Bakers Twine.

Product List