No, the pumpkins aren't floating in ink, but I did float some ink on the heat embossed pumpkins to color them.
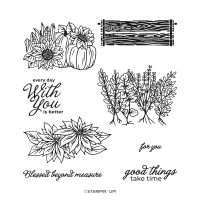
The image of the pumpkins and sunflowers, from Rustic Crate were colored using the Floating Ink Technique. I showed how to do this a few weeks ago in a Learning with Friends video. If you missed it you can watch the replay below.
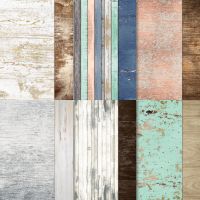
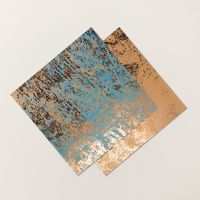
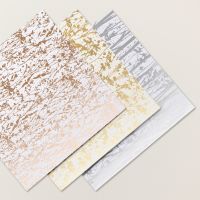
The "bling" on today's card comes from the Oxidized Copper and Naturally Gilded Designer Series Paper (DSP). And the "rustic" on the card comes from the Country Woods DSP.
Here is a close-up of the colored image.
This ink-floating technique provides nice shading of images. It's great for those of us who aren't really artists and don't necessarily know how or where to put shading. The floating ink does it for us -- but just remember -- the ink is floating on water, so you also don't have a lot of control over where the shading goes.
Use this link to download a free tutorial for today's card. The tutorial includes all cutting and scoring dimensions and simple step-by-step directions.
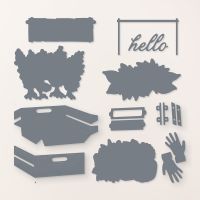
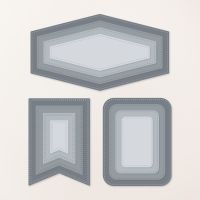
A list of products used is shown below. Click on any image to learn more about that product or to purchase your favorites.






No comments:
Post a Comment