Showing posts with label Nested Essentials Dies. Show all posts

Monday, January 6, 2025

ONE MORE YEAR OF CAKE!

This week I am sharing sneak peeks of cards made with the One More Year stamp set.  This stamp set will be available on January 7, 2025, when the January - May Spring Mini Catalog goes live.

I'm trying to choose a greater variety of stamp sets lately.  Like most stampers I tend to be drawn to the same type of sets, and I'm currently totally overrun with flowers.  This stamp set is great for birthdays.  The images are cute, but the greetings in the set make me laugh, and I hope they will make others laugh, too.  Most have "sassy" remarks about getting older.

For this card I did trim the "sass" off from the sentiment on the card front as the full sentiment says HAPPY BIRTHDAY - Another wrinkle wiser.

Am I the only one that sometimes struggles coming up with my first card with a new stamp set?  To get my mojo in gear this week, I decided to use one of the twenty-two sketches on page 12 of the new Mini Catalog.


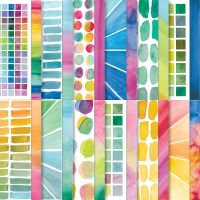
I chose this sketch because I liked the combination of the different shapes.  It also let me use one of my favorite Designer Series Paper (DSP) Collections called Full of Life.  I love the colors and the variety of geometric shapes in this DSP, and I think it is perfect for gender neutral birthday cards!


A little strip of the DSP and one of the "sassy" sentiments finished off the inside of the card.

If your Mojo is missing, sketches are a great way to get started.  The current 24-25 Annual Catalog also includes several sketches.  These sketches are one of the new additions made to our catalogs that I love.  Be sure to check them out.

Don't have a catalog orStampin' Up! demonstrator?  Drop me an email, and I would be happy to send you a catalog and hopefully make you a happy customer!

Use this link to download a PDF Tutorial for today's card.

Do you need a "cute" stamp set?  The One More Year stamp set item # is 164777.

The other current products used in today's card are listed below.


Product List

Wednesday, September 11, 2024

INK FLOATING PUMPKINS

No, the pumpkins aren't floating in ink, but I did float some ink on the heat embossed pumpkins to color them.


The image of the pumpkins and sunflowers, from Rustic Crate were colored using the Floating Ink Technique.  I showed how to do this a few weeks ago in a Learning with Friends video.  If you missed it you can watch the replay below.


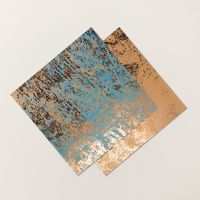
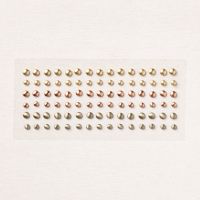
The "bling" on today's card comes from the Oxidized Copper and Naturally Gilded Designer Series Paper (DSP).  And the "rustic" on the card comes from the Country Woods DSP.

Here is a close-up of the colored image.


This ink-floating technique provides nice shading of images.  It's great for those of us who aren't really artists and don't necessarily know how or where to put shading.   The floating ink does it for us -- but just remember -- the ink is floating on water, so you also don't have a lot of control over where the shading goes.


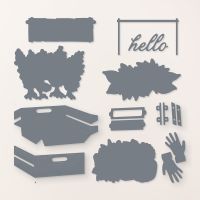
To create the hello sentiment I die cut the hello 4 times using an adhesive sheet on each die cut.  This made it super simple to adhere the pieces together as well as to adhere the sentiment assembly to the card front.

I like to pop-up my sentiments but doing that with a die cut script sentiment like this is difficult and impractical.  Creating multiple layers provides the thickness and appearance that you want without using dimensionals and is a much better solution.


No additional decoration is required for the inside of the card because the Naturally Gilded Specialty Paper, whose main purpose is to highlight the front of the card, does double duty when the card is opened.

Use this link to download a free tutorial for today's card.  The tutorial includes all cutting and scoring dimensions and simple step-by-step directions.

A list of products used is shown below.  Click on any image to learn more about that product or to purchase your favorites.


Product List
Friday, June 28, 2024

GARDEN MEADOW AND A SALTED BACKGROUND

Have you watched my Learning With Friends Technique videos?  Do you ever wonder what I do with all those "extra" technique sheets that I create?  Too often, I stick them in a box to use later -- but then never do.

If you are a regular follower of my website, you know that this week we are trying something  "new".  I'm calling it hodgepodge week.  So, you are seeing a little of this and a little of that.  One of my thoughts is that maybe I can make use of some of those "leftover" technique sheets.

So, today's card does just that!  It was made with one of the Salted Background sheets we created during last week's Learning with Friends.  

This was my favorite one made with Thick Basic White cardstock and Pretty Peacock, Pumpkin Pie and Daffodil Delight ink.  So, I used it for the background behind my Garden Meadow Arch.  The "salt spots"  show up really well in the Pumpkin Pie area.

The arch, gate, boots, garden tools, flowers and the sentiment are all from the Garden Meadow Bundle.  

The flowers and boots were colored with Stampin' Blends and the garden tools were stamped on Silver Foil and then die cut.  All stamped images have coordinating dies, so that makes quick work of putting this card together.  No fussy cutting required!

I die cut two of the gates and trimmed the opposite sides off of each so that I could have a gate that opened.  Cute, right?

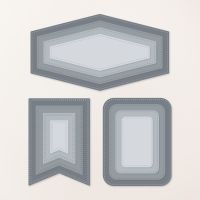
The sentiment was positioned toward the right side of one of the Nested Essentials Dies and then after die cutting the left portion was trimmed to make it better fit the card.


The most difficult part of this card was deciding which section of my completed technique sheet to use for the "arch".  I decided to maximize the amount of blue in the arch, so that left me with a "scrap" strip on the right which was mainly Daffodil Delight and Pumpkin Pie.  I used that strip to add some color to the inside of the card.  I also stamped and colored the basket of flowers for a bit more pizzaz.  

Use this link to download a free Tutorial.

This wraps up another week of blog posts.  I hope you have enjoyed the ideas and have found some inspiration!

I'd love to hear your comments.

Product List