Showing posts with label Monochromatic Card. Show all posts

Friday, May 10, 2024

THOUGHTFUL WISHES OF APPRECIATION

Today's card uses a die that I haven't used yet this week as I have been sharing cards using the Thoughtful Journey Suite of Products.  This card was CASEd (Copy And Share Everything) from a card I saw on Pinterest made by Kayla Renee.


The last couple of weeks here at Fairless Stampin' Flair have been a bit hectic as we move on to Phase 3 of the renovation.  These are the times that I'm thankful for beautiful the ideas that others so willingly share.


My card uses the new Peach Pie In-Color, which I'm still trying to learn to love.  It is a bit of a monochromatic card, but I can't claim it is a "true" monochromatic because I added a pop of Shy Shamrock behind a Basic Black sentiment.  Why do I always want to call it "Shamrock Shake"?  I must have a craving for one.  But I digress...

The part I found intriguing about this card when I saw it was the threads behind the die cut.  They were pulled from a piece of Peach Pie ribbon, and I really like the bit of unexpected added texture behind the die cut.  I'm going to try to remember that trick!


It was a little tedious pulling out the strands, and I didn't use nearly as many as the card I CASEd but I like the bit of feathery softness it adds.

The large die cut, made with the Thoughtful Wishes Dies, was cut from the new 2024-2026 In-Color Glimmer specialty Paper.  The Shy Shamrock behind the sentiment is also from that same paper pack.  You can learn more about the products I used by clicking on the item in the Product List below.


For the inside of the card I masked the stripe and used a Blending Brush to color it.  This is the same process as I used for the front of the card.

If you would like a tutorial for today's card you can download a FREE PDF by clicking on this link. 

I hope you have enjoyed the cards this week with the Thoughtful Journey Suite.  As I indicated on Monday, this week's cards barely scratch the surface of showcasing all of the products available in the suite, but I hope I've peeked your curiosity to learn more and inspired you to CASE some of the ideas.


Product List

Monday, April 15, 2024

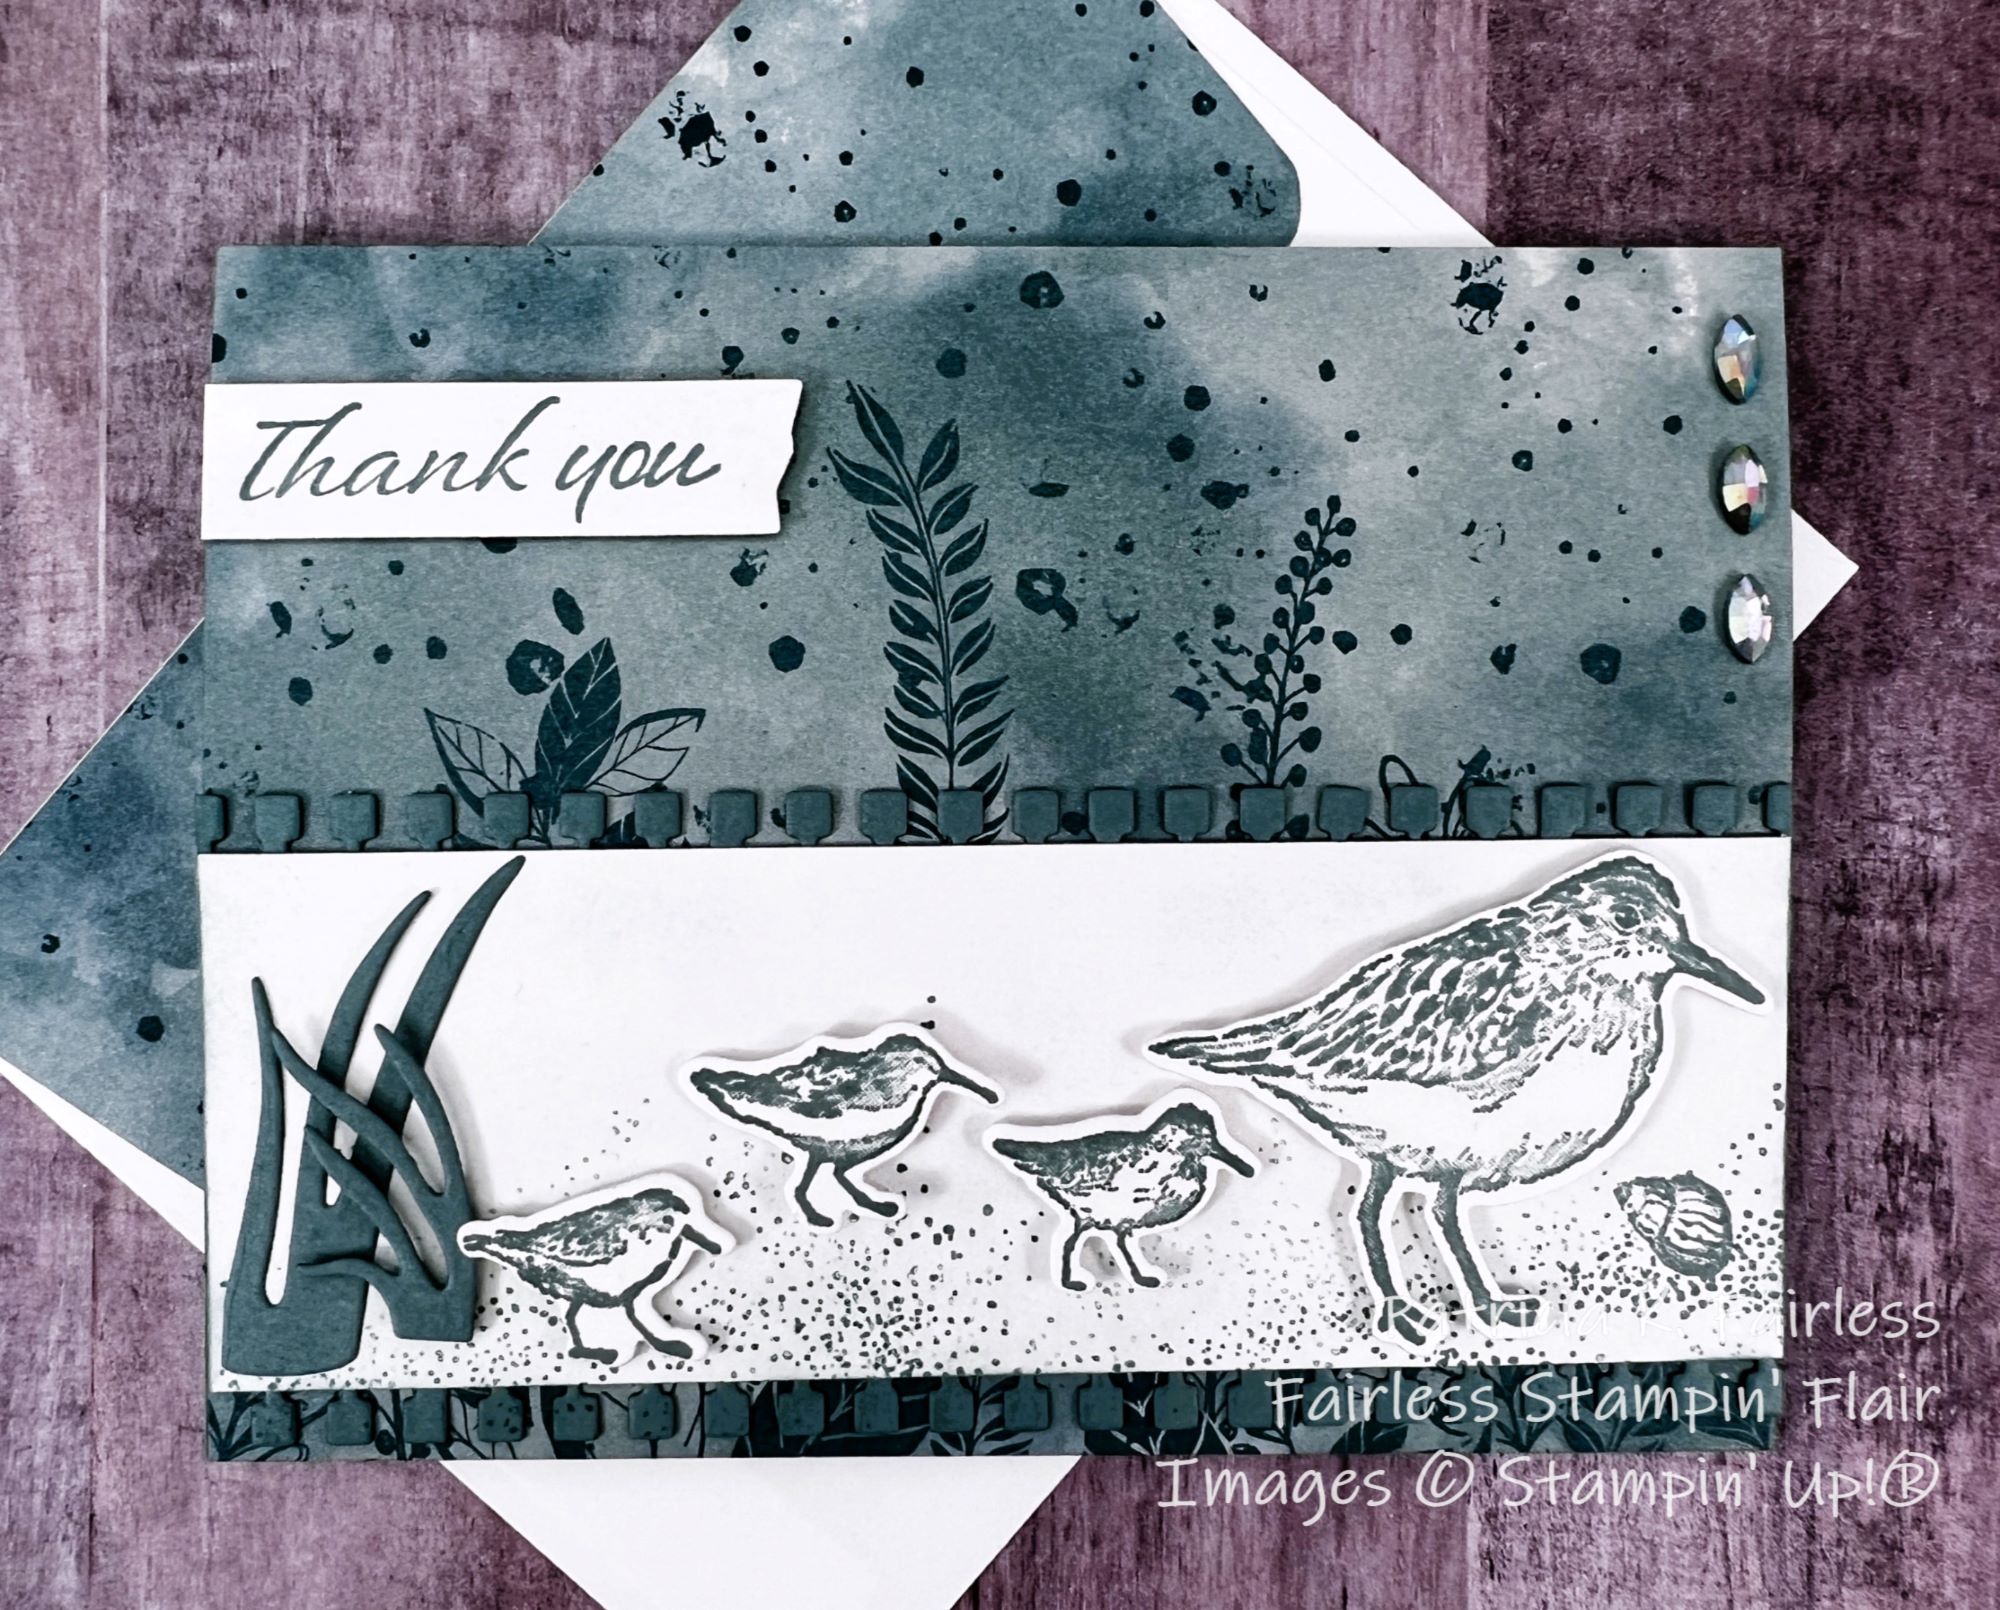
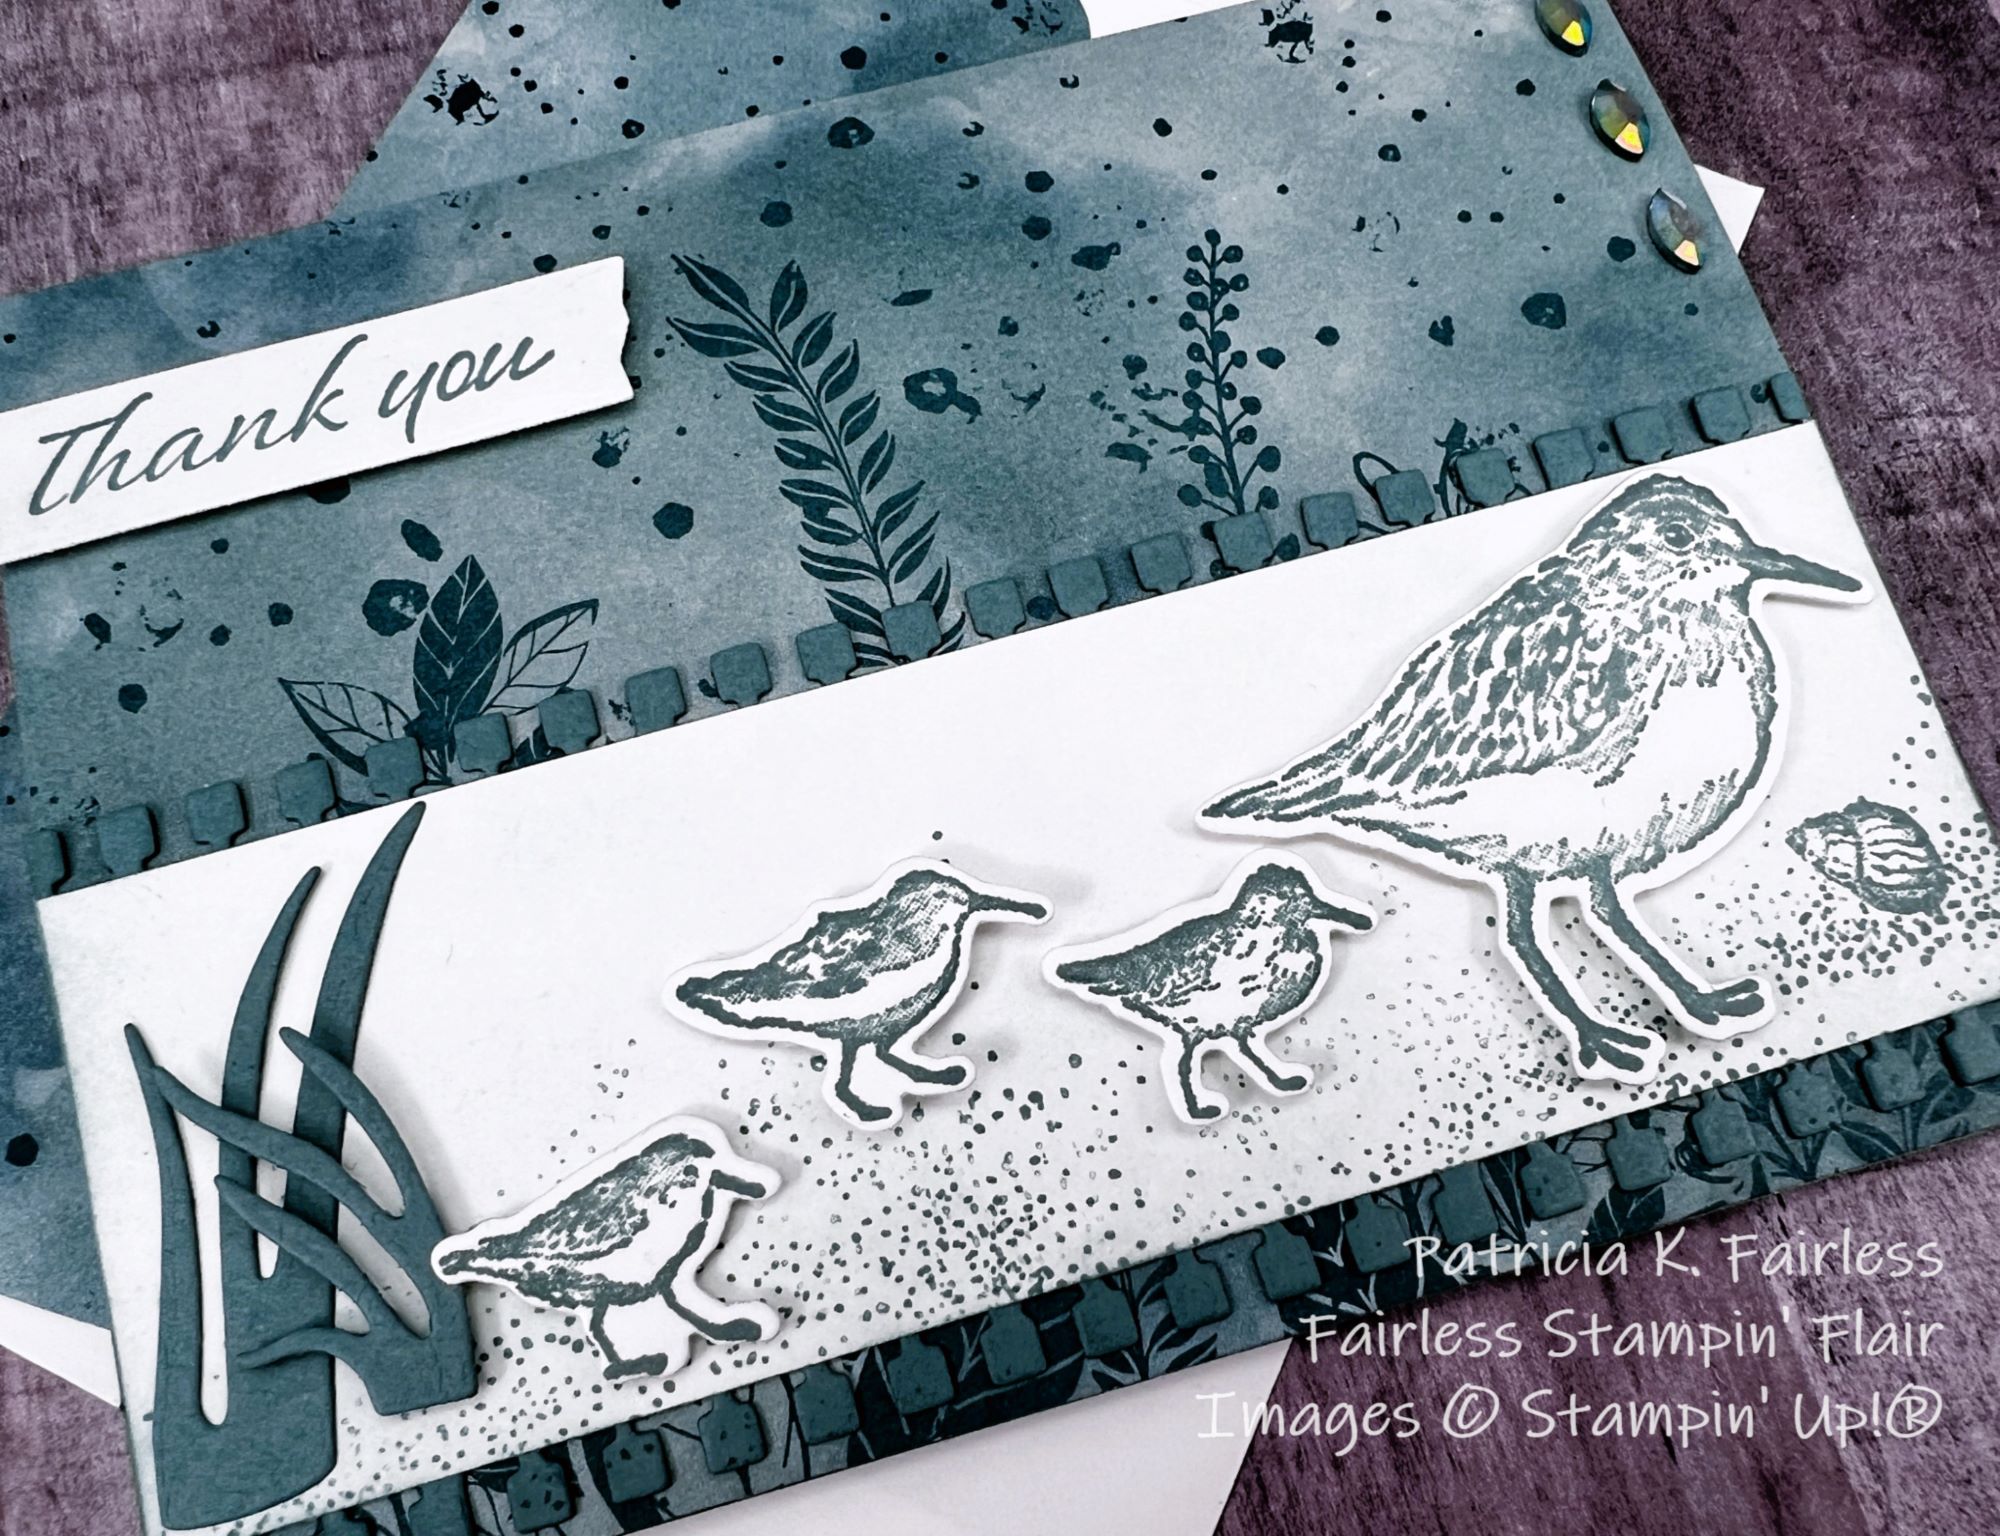
WALKING BY THE SEASIDE BAY

Since we are in the process of saying goodbye to some products in the 2023-2024 Annual Catalog, I have decided to spend the next couple of weeks saying farewell to some of my favorites.

I have always loved anything related to the water -- whether it is a beautiful lake like the one I enjoy every day, or walking along a sandy shore, or just sitting and listening to the waves roll in.  So, when Seaside Bay was first introduced, it was a bundle I purchased immediately.  As we now make room for new products, we need to say goodbye to this old favorite.

Our Coffee Club challenge this month was to make a monochromatic card.  This was my 2nd attempt, and I think it achieved monochromatism much better than my first attempt.

Color selection is always a challenge for me so when starting a project I usually pull out my color coach or start with the colors in designer series paper (DSP).  This DSP is from the Hello, Irresistible collection which is an ONLINE EXCLUSIVE.  

I thought this particular pattern of DSP was appropriate to use with the Seaside Bay stamp set.  It reminded me of seaweed floating in bubbly water.  I'm just glad I'm not swimming in it.  I hate the feel of weeds rubbing against my legs when swimming.

All stamping on this card was done with Lost Lagoon ink.  I used a Blender Pen to spread the ink just a bit on the birds feathers and then added some Wink of Stella to add a little sparkle.


The border along the top and bottom the Basic White strip was made with a die from Gorgeously Made Dies.  

I used the opposite edge from the die cuts to border the DSP decorative strip on the inside of the card.  This way, nothing went to waste!


The DSP strip is wider than I normally use for the inside of a card, but I wanted to show as much of the "seaweed" as I could.  There is still plenty of room for a handwritten thank you note.

Use this link to download a tutorial with all the cutting dimensions and step-by-step assembly instructions.

Refer to the product list below for items used on this card.  As I indicated above, Seaside Bay is on the Last Chance List.  The stamp set is 50% off and the dies are 60% off!


Product List

Friday, August 12, 2022

AN ELEGANT CHRISTMAS WOODS

Today's card is a more elegant style than my previous cards this week.  I love to use foils for Christmas cards.  Foil just seems to go with Christmas.  Maybe it's because we love all the glitter, shimmer and shine of Christmas decorations.  Someday I hope I can learn to capture all that shimmer and shine in my photos.


My Thick Basic White card base was first covered with another layer of Basic White cardstock embossed with the Timber 3D embossing folder.  Whenever I make a monochromatic card, I like to add as much texture and dimension as possible as it provides interest.

Before adhering the silver dotted Sale-A-Bration Designer Series Silver & Gold paper to the silver foil mat, I die cut 3 silver tree branches with the Tree Lot Dies from the center of the foil mat.   When using a more expensive paper for a mat, I like to make use of the center of the mat since it's going to be covered up anyway.  I was easily able to get three trees out of the center and probably could have squeezed in a 4th.

After die-cutting 5 trees in varying sizes from Basic White cardstock, I embossed the Basic White trees with the Timber 3D embossing folder.  Once the silver branches were adhered, the fun began as I created my little forest of trees on the front of the silver dotted designer series paper.

Dimensional interest was created by adhering some trees directly to the front and lifting others with dimensionals.  In the following photo you can see more of the dimension.


The sentiment was heat embossed with silver embossing powder on a separate Basic White strip and layered below the trees.

The card was wrapped with Metallic Mesh Ribbon to add additional sparkle and elegance.  This ribbon is so pretty, and it was surprisingly easy to tie into a bow!  Bows are generally a challenge for me, but this mesh ribbon was quite easy to tie.

To complete the card front I scattered a few Rhinestone Basic Jewels across the sky.

For the inside of the card, I made two more trees.  I again die cut several of the silver branches from the center of the Silver Foil Mat and used them for the card front and inside.

The silver heat-embossed sentiment is from the Hope & Peace stamp set.


While elegantly beautiful, this card was quick to create.  I think I am going to make a few more of these to add to my Christmas Card collection.  I may mix it up and use other foil colors as well.

If you would like a tutorial for today's card, you can download one by clicking on this link.

The complete product list is shown below.  For more information on any product, just click on the image.


PRODUCT STATUS UPDATE:   I create my cards and posts one to two weeks in advance of the posting date, so unfortunately since I created this card the Sale-a-Bration Item Tree Lot Dies has sold out and is no longer available.  The Trees For Sale stamp set is still available in the July - January Mini.  You could always fussy cut the trees, but if that doesn't appeal to you, use products you already have.  Over the years, Stampin' Up! has had many bundles with trees and coordinating dies.  Use this card as inspiration and use the products you have!

Product List