Showing posts with label Sentimental Christmas Designer Series Paper. Show all posts

Friday, November 8, 2024

A TOWER OF SENTIMENTAL WISHES

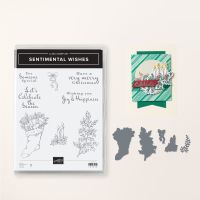
I have been using the Sentimental Wishes Bundle all week.  One Monday we saw the candles.  Wednesday's card spotlighted the cute stocking.   Today's card features the last main stamp in the stamp set, the holly branch.


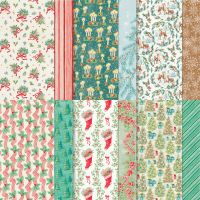
The Designer Series Paper DSP) on this Tower Fun Fold, Sentimental Christmas, is from the same suite of products as the stamp set and dies.  With every purchase of this very versatile Christmas Paper Stampin' Up! donates $3 to Children's Literacy.  Click on the DSP image in the Product List below to see all the designs that are in this Collection.  It has a great variety of colors and images.  

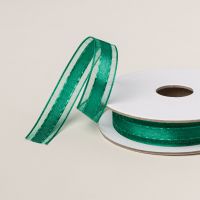
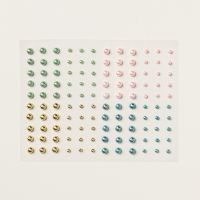
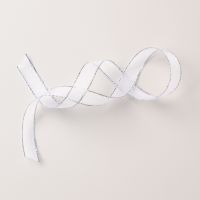
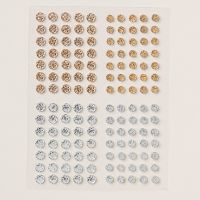
I highly recommend checking out this full Sentimental Christmas Suite.  It is very economical for a suite and the coordinating accessories (Shaded Spruce Ribbon, and Drusy Embellishments) are gorgeous.  I used the Shaded Spruce ribbon on this card but used Blooming Pearls as my embellishments as I like their color with this particular card.  But, I have to say, if you love sparkle, the silver & gold Drusy Embellishments in the Suite are super sparkly

Today's card is aTower Fun Fold.  It's looks a little complicated, but it is actually MUCH easier than you might think.

I demonstrated the Tower Fun Fold in a Learning with Friends video near the end of August, but these videos always to continue to be available on my YouTube Channel.


As you have probably figured out, there isn't an "inside" to the Tower Fun Fold, but remember the back is always available to share our sentiment and message.


To continue the fun on the front of the tower, I decorated the back with the same Sentimental Christmas DSP.

Use this link to download a tutorial with all the cutting and scoring dimensions.

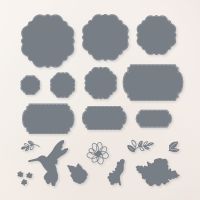
A list of the products used are shown below.  I encourage you to take a closer look at this entire Sentimental Christmas Suite.  It is so much fun!
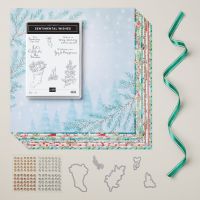

Product List

Friday, November 1, 2024

SENTIMENTAL CHRISTMAS FUN FOLD

Have you ever had difficulty trying to decide which side of a pretty piece of designer series paper (DSP) you wanted to use knowing that the other beautiful side would get covered up?  I'm pretty sure we paper crafters have all experienced that!

Then there are also those DSP designs that have beautiful borders at the top and the bottom of a 12" x 12" piece, and it just doesn't seem right to cut them up!  So, what do you do with those?

I've struggled with both of these situations so I wanted to find a way to address them both.

I went on a search for a Fun Fold that could solve my dilemma.  I found a couple, but they weren't exactly what I was looking for.  They either didn't result in a standard A2 size card (5-1/2" x 4-1/4") or they didn't have much "structure" to them as they were only made with DSP.  So, I decided to see if I could take what I liked from the other Fun Folds I found and improve on what I didn't like about them.  

This is the solution I came up with.  Here is the video I shared on Learning with Friends yesterday (10-31-24) showing how to make this Fun Fold.


It does require 12" x 12 Designer Series Paper.  You can decide to use just the top and bottom sections -- if it is one of those beautiful boarder designs, or you can cut it into three equal 12" x 4" strips and make three cards!

The structural Garden Green cardstock on today's card is cut 5-1/2" x 4-1/4 to give you a standard A2 size card.  The Designer Series Paper is cut 12" x 4" and then scored so you have an 1/8" border all around the card base.

Use this link to download a PDF Tutorial with all the specific cutting and scoring dimensions.

Choose whichever side of your DSP you want to be on the inside.  If it is a boarder design that's where you will want to put it.  The left end of the 12" x 4" strip is folded to the front so you get a sneak peak of what the inside of the card looks like.  

On this Sentimental Christmas Card, the candy cane and berry border actually goes around all 4 sides of the 12" x 12" DSP.  So, your front "sneak peek" provides a bit of disguise as to what the inside will look like because you can't tell that it is really a border.

The most surprising part of this card is what you see when you open it.


What do you think?  Isn't that a WOW inside for the card?  Also by folding the left end of the 12" strip to the front and adding a piece of Garden Green Cardstock under it with just a little 1/8" border showing, it provides additional structure to what would otherwise be just Designer Series Paper -- which we know is not as thick or structural as cardstock.


That left flap on the front is adhered to the DSP so there are actually two layers of DSP with a layer of cardstock sandwiched in the middle.  That really helps the structural integrity of the front of the card.

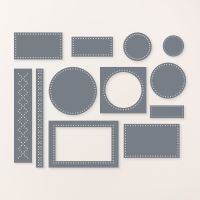
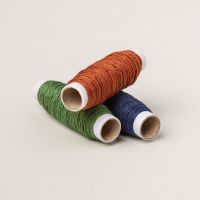
I played a lot with ways to decorate the card, and because I was really trying to highlight the DSP, I decided to stay with simple sentiments.  To add a bit of pizzaz to the front sentiment I wove some Garden Green Naturals Linen Thread through the holes created by the Everyday Details dies.

For the inside sentiments I used the same dies but skipped the weaving.

If you would like more information on any of the products used, just click on the image below.  You will be able to see all the details.  It will take you to my Stampin' Up! store so you can also place an order for anything you need.


Product List

Wednesday, September 18, 2024

MERRIEST TREES WINDOW CARD

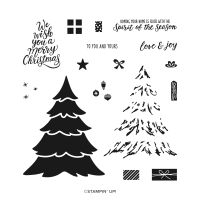
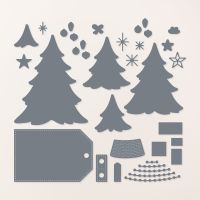
Today's card is a Window card made with the Merriest Trees stamp set and dies.


The designer series paper (DSP) used on the card front is from the Sentimental Christmas Collection.  It includes a variety of designs ranging from more traditional Christmas to cute to beautiful.  And for every purchase of this Sentimental Christmas DSP, Stampin' Up! will donate $3 to organizations supporting Children's Literacy.


The design pattern I chose for today's card had this beautiful lantern hanging from pine boughs in shades of Pretty Peacock.  In the first photo you can see the "window" that was cut in the card front with one of the Merriest Tree dies.  

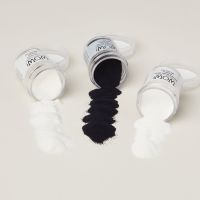
Tucked into that window and adhered to the inside of the card is the Pretty Peacock tree.  On that tree the sentiment was stamped with VersaMark and then heat embossed with white embossing powder.


A second small tree for the card front was stamped and die cut and then decorated with a little silver "tinsel".  It is so easy to make pretty cards when you have designer series paper that does all the work for you.


When you open the card you see the tree that was visible through the window!  The strip on the inside and the envelop flap were created with some of the pine boughs that were holding up the lantern.

If you would like a tutorial with all the details to create today's card, use this link to download a copy.

A list of the products used is shown below.  Click on any image to learn more.  You definitely should check out the beautiful Sentimental Christmas Designer Series Paper. 


Product List