Showing posts with label Wildflower Designs Bundle. Show all posts

Friday, July 5, 2024

SKETCH FUN WITH WILDFLOWER DESIGNS

I hope you all had a fun day celebrating the 4th of July!  Are you making it a long weekend of celebration?

Today is my final card for the week made with the Wildflower Designs Bundle and Wildly Flowering designer series paper (DSP).  I've had a lot of fun this week playing with this bundle and exploring its versatility.


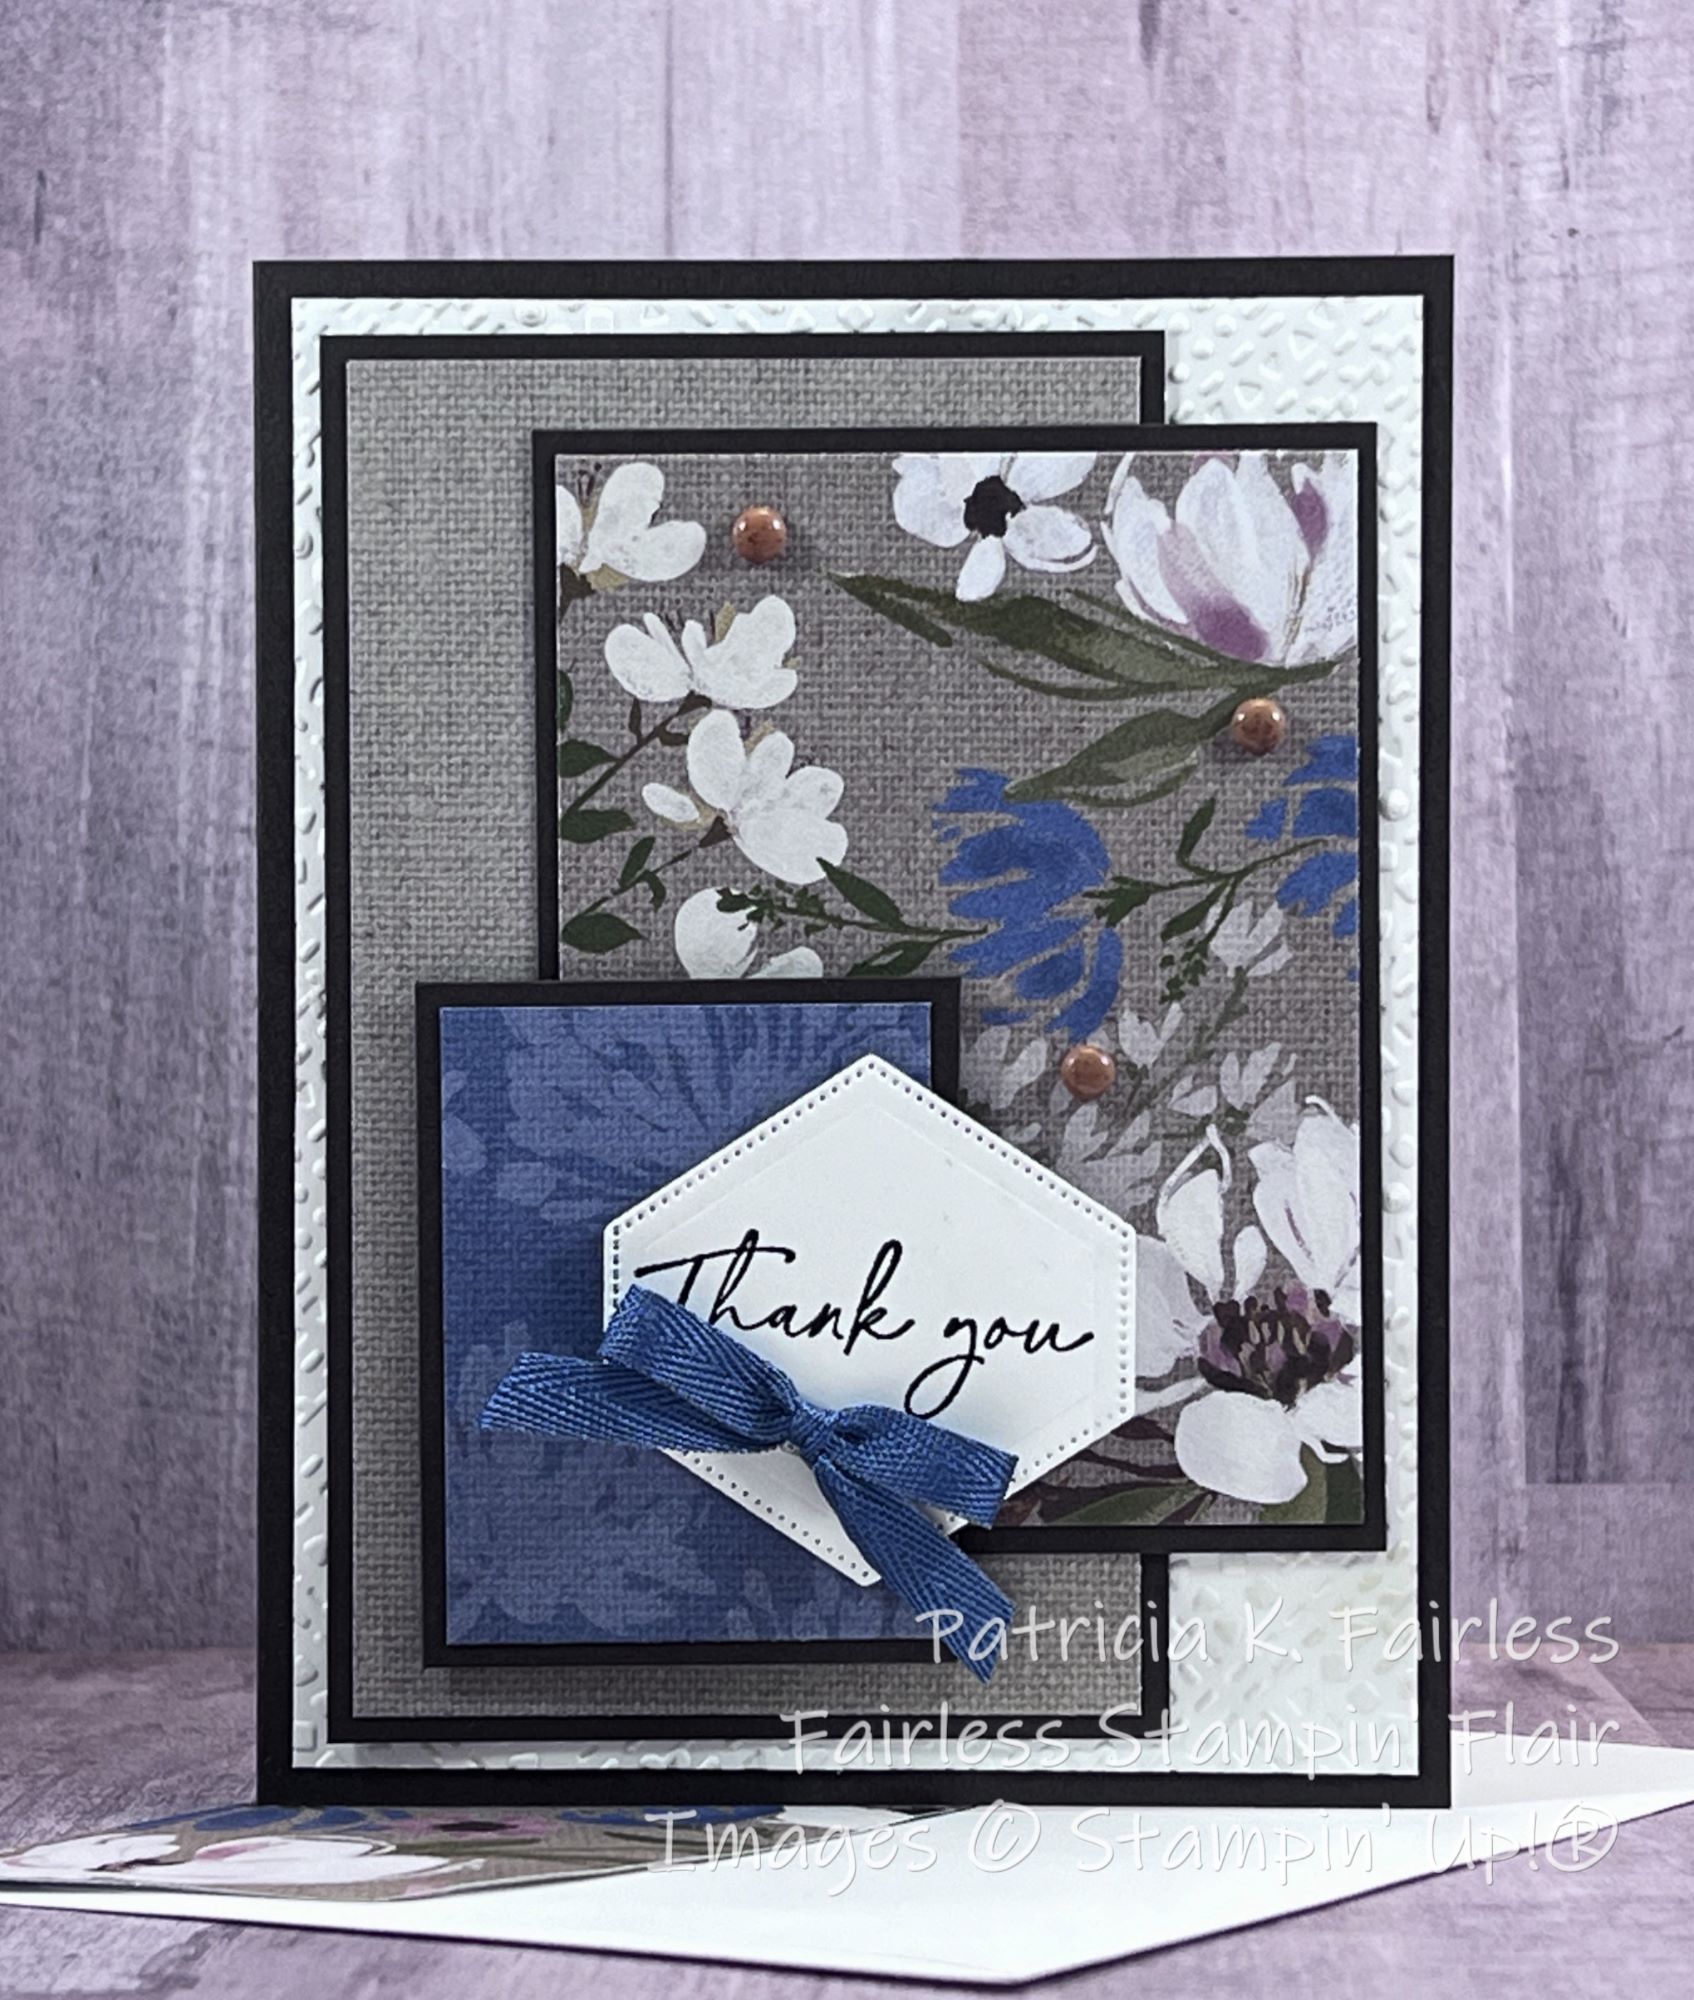
The last few days have been filled with 4th of July festivities, so I elected to make a simple card for today that uses a sketch/layout that I often turn to.

A few years ago I participated in a Mystery Stamping event and this basic "sketch" was my result of that Mystery Stamping.

With Mystery Stamping, the participants are given dimensional information for the elements, but that is the only information given.  You are then given clues about assembly.  What is fun is that everyone's card turns out differently because everyone has chosen different cardstock or DSP and interprets the clues differently. 

I hesitate to call my card a "sketch", but rather the best thing I learned from this mystery card was that you can take elements with the same basic dimensions and position them in many different ways and totally change the appearance of the card.


The basic elements of this card are the three rectangular DSP assemblies.  Just think of the different combinations you could use to arrange these 3 pieces.  Use a portrait orientation like I did here or try a landscape orientation.  Turn one of the assemblies into a stamped focal point, change the shape or position of the sentiment.  Change the embellishments.  The possibilities are endless, but all the cards start with the same 3 basic rectangles.


For the inside of the card I embossed a small strip on the left edge of the Basic White cardstock with the same Dashing Designs embossing folder as I used for the card front.  Like the front I used a blending brush to add a light layer of Crumb Cake ink to the embossed area.  This highlights the embossing and also softens the starkness of the Basic White against the Early Espresso card base.

This is an extremely quick and easy card, and this is a tutorial you are going to want to download and save because it gives you the sizes of the three basic rectangles.  This combination of sizes is what makes these 3 rectangles work so well together and what offers so much layout versatility.  You'll also want to check out the tutorial to learn how I made the die cut for the sentiment.  (There is not a die in Wildflower Designs Dies that is this shape.

Use this link to download the tutorial.

Reference the list below to see the products that were used.


Product List

Wednesday, July 3, 2024

TRIADIC WILDFLOWER DESIGN THEORY

In Stampin' Up!'s current Annual Catalog there is a section dedicated to color theory.  If I'm honest, I had not paid much attention to this section until I decided to use the 4 color theories as part of my June Stamp Camp.  The card I'm sharing today uses the Triadic Color Theory.

Triadic Color Theory uses three colors that are evenly spaced around the color wheel.  This theory was the most challenging for me because when my "engineer" brain hears "evenly spaced" that means all three colors have the exact same number of colors between them.  Well, the color wheel in the catalog has 43 colors around the outside of it.  That isn't divisible by 3!  Now what?  Sometimes we engineers need to loosen up a little to go with the artistic intent, but for some of us (me) that can be a challenge.  LOL

After figuring out that an exact "evenly spaced" color trio was not feasible, I had no choice but to "get close".  The three colors I chose for today's Wildflower Designs card were Misty Moonlight, Soft Sea Foam and Poppy Parade.  

What do you think?  Do you like this triadic color combination?  It took me a while to find it on the color wheel, but once I did, I liked it.

The Misty Moonlight designer series paper (DSP) is from the Country Lace DSP Collection.  It's looks like denim, and I like the textural appearance the denim provides to the card.

The center flower was colored with Poppy Parade Stampin' Blends, and the faux bow under the sentiment adds an additional pop of Poppy Parade.  This ribbon is retired, so don't fall in love with it!  I used up my last piece on this card.


I'm also calling this card a "NO WASTE" card.  Often when you do die cutting, there are leftover "scraps".  But for today's card no "scraps" went to waste.  Rather than tossing out the center of the large Soft Sea Foam die cut on the front of the card (or saving it for another card), I used it to carry the elongated hexagon theme to the inside of the card.  I also had a little 1/2" strip left of the denim DSP from the front so used that to bring some "denim" to the inside of the card.  A Poppy Parade mat completed continuance of the triadic color theory for the inside of the card.

Use this link to download a tutorial with all the details.

A list of products used is shown below.  Click on any image to learn more about that product.


Product List

Monday, July 1, 2024

WILDLY FLOWERING & FLOATING DIAMONDS

I have an impressive fun fold for you today that is much easier than it looks!  It is called the Triple Floating Diamonds Fun Fold.

Don't be intimidated by this card!  It is not nearly as difficult as it looks!  If you can do simple cutting and scoring, you can make this card.

Still not convinced it's easy?  Watch this video on my YouTube Channel to see just how easy it is.


I shared this video on Learning with Friends last week, and you will definitely want to check out the two other cards.  One is adorable and will make you smile.  The other is a sneak peak of a product that will be coming in Stampin' Up!'s Fall Mini Catalog.

Today's card uses the Wildly Flowering Designer Series Paper (DSP) which is gorgeous.  The main colors on today's card are Misty Moonlight and Moody Mauve.  Isn't it a beautiful color combination?  Not sure I would have figured that out had I not seen it in this DSP.

Below are close-ups of each of the diamonds on this fun fold.


Left Diamond


Center Diamond


Right Diamond

Each Diamond uses different flowers from the Wildflower Designs stamp set.  The flowers were colored with Stampin' Blends and then easily die cut with the coordinating dies from the bundle.

You may be wondering where you are going to sign your name and add a personal message for the recipient.  Simple solution!  Use the back of the fun fold.


Two pieces of Basic White cardstock were added to Moody Mauve mats and adhered to the two center panels on the back of the fun fold.  Flowers were first stamped and then colored with Stampin' Blends so the panels did not feel forgotten.

If you are someone that prefers written directions rather than just a video you can use this link to download a free tutorial.  The tutorial also contains a link to the video.

Below is a list of the products used on today's card.  Click on any image to learn more about that product.


Product List