Friday, March 7, 2025

MIXED FLORALS AND BACKGROUND FUN

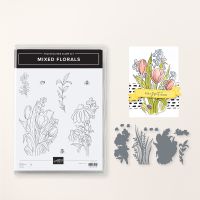
The final Mixed Florals card for this week shows you some more of the special stamps and dies included in this bundle.


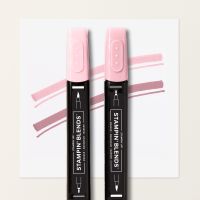
The bundle includes this large die that makes the greenery on today's card.  It sort of reminds me of grasses and reeds that you might find growing next to a beautiful lake.  The colorful flowers in the front are another smaller floral stamp.  I stamped and die cut several of them and gave them some cheery colors with my Stampin' Blends.  There are also several cute little lady bug stamps and dies in the set, so of course I had to add one of each.


The next thing I needed to decide was what background to put behind them.  I tried some designer series paper and different color cardstock, but nothing looked right.  I wanted just a hint of color, but didn't want it to detract from the greenery and flowers.


As I was playing around I thought of a painting technique I'd used in the past to paint walls in my house.  I took scrunched up plastic wrap, dipped it in paint and patted it on the walls.  It always gave a unique look that I liked.  I decided to try something similar for the background on this card. 

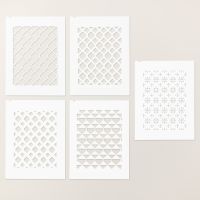
In this case, I first placed a Linked Together Decorative Mask on my card, and then I started playing with the scrunched up plastic wrap and ink.

I was having so much fun that I decided to continue playing and see what other backgrounds I could come up with.

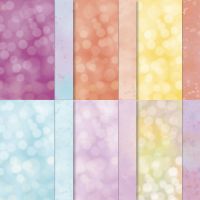
By the end of the day I had 3 fun backgrounds that I had made with decorative masks, including this one.

Yesterday on my Learning with Friends video series, I shared those three fun backgrounds. If you missed it, you can watch the replay here.

If you watch the video, will you leave me a comment and let me know which background is your favorite?

The Mixed Florals stamp set does not include greetings, so my sentiment for the card front came from the You are Beautiful stamp set.

When I made today's card I wasn't sure how many flowers I would need.  As I indicated above I made several of them in all different colors.  In the end, I decided three was enough for the front.  But being someone that hates to throw things away that I spent time making, I decided to use a couple of the leftovers for the inside of my card.  

You could just as easily stamp the flowers and color them directly on the inside Basic White cardstock.  But I had the die cuts so used them!

Use this link to download a tutorial for this card.

A list of the product used is shown below.

Product List

Wednesday, March 5, 2025

MIXED FLORALS ON THE BANDSTAND

Today's card uses a unique technique and a very special Fun Fold.  I've included two videos with this post that show you how to do them both!


The Fun fold is the Bandstand Fun Fold.  It looks complicated, but it is surprisingly easy!  Watching my how-to video makes it even easier.


The following image gives a better perspective showing the 3D nature of the Bandstand Fun Fold.


Isn't it unique?

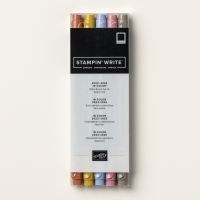
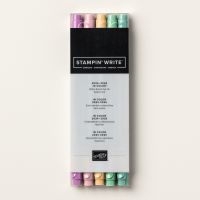
The daisies on the front of the bandstand are from the Mixed Florals Bundle which I am featuring this week.  The flowers and leaves were colored using the Pointillism Painting Technique.  I used Stampin' Write Markers for my "paint".  This technique basically paints images with tiny dots.

Watch my Learning with Friends video where I demonstrated how to do Pointillism.  I also gave some pros and cons for using different types of "paint", i.e. Stampin' Write Markers vs. Stampin' Blends.


Here is a close-up of the Daisy colored with the Pointillism Technique.


After looking at this card you may be wondering, "where do I write my message"?

On my card I added a panel on the back that provides plenty of room for a hand written note.


Since I had embossed the panel behind the daisies with the Exposed Brick embossing folder, I decided to carry on that theme on the back panel by embossing a narrow decorative strip with the same folder.

If you have enjoyed this card, I hope you will try either the Bandstand Fun Fold or the Pointillism Technique -- or maybe combine the two like I did.

If you do, I'd love it if you would leave me a comment if you found the videos helpful or if you have questions.

Use this link to download a written tutorial with all the dimensional information and step-by-step directions.  Sometimes it is helpful to follow along with the tutorial as you watch the videos.

Below is a list of the products I used.


Product List

Monday, March 3, 2025

SPRING IS AROUND THE CORNER

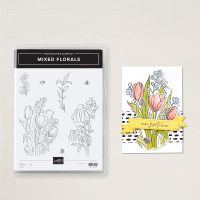
Are you ready for spring?  I know I am, so this week my featured bundle is going to be all about looking forward to spring.  I will be using the beautiful Mixed Florals Bundle.  The Mixed Florals Bundle is an ONLINE EXCLUSIVE product and if you haven't checked it out, you are definitely going to want to.


While both of the floral images are gorgeous, these tulips are my favorite!.  I had so much fun coloring them with my Stampin' Blends.  The tulips are colored with Pretty in Pink and my Color Coach Suggested that I used Lost Lagoon as the "green" for my leaves.  I had never really thought of Lost Lagoon as a "green", but it pairs beautifully with Pretty in Pink.  Once again the Color Coach had great advice!


I love coloring as I find it very relaxing.  And Stampin' Blends are my favorite coloring medium so this simple card was a lot of fun for me to make.


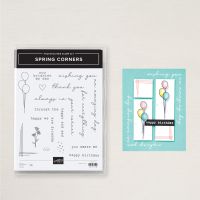
The corner sentiment is from the Spring Corners Stamp Set.  Spring Corners is another OnLine Exclusive Bundle.  I've just started to play with it, but you can definitely plan on  seeing more of it in the weeks to come.

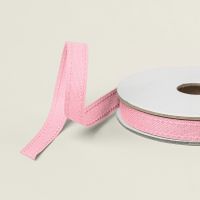
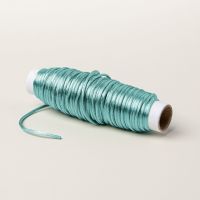
For the ribbon I combined Pretty in Pink Bordered Ribbon and the Lost Lagoon Soft Cording.  This was a simple way to carry on the color theme of the Tulip Bouquet.


To continue the theme on the inside and envelopes, I stamped a portion of the Tulip Bouquet both.  That gave me a little more time spend time coloring an relaxing.

I made this card into a Birthday card with another stamp from Spring Corners, but I think I need to dig out some Easter Greetings as these tulips would make a beautiful Easter card, don't you think?

If you would like a written tutorial with all the details, use this link to download a FREE copy.

A list of the products I used is shown below.  Click on any image to learn more or to easily place an order.

Product List