Showing posts with label Christmas to Remember Stamp Set. Show all posts

Friday, August 19, 2022

A SPLENDID CHRISTMAS

The last card I'm sharing this week with the Splendid Thoughts Bundle is a Christmas Card.  I cased the card on page 64 of the 2022 Fall Mini catty, but rather than using the Splendid Day Designer Series Paper, I decided to use the Boughs of Holley Designer Series Paper from the same catalog.

I enjoy challenging myself to use non-Christmas bundles to make Christmas Cards.  It helps me grow my stock of Christmas Cards more quickly.

I really liked the card in the catty as I thought the "circles" created with die cuts made with the half circle die from Splendid Dies was a very clever use of this bundle.  I would never have come up with this idea without seeing it in the catty -- so my hats off and thanks to the Stampin' Up! Designer that came up with this idea.

The Boughs of Holly Designer Series Paper is one of my favorite Christmas papers this year.  The colors are very traditional, and there are several traditional Christmas Patterns in the collection like Poinsettias, Holly, Trees, and Berries.  However, on the reverse side of those traditional patterns are some abstract designs.  The design on the top center of my card is one of my favorites!  


This card design is a FANTASTIC way to use up small scraps of paper -- and who doesn't have a LOT of Christmas scraps?  I know I do.  I also used a few scraps of Christmas foil (Red, Gold & Green) that I have left over from years past.  I thought a little foil added some shine, and I love shimmer, shine, and sparkle.  I'm not sure if the red and green foil is still available, but I bet some of you have a few scraps of it in your stash.  Let's use that stash!  

I know, I make a terrible salesperson, but I believe in using things we have.  We bought them because we liked them, so let's use them!

I also added several of the gold Elegant Faceted Gems on the card front to add a little more bling.

The ribbon on the card is also from my stash.  It is a Cherry Cobbler with Gold ribbon, that, let's be honest, I was hoarding!

When I cut my half circles, I cut a bunch so I could experiment with combining different patterns and colors in the layout.  As a result, I had several leftovers!  I used some of my leftovers to decorate the inside of my card and the front of my envelope.

The sentiment on the front and the inside are from the Christmas to Remember Stamp Set.

What do you think?  It's definitely going to go to someone this Christmas.  I like it a lot and may even make a few more.  I hope whoever receives it likes it, too.

If you would like a FREE TUTORIAL, please use this link to download a copy.

A list of the products I used is shown below.  You may have to revert to your stash for some of them -- or pick something from your stash that YOU like.


Product List

Friday, July 22, 2022

CHRISTMAS FRIENDS

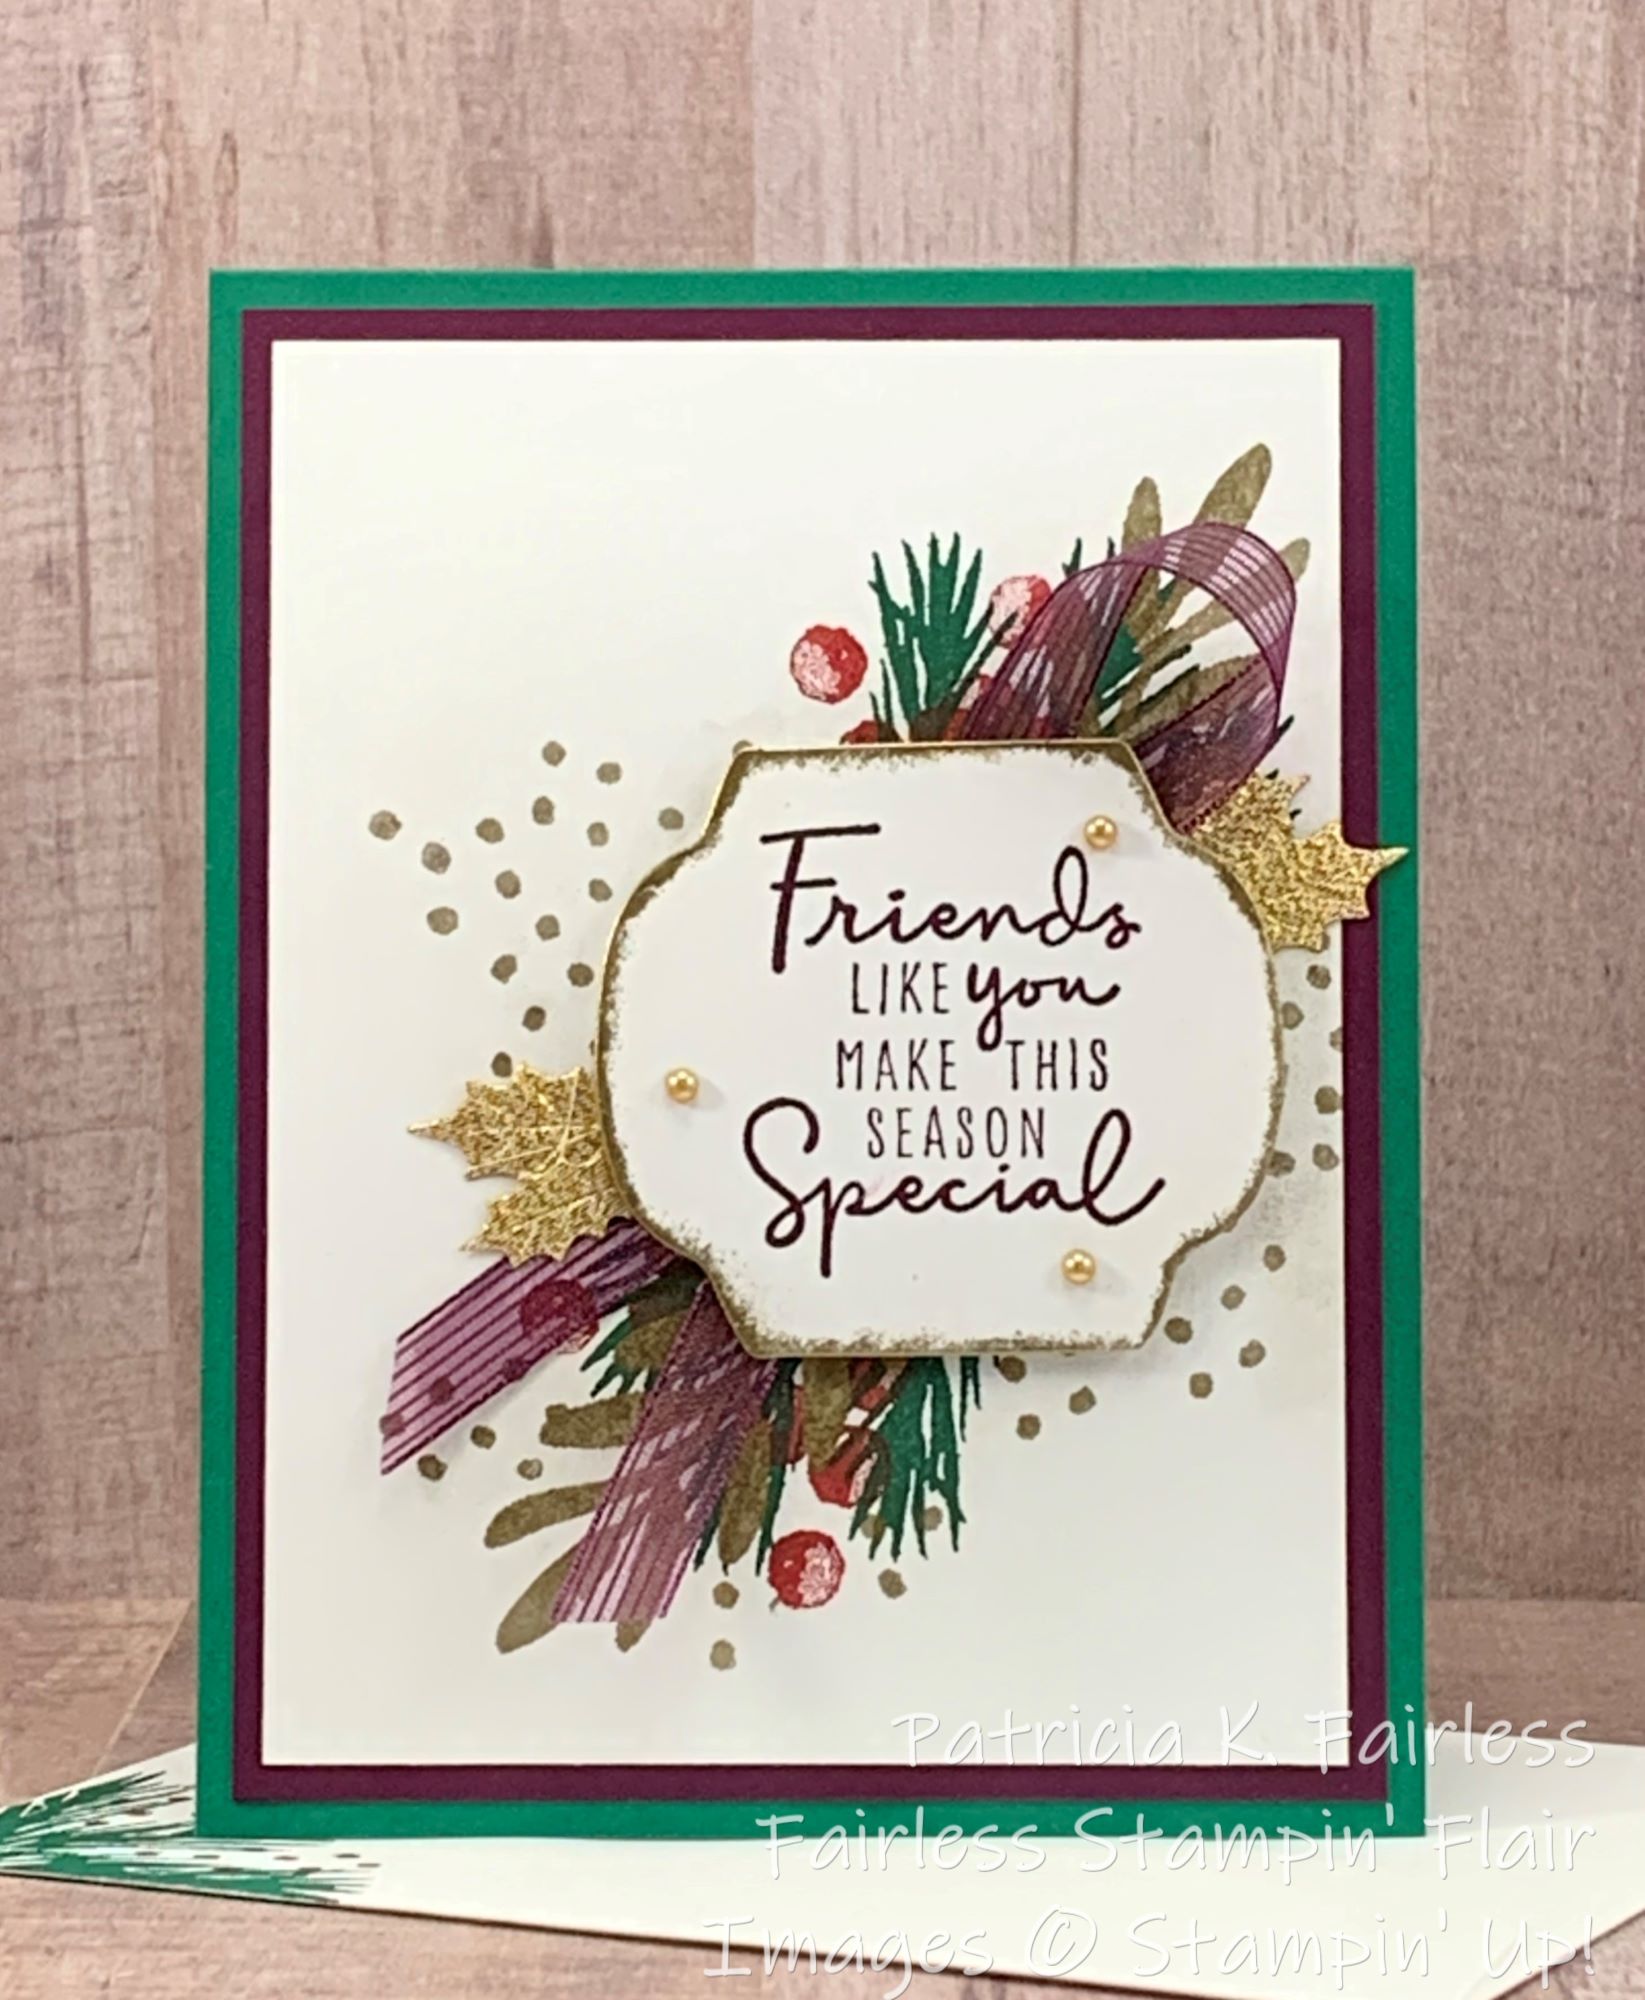
Remembering friends at Christmas with a handmade card is one of the things that makes the Holidays special.  And who can make Christmas cards without having at least a few that include gold embossing.  A bit of gold always adds a touch of elegance, doesn't it?


Today's card uses gold embossed leaves in the background peeking out from behind the ribbon, some decorative gold embossed dots, and a little embossed gold border around the sentiment.  To add even more golden sparkle there are Gold Holly Leaves and Metallic Gold pearl embellishments.  That sounds like a lot of gold, but it really is quite subtle so as not to feel overdone.  The bold Shaded Spruce and Blackberry Bliss ink colors provide a good balance for the gold accents.


To make the gold border around the sentiment, sparingly add a narrow edge of VersaMark ink.  I initially had a wider border of gold and that looked over-done, so I redid it and was careful to keep the VersaMark only on the edge of the die cut.  That provided a better balance and kept the focus on the sentiment itself.


The layout for this card is a very classic, traditional layout which just uses a "bouquet" of sprigs, berries and leaves peeking out from behind a sentiment.  Honestly, I always struggle with making bouquets.  How much is too little?  How much is too much?  Whenever I try to make one of these "bouquets", it reminds me of trying to arrange flowers in a vase.  That is also a skill set I never learned.  When I see beautiful flower arrangements, I always wish I'd learned how to do that at some point in my life, but woe, I did not.

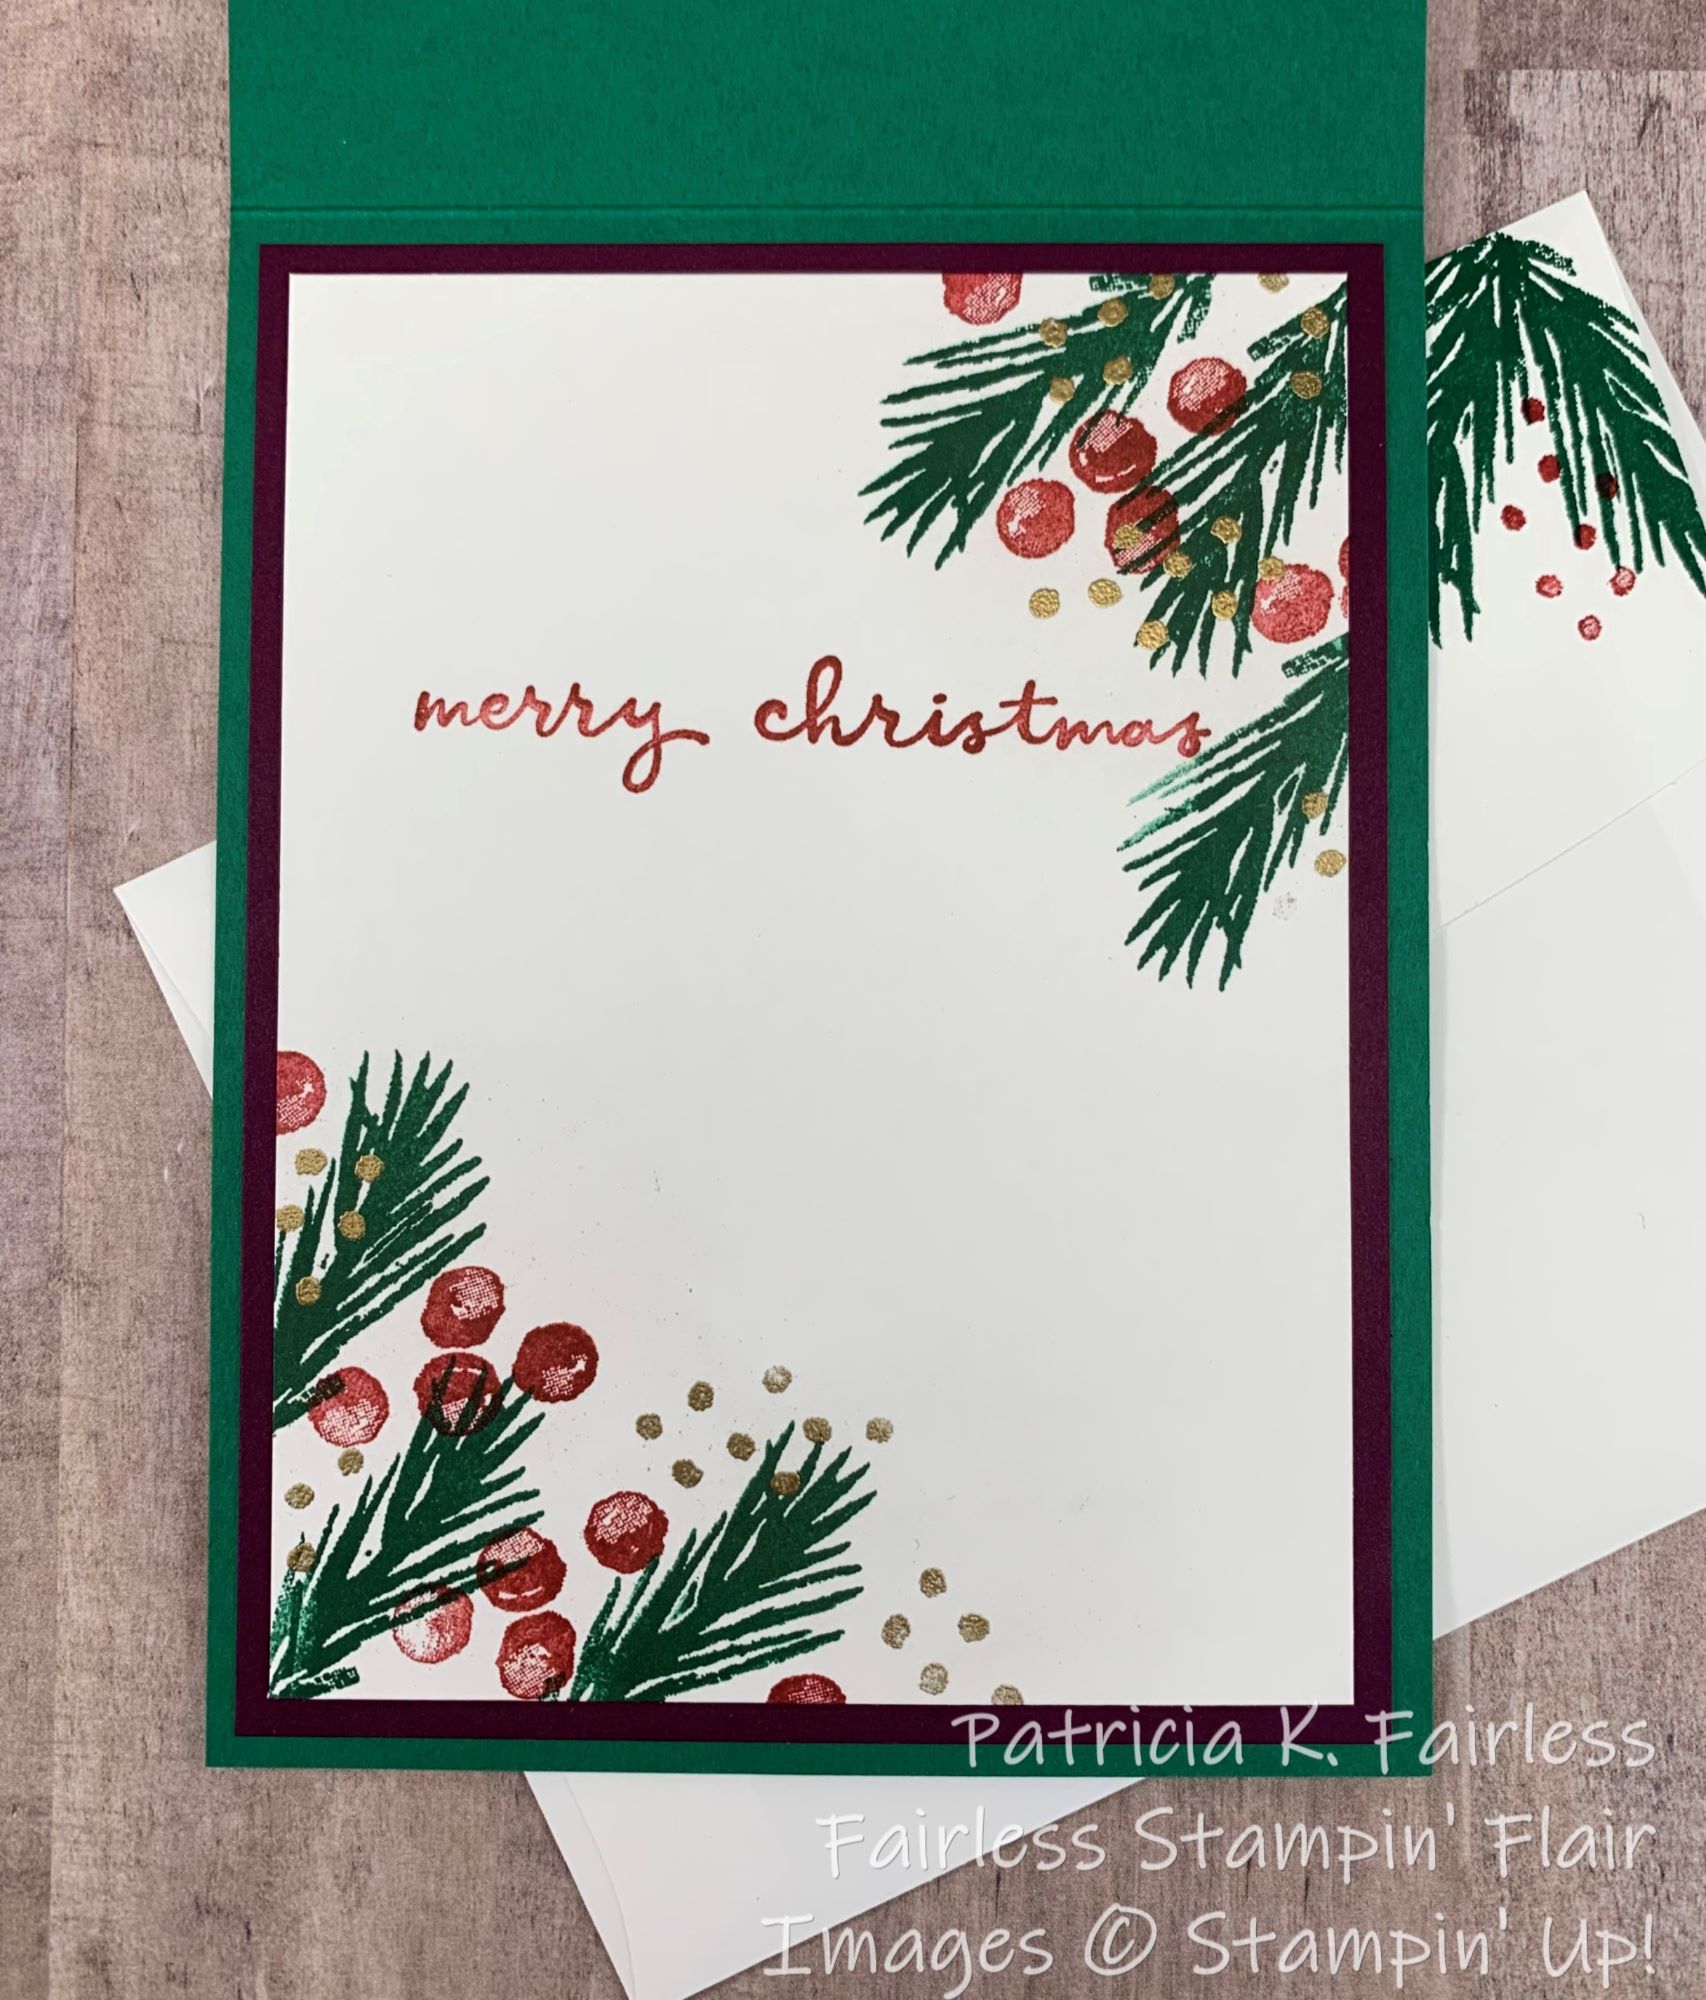
For the inside of the card I decorated opposite corners with pine boughs and berries and some more gold embossed dots.


I added a little splash of pine boughs and berries on the corner of the envelope flap as well which you can see peeking out from behind the card.

If you are good at flower arranging this would be a very easy card for you to make.  If you would like a tutorial with step-by-step directions and cutting dimensions you can download a copy at this link.

For more information on the products I used, please check out the links on the Product List below.


Product List

Sunday, July 17, 2022

CHRISTMAS IN JULY

Is anyone other than me having a tough time believing that it is time for Christmas in July?  I know the Hallmark Christmas Movies already started in June, but WOW, this year is moving right along.

Who, like me, likes to start their Christmas Cards early?  The worst thing is finding out in early December when you are ready to start mailing them that you are about 20 cards short!  Not that that has ever happened to me!  That year I had to break down and buy a box of cards, and I vowed that would never happen again.  So now I start early, and I feel grateful if I have "leftovers" from last year.  The problem becomes trying not to send the same card as last year to the same person.  Oh well.  It can happen, and if I don't remember, they probably won't either.


I also like to encourage my Stampin' Up! customers to get started early on their Christmas Cards, so I always have a Christmas in July event to get them in the mood!

These are the cards that we made for Christmas in July Stamp Camp-to-Go.  The cards I will share this week will use the same stamp set and dies so that they will receive additional ideas for the products they purchased.

Plus, I am hoping to help those that did not participate in the Stamp Camp-to-Go will also get in the mood to start their Christmas cards early.

I hope the projects I share will inspire you, and that you will come back again this week to see some more ideas.

For our July Stamp Camp-to-Go we used the following stamp set and dies for each of the cards.  I will also use these products, along with others, on the cards I share this week.


Product List

Wednesday, October 20, 2021

A COUNTRY PLAID POINSETTIA CHRISTMAS

On Monday I shared the SIMPLY ELEGANT POINSETTIA card with you.  Today, we are traveling to the country.  When I see plaids, checks or gingham, I think about sitting around a warm cozy campfire somewhere in the country, and that's how this card makes me feel. 

Since I was trying to go for a warm and cozy card today, I decided to die cut the poinsettia from the red and black check Peaceful Prints designer series paper.  I just die cut three different size flowers and layered them together.  It doesn't get much easier than that, does it?  No stamping, no aligning dies with stamped images, just lay the die on the paper and run it through the machine! 

The Peaceful Prints designer series paper was a Sale-A-Bration reward and is no longer available, but I thought you might still appreciate ideas on how to use something you may already have.

The black and white lined "plaid" paper on the left flap of this card is one of the designs from the Pattern Party Designer Series Paper (DSP) which is one of the special rewards that hosts can select.  I just love the Pattern Party DSP pack as it includes 48 sheets of awesomeness!  It also includes a black and white check pattern so if you did not get the Peaceful Prints DSP you could also color the black and white check with Real Red Ink and a Blending Brush or Sponge Dauber to turn it into a red and black check. 

I do think it makes an interesting Poinsettia to die cut its layers from DSP.  You could obviously do this with any designer series paper, so use your imagination.  Pick your favorite DSP pattern and turn it into a Poinsettia!  Some of the foiled specialty papers we have would make beautiful flowers, wouldn't they?

The sentiment, from Christmas to Remember Stamp Set, was stamped in Real Red on a Basic White scrap and then die cut with the smallest Stitched Rectangle Die.  It was still a little long, so I snipped off the end that is hidden under the flower.  I colored a few Rhinestone Basic Jewels with my Mango Melody Stampin' Blends and turned them into the center for the flower.

Today's card is also a fancy fold -- well, I'm not sure how fancy it is, but it is different than our standard 5-1/2" x 4-1/4" folded card.  I made a card a few weeks ago that used this same fold.  I didn't know the name of it then and still don't, but I called it a Dual Flap Fun Fold, so I will stay with that name.   


The flap on the Poinsettia opens as does the narrow black and white flap.  When opened it reveals a coordinating inside decor.


If you would like to try to make this fun fold, I have a FREE TUTORIAL with all the step-by-step directions and the cutting dimensions.

A complete product list is shown below.


Product List