Showing posts with label Dual Flap Fun Fold. Show all posts

Friday, November 25, 2022

NATURE'S HOLIDAY

Happy Black Friday stamping friends!  Are you a shopper?  I am not, and I typically avoid the stores on Black Friday!  I think it is the perfect day to stay home and stamp!

Today I will share my last card for this week with the Nature's Prints Bundle.  I am still working on my Christmas Cards, so today I have used this bundle to create a Christmas Card.  


This is a Fun Fold card that is combined with the Triple Time Stamping Technique.  

Here is a photo that doesn't show the card all that well, but it shows how the cards two flaps open.


The flap on the right side opens to the right and is slightly shorter than the left flap.  The right flap is also made using the Triple Time Stamping Technique.  

Have you been watching any of the Connect to Create videos?  I am getting so much inspiration from the videos that Kathi, my Connect to Create partner, has been sharing!  She shared this Triple Time Stamping Technique several weeks ago and it reminded me that I haven't used this simple technique in a long time.  

Would you agree that sometimes we get inspired by something we see, and sometimes we get reminded of something we are familiar with but have forgotten all about?  I hope our Connect to Create videos are giving you a bit of both -- inspiration & reminders.  If you missed it, here is Kathi's Triple Time Stamping video.

This Nature's Prints Stamp Set seemed like the perfect set to use for Triple Time Stamping.
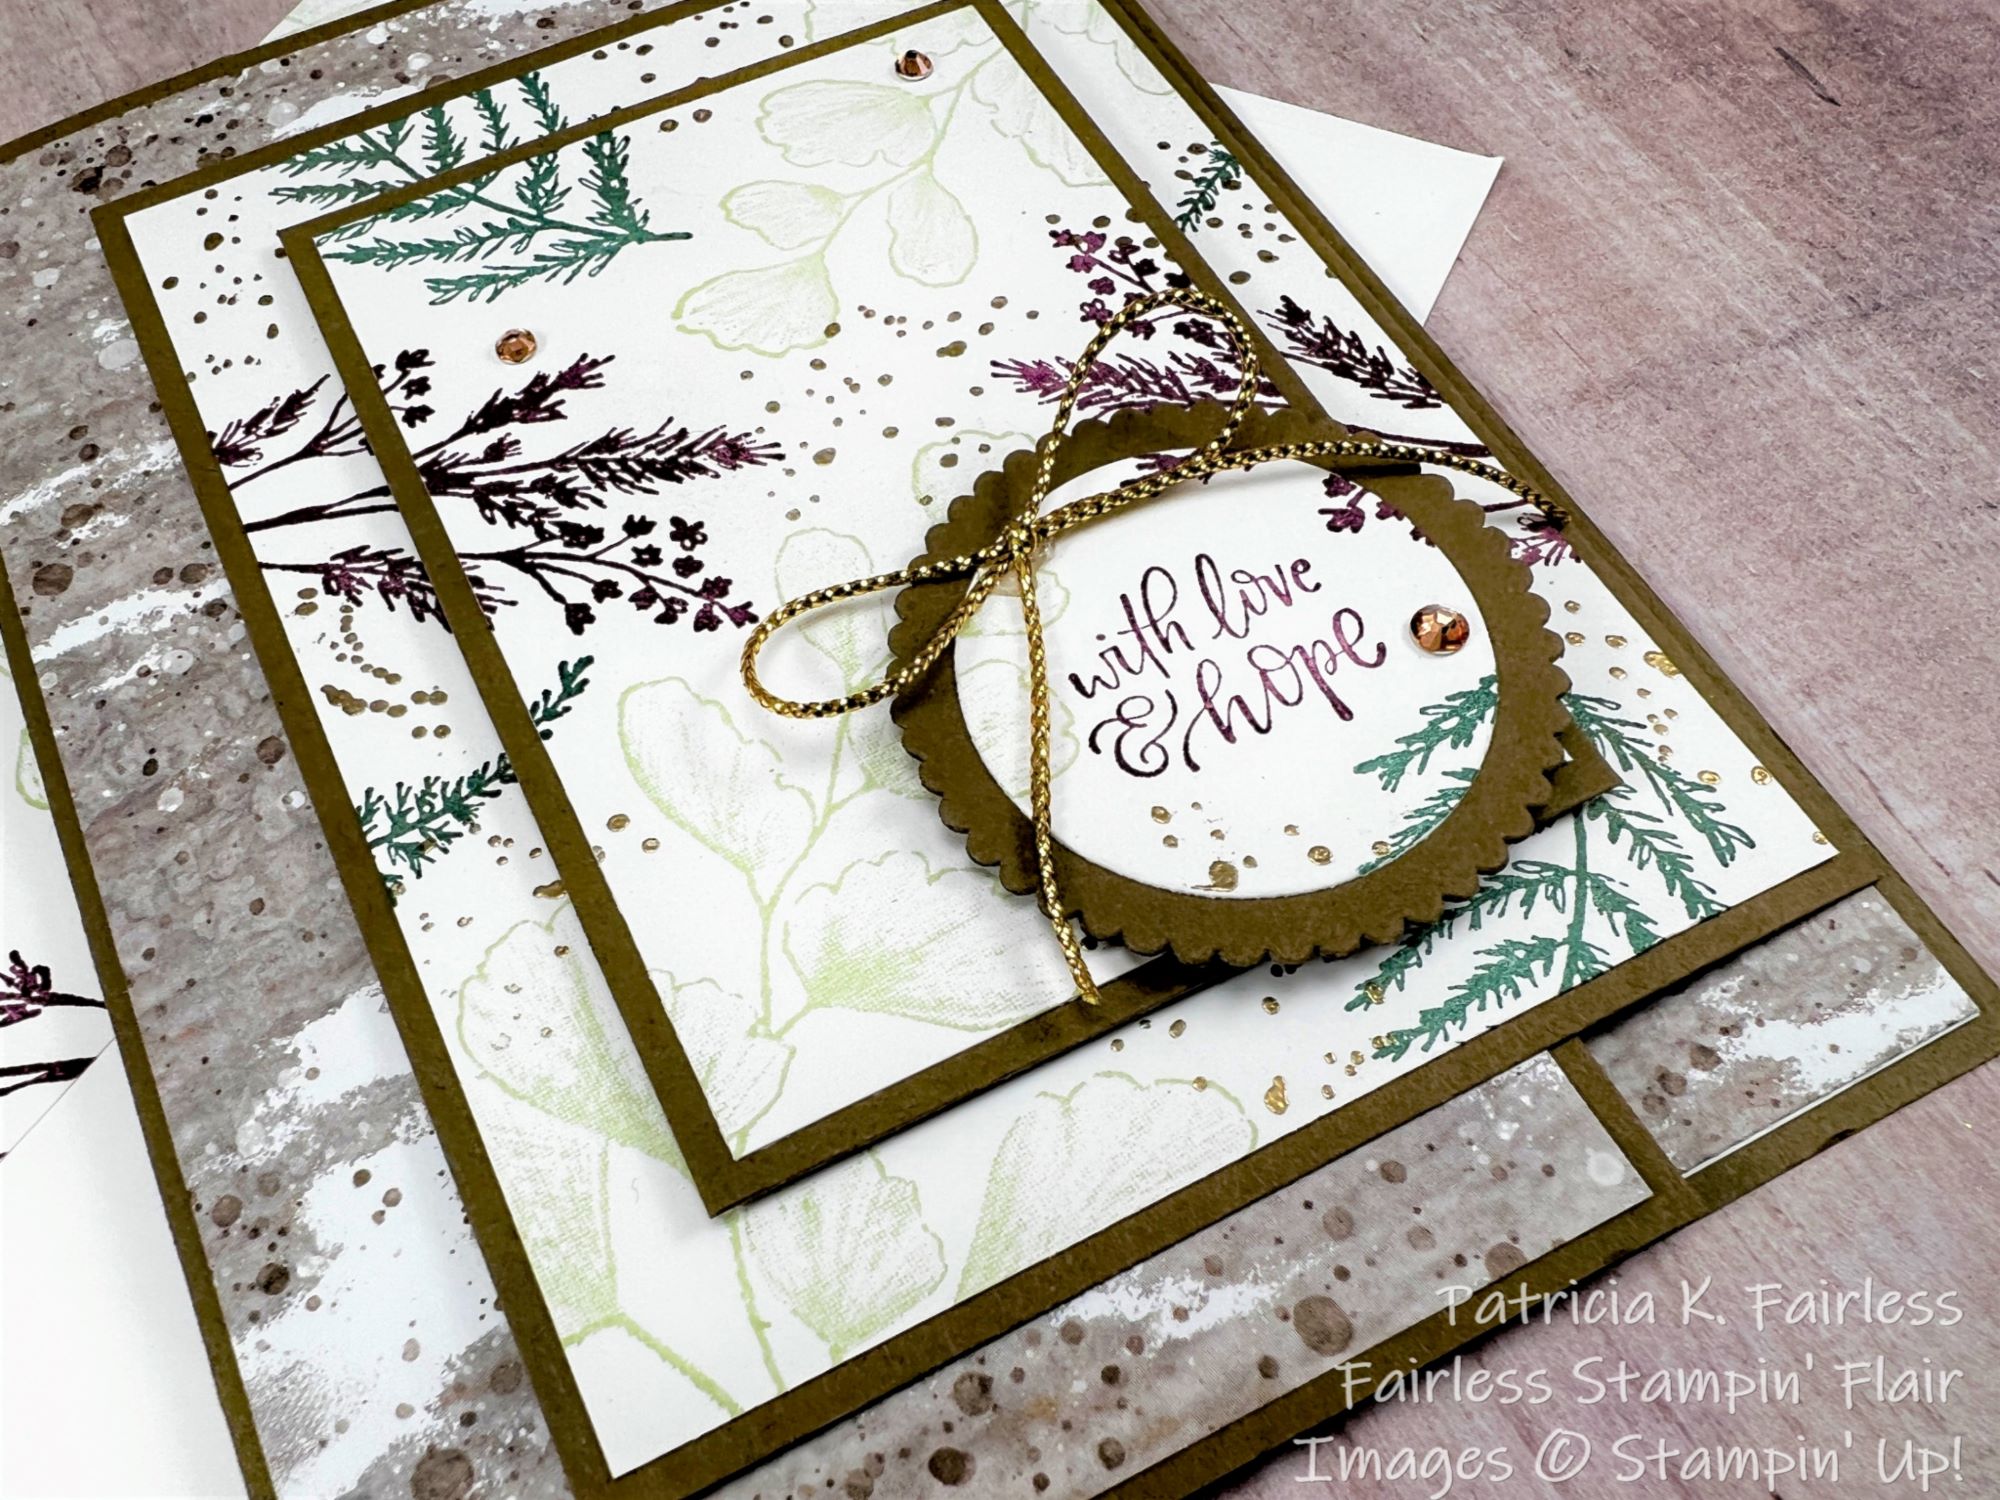
After cutting my Basic White cardstock layers for the right card front flap, I used some temporary adhesive to hold them in place and then started stamping.  Since my card base is made with Soft Suede cardstock to coordinate with the Boughs of Holly Designer Series paper I chose, I was a little uncertain about what colors to use for my stamping.  So, I got out my color coach, and it told me that Shaded Spruce, Rich Razzleberry and Soft Seafoam coordinates with Soft Suede.  Hmmm... OK, those are probably not the colors I would have selected on my own, but I love how it turned out.  That Color Coach is pretty smart!  

I thought it still needed a bit of pizzaz, so I used the speckled stamp from Forever Fern to add some gold embossed speckles.  As mom would have said, " it just did something to it"!  The gold embossing provided that bit of shimmer & shine that the card needed.

After I finished my stamping, I separated all the pieces and matted them to their Soft Suede mats and then reassembled them to the right Soft Suede card front flap.  

I have one hint for you when you do Triple Time Stamping.  If your sentiment is on one of the layers, stamp your sentiment on that layer before you start stamping the images (my sentiment is on the circle layer).  That way you can easily avoid it when you are stamping your images on the Triple Time layers.

On the inside of the card, I added a 1" strip of designer series paper to the right edge.  I used the same designer series paper as was used on the left flap.  That way, when the card is closed you have a continuous design behind the Triple Time Stamped right flap.

Both sentiments for this card are from the Hope & Peace Stamp Set.  If you love Christmas sentiments that reflect the true meaning of what we celebrate at Christmas, this stamp set is one you will want to add to your Christmas collection.  

For a free tutorial with all cutting and scoring dimensions, as well as step-by-step directions for this Fun Fold card, you can download a copy at this link.

A list of all products used is shown below.  

Product List

Wednesday, October 26, 2022

CANDY CANES AND MARBLES

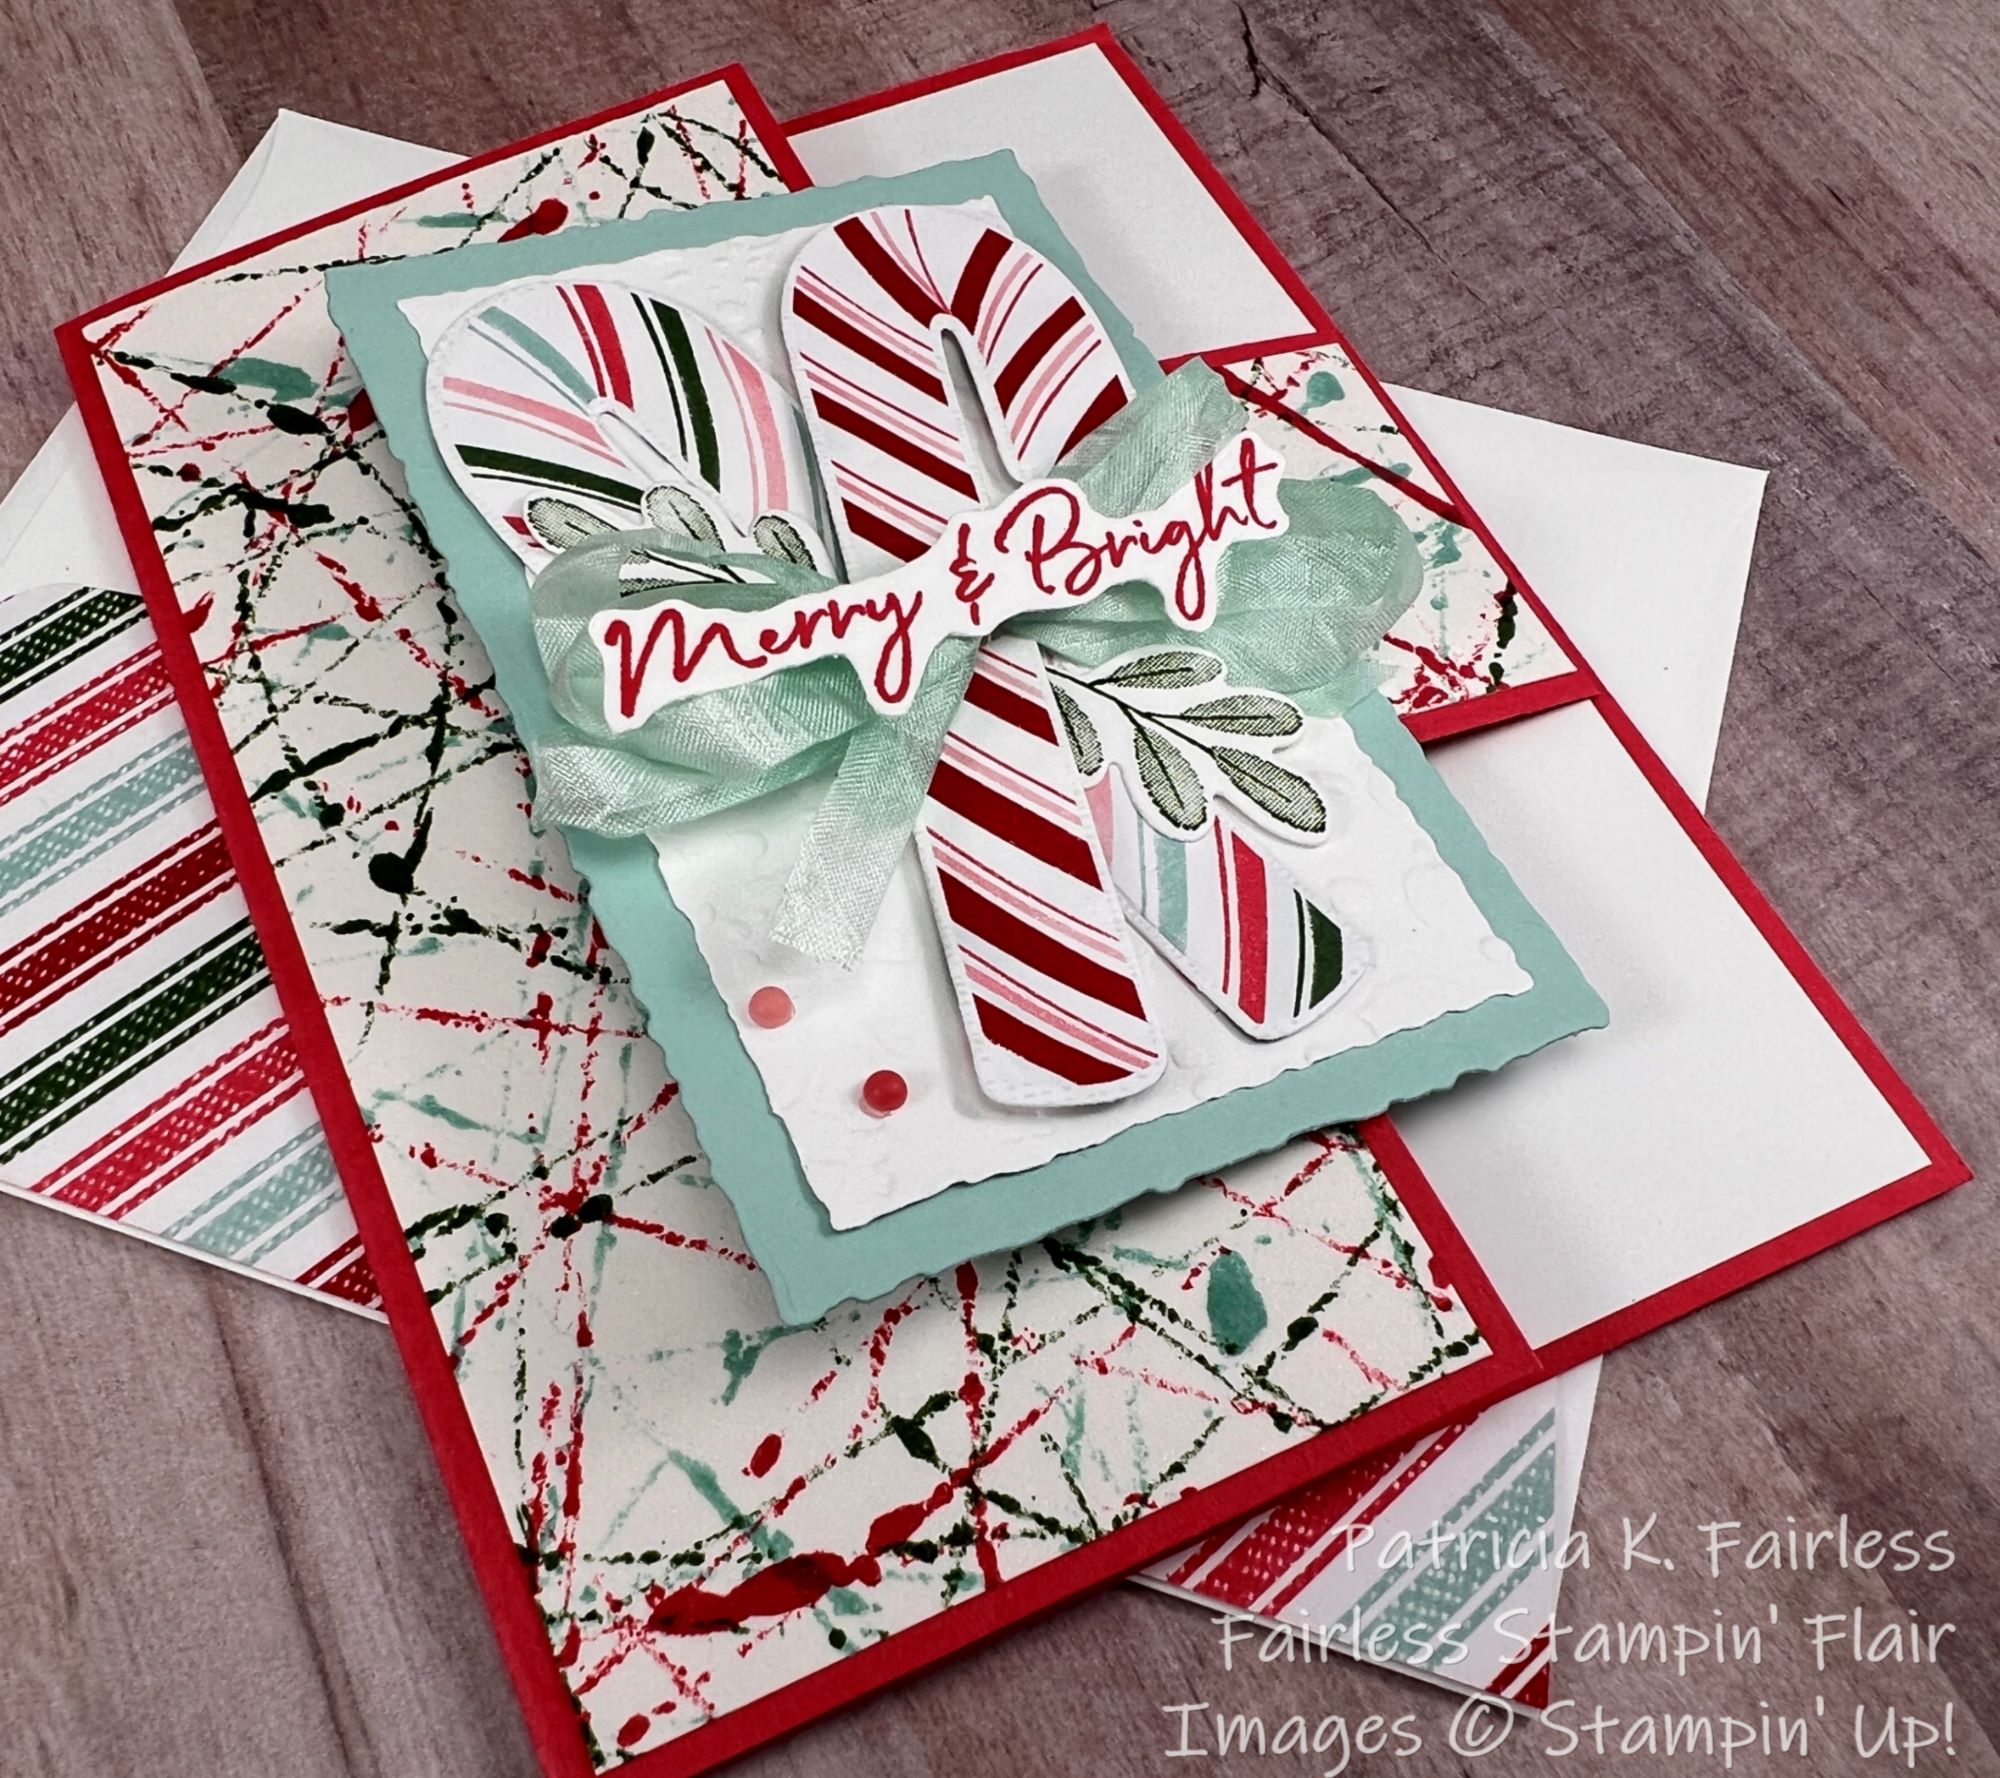
Today's card is a cute Fun Fold with double flaps.  

Normally with this fun fold I would use it to highlight some pretty designer series paper (DSP), but today I made my own DSP.

Having said that, I did use the Sweetest Christmas Designer Series Paper for the candy canes and to cover the envelope flap.  The candy canes are die cut from one of the patterned papers.  How easy is that?  My color combination of Sweet Sorbet, Garden Green and Pool Party was also inspired by the designer series paper.


For the front focal point, I die cut Pool Party and Basic White with two layering dies from Deckled Rectangles.  After die cutting the Basic White card stock it was embossed with the Splatters Embossing Folder from Stripes & Splatters.  

Two leaf branches were stamped with Garden Green ink and die cut with coordinating dies from the Sweet Candy Canes Bundle.  These were tucked between the candy canes.  The Pool Party faux bow was made from Crinkled Seam Binding Ribbon which was colored with a Pool Party Stampin' Blends.  It is so easy to color this White Crinkled ribbon any color you want.  You can use Stampin' Write Markers, Stampin' Blends or your ink pads and a sponge dauber.

The sentiment is from Sweet Candy Cane Stamp Set and was stamped with Sweet Sorbet and then fussy cut.  A couple of little 22-24 In-color Matte Dots in Sweet Sorbet finish the focal point.


The handmade "designer series paper" was made using the Rolling Marbles Technique.  This is a quick and simple technique to make unique backgrounds, and you can make them in any combination of ink colors that you want!  All you need are Reinkers, 2-3 marbles, and a shallow container to lay your cardstock in.  I used Shimmery White, but you can also use Basic White cardstock.

If you are not familiar with this technique, you can watch this Connect to Create video.  I hope you will give the technique a try.  It's a lot of fun!


Because a portion of the inside panel of the card shows on this style of fun fold, I've found it works best to keep it somewhat simple, so all I added was a sentiment from Sweet Candy Canes stamped with Sweet Sorbet.  

The main thing to ensure is that your sentiment and/or any decoration is hidden behind the flap.  Also, when you send your card, pay attention to where you write a message and sign your name.  I've lost count of the number of times I written all over the area that shows.  When I do that, it really does not improve the "first impression" of the card when they remove it from the envelope if they see my messy handwriting!

If you would like a detailed tutorial for this card, please use this link to download a free copy.

A list of all products used is shown below.  For more information on specific products, just click on the photo and it will take you to my online store for more details.

Don't forget!  This Sweet Candy Canes bundle is the featured bundle for my November Stamp Camp-to-Go class.  If you would like to participate, please sign up for my Newsletter to receive all the details!

Product List

Wednesday, October 20, 2021

A COUNTRY PLAID POINSETTIA CHRISTMAS

On Monday I shared the SIMPLY ELEGANT POINSETTIA card with you.  Today, we are traveling to the country.  When I see plaids, checks or gingham, I think about sitting around a warm cozy campfire somewhere in the country, and that's how this card makes me feel. 

Since I was trying to go for a warm and cozy card today, I decided to die cut the poinsettia from the red and black check Peaceful Prints designer series paper.  I just die cut three different size flowers and layered them together.  It doesn't get much easier than that, does it?  No stamping, no aligning dies with stamped images, just lay the die on the paper and run it through the machine! 

The Peaceful Prints designer series paper was a Sale-A-Bration reward and is no longer available, but I thought you might still appreciate ideas on how to use something you may already have.

The black and white lined "plaid" paper on the left flap of this card is one of the designs from the Pattern Party Designer Series Paper (DSP) which is one of the special rewards that hosts can select.  I just love the Pattern Party DSP pack as it includes 48 sheets of awesomeness!  It also includes a black and white check pattern so if you did not get the Peaceful Prints DSP you could also color the black and white check with Real Red Ink and a Blending Brush or Sponge Dauber to turn it into a red and black check. 

I do think it makes an interesting Poinsettia to die cut its layers from DSP.  You could obviously do this with any designer series paper, so use your imagination.  Pick your favorite DSP pattern and turn it into a Poinsettia!  Some of the foiled specialty papers we have would make beautiful flowers, wouldn't they?

The sentiment, from Christmas to Remember Stamp Set, was stamped in Real Red on a Basic White scrap and then die cut with the smallest Stitched Rectangle Die.  It was still a little long, so I snipped off the end that is hidden under the flower.  I colored a few Rhinestone Basic Jewels with my Mango Melody Stampin' Blends and turned them into the center for the flower.

Today's card is also a fancy fold -- well, I'm not sure how fancy it is, but it is different than our standard 5-1/2" x 4-1/4" folded card.  I made a card a few weeks ago that used this same fold.  I didn't know the name of it then and still don't, but I called it a Dual Flap Fun Fold, so I will stay with that name.   


The flap on the Poinsettia opens as does the narrow black and white flap.  When opened it reveals a coordinating inside decor.


If you would like to try to make this fun fold, I have a FREE TUTORIAL with all the step-by-step directions and the cutting dimensions.

A complete product list is shown below.


Product List