Today's card uses a simple technique that requires only stamps, ink & paper. The technique is called Triple Time Stamping.
You can use almost any layout for Triple Time Stamping. It is often seen with a couple of rectangular (or square) layers and maybe an additional shape like a circle.
For my layout today, I decided to try it with triangles and an oval shape. The white pieces of cardstock are laid out as you want them for your card and then you just randomly start stamping your images.
Once you have your stamping completed you add mats to each of the layers and then adhere them back on the bottom layer being sure to line the images as they were stamped.
Can you see how each of my stamped images line up with the same image on the layer above or below?
For my stamping I used the images from the Magic & Hope stamp set which is the set I am featuring this week. Although you can use images of any size for the Triple Time Stamping Technique, these images work well because they aren't too big or too small.
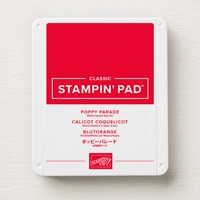
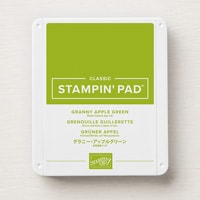
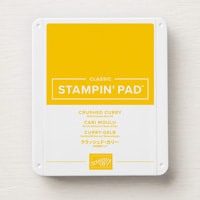
The colors I used were Granny Apple Green, Poppy Parade and Crushed Curry and my layering mats are Basic Gray.
I added a bit of texture by embossing the two triangular shaped pieces with a Glass & Gardens Embossing Folder before adhering them to the Basic Gray mats.
The sentiment is from Magic & Hope and the oval shapes were die cut with the two dies from Traditional Labels.
A bow of Shiny Real Red Ribbon and Red Traditional Sparkling Sequins add some sparkle and shine. (You can never go wrong with sparkle & shine!)
I randomly stamped the edge of the inside card layer and the envelope flap using the same stamps and ink colors.
Shiny Real Red Ribbon was added as a border for the stamped edge. The inside sentiment is from the Jolly Holly stamp set. I have found myself using this sentiment frequently, not only because I like the message, but because it is taller and narrower in shape so it "fits" well when I decorate the edge of the cardstock.
Today would have been my mom and dad's 74th Wedding Anniversary. I thought it was 75 Years today, but I had to go look it up to make sure and found out they were married in 1949 not 1948. I remember hearing the stories about how HOT it was that day. Somewhere in the high 80's.
They have both been gone for many years now, but I still miss them! So, I decided to make this card for them. Happy Anniversary Mom & Dad! Thank you for loving God, loving each other and loving me!
I know that Mom would have loved this card. She loved flowers and she loved sending and receiving cards. I still hear from relatives and friends how much they enjoyed getting cards and notes from her. I also know that Dad would have liked it because I made it! I'm reminded often by cousins that "Uncle George could build anything!" And that is true. Dad loved to build things!
I built this card using the Triple-Time Stamping Technique. It is an easy technique where you layer three pieces of Basic White Cardstock on top of each other and then stamp all three at once. Once you have completed the stamping you pull the pieces apart and mat them. Then you just layer them back together being sure to align the images.
It's not nearly as complicated as the things Dad used to build, but I'm sure he still would have liked it!
I used bright and cheerful colors for today's card. The yellow is a new color called Lemon Lolly (it's quickly becoming a new Pat favorite), but all the rest are returning favorites, Gorgeous Grape, Fresh Freesia, Pool Party and Soft Sea Foam
For the inside of the card, I just repeated the colorful stamping, but without all the layers.
I'm not really sure how I will use this card yet, but I'll add it to my stash and send it to someone, someday.
Happy Black Friday stamping friends! Are you a shopper? I am not, and I typically avoid the stores on Black Friday! I think it is the perfect day to stay home and stamp!
Today I will share my last card for this week with the Nature's Prints Bundle. I am still working on my Christmas Cards, so today I have used this bundle to create a Christmas Card.
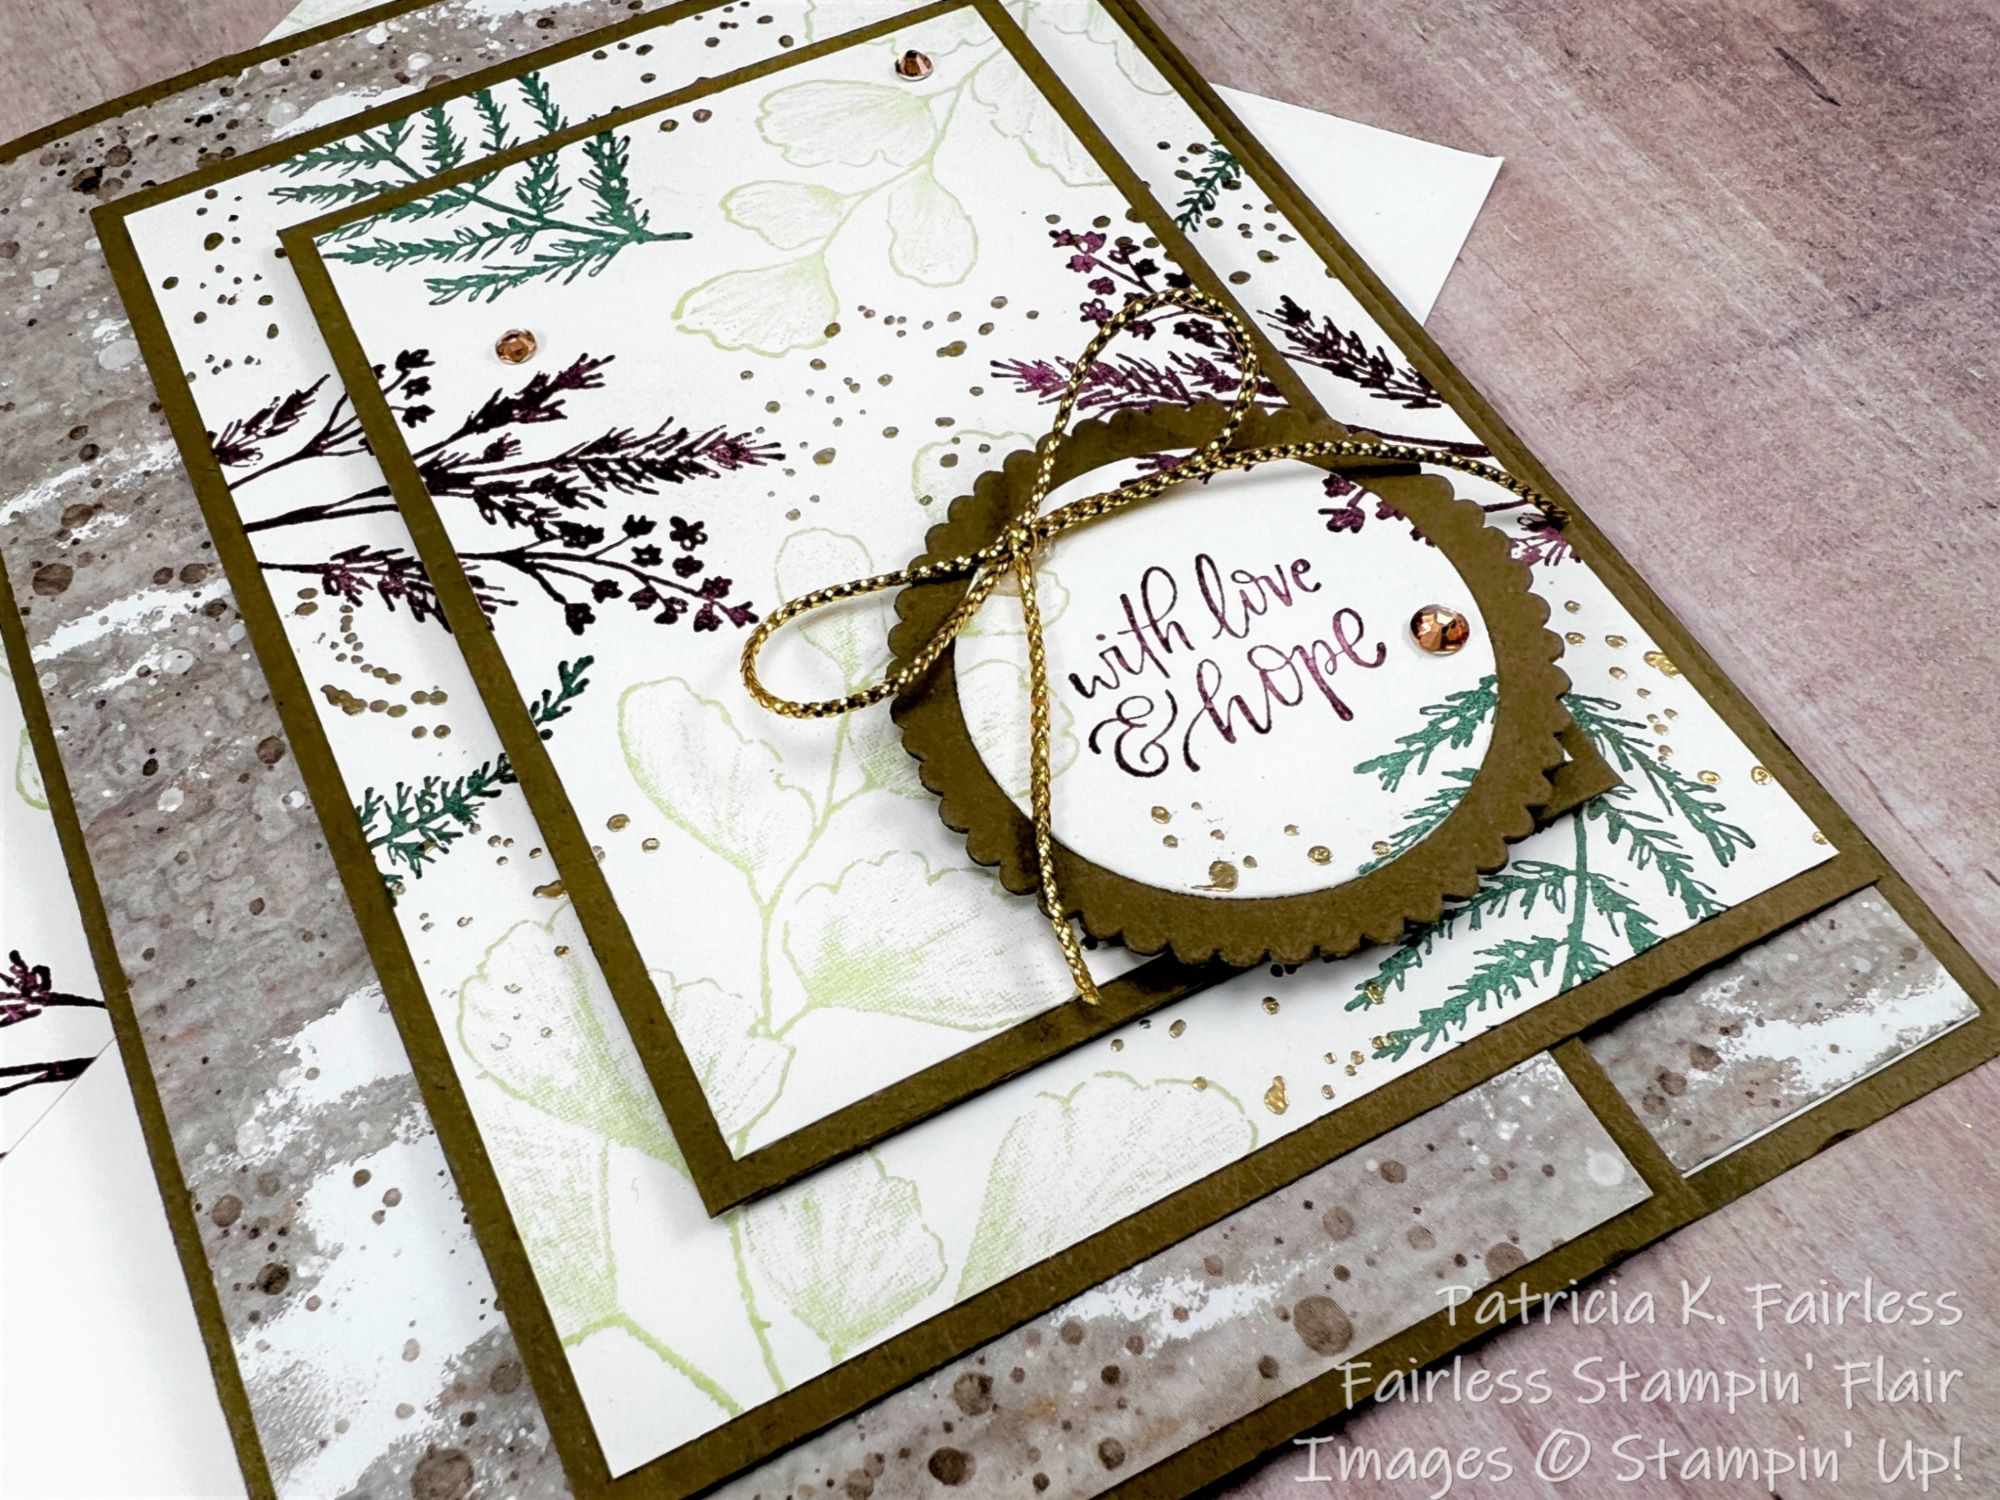
This is a Fun Fold card that is combined with the Triple Time Stamping Technique.
Here is a photo that doesn't show the card all that well, but it shows how the cards two flaps open.
The flap on the right side opens to the right and is slightly shorter than the left flap. The right flap is also made using the Triple Time Stamping Technique.
Have you been watching any of the Connect to Create videos? I am getting so much inspiration from the videos that Kathi, my Connect to Create partner, has been sharing! She shared this Triple Time Stamping Technique several weeks ago and it reminded me that I haven't used this simple technique in a long time.
Would you agree that sometimes we get inspired by something we see, and sometimes we get reminded of something we are familiar with but have forgotten all about? I hope our Connect to Create videos are giving you a bit of both -- inspiration & reminders. If you missed it, here is Kathi's Triple Time Stamping video.
This Nature's Prints Stamp Set seemed like the perfect set to use for Triple Time Stamping.
After cutting my Basic White cardstock layers for the right card front flap, I used some temporary adhesive to hold them in place and then started stamping. Since my card base is made with Soft Suede cardstock to coordinate with the Boughs of Holly Designer Series paper I chose, I was a little uncertain about what colors to use for my stamping. So, I got out my color coach, and it told me that Shaded Spruce, Rich Razzleberry and Soft Seafoam coordinates with Soft Suede. Hmmm... OK, those are probably not the colors I would have selected on my own, but I love how it turned out. That Color Coach is pretty smart!
I thought it still needed a bit of pizzaz, so I used the speckled stamp from Forever Fern to add some gold embossed speckles. As mom would have said, " it just did something to it"! The gold embossing provided that bit of shimmer & shine that the card needed.
After I finished my stamping, I separated all the pieces and matted them to their Soft Suede mats and then reassembled them to the right Soft Suede card front flap.
I have one hint for you when you do Triple Time Stamping. If your sentiment is on one of the layers, stamp your sentiment on that layer before you start stamping the images (my sentiment is on the circle layer). That way you can easily avoid it when you are stamping your images on the Triple Time layers.
On the inside of the card, I added a 1" strip of designer series paper to the right edge. I used the same designer series paper as was used on the left flap. That way, when the card is closed you have a continuous design behind the Triple Time Stamped right flap.
Both sentiments for this card are from the Hope & Peace Stamp Set. If you love Christmas sentiments that reflect the true meaning of what we celebrate at Christmas, this stamp set is one you will want to add to your Christmas collection.
For a free tutorial with all cutting and scoring dimensions, as well as step-by-step directions for this Fun Fold card, you can download a copy at this link.