Showing posts with label Gilded Leafing. Show all posts

Monday, November 21, 2022

NATURE'S PRINTS SYMPATHY

It is a new week so you know that that means.  It is time for a new featured Bundle of the Week, and this week I am going to be using a favorite bundle from the current Annual Catalog, Nature's Prints.  I love it because it is versatile and can be used for many different occasions.

Today's Sympathy card combines two techniques that were previously demonstrated on Connect to Create.  
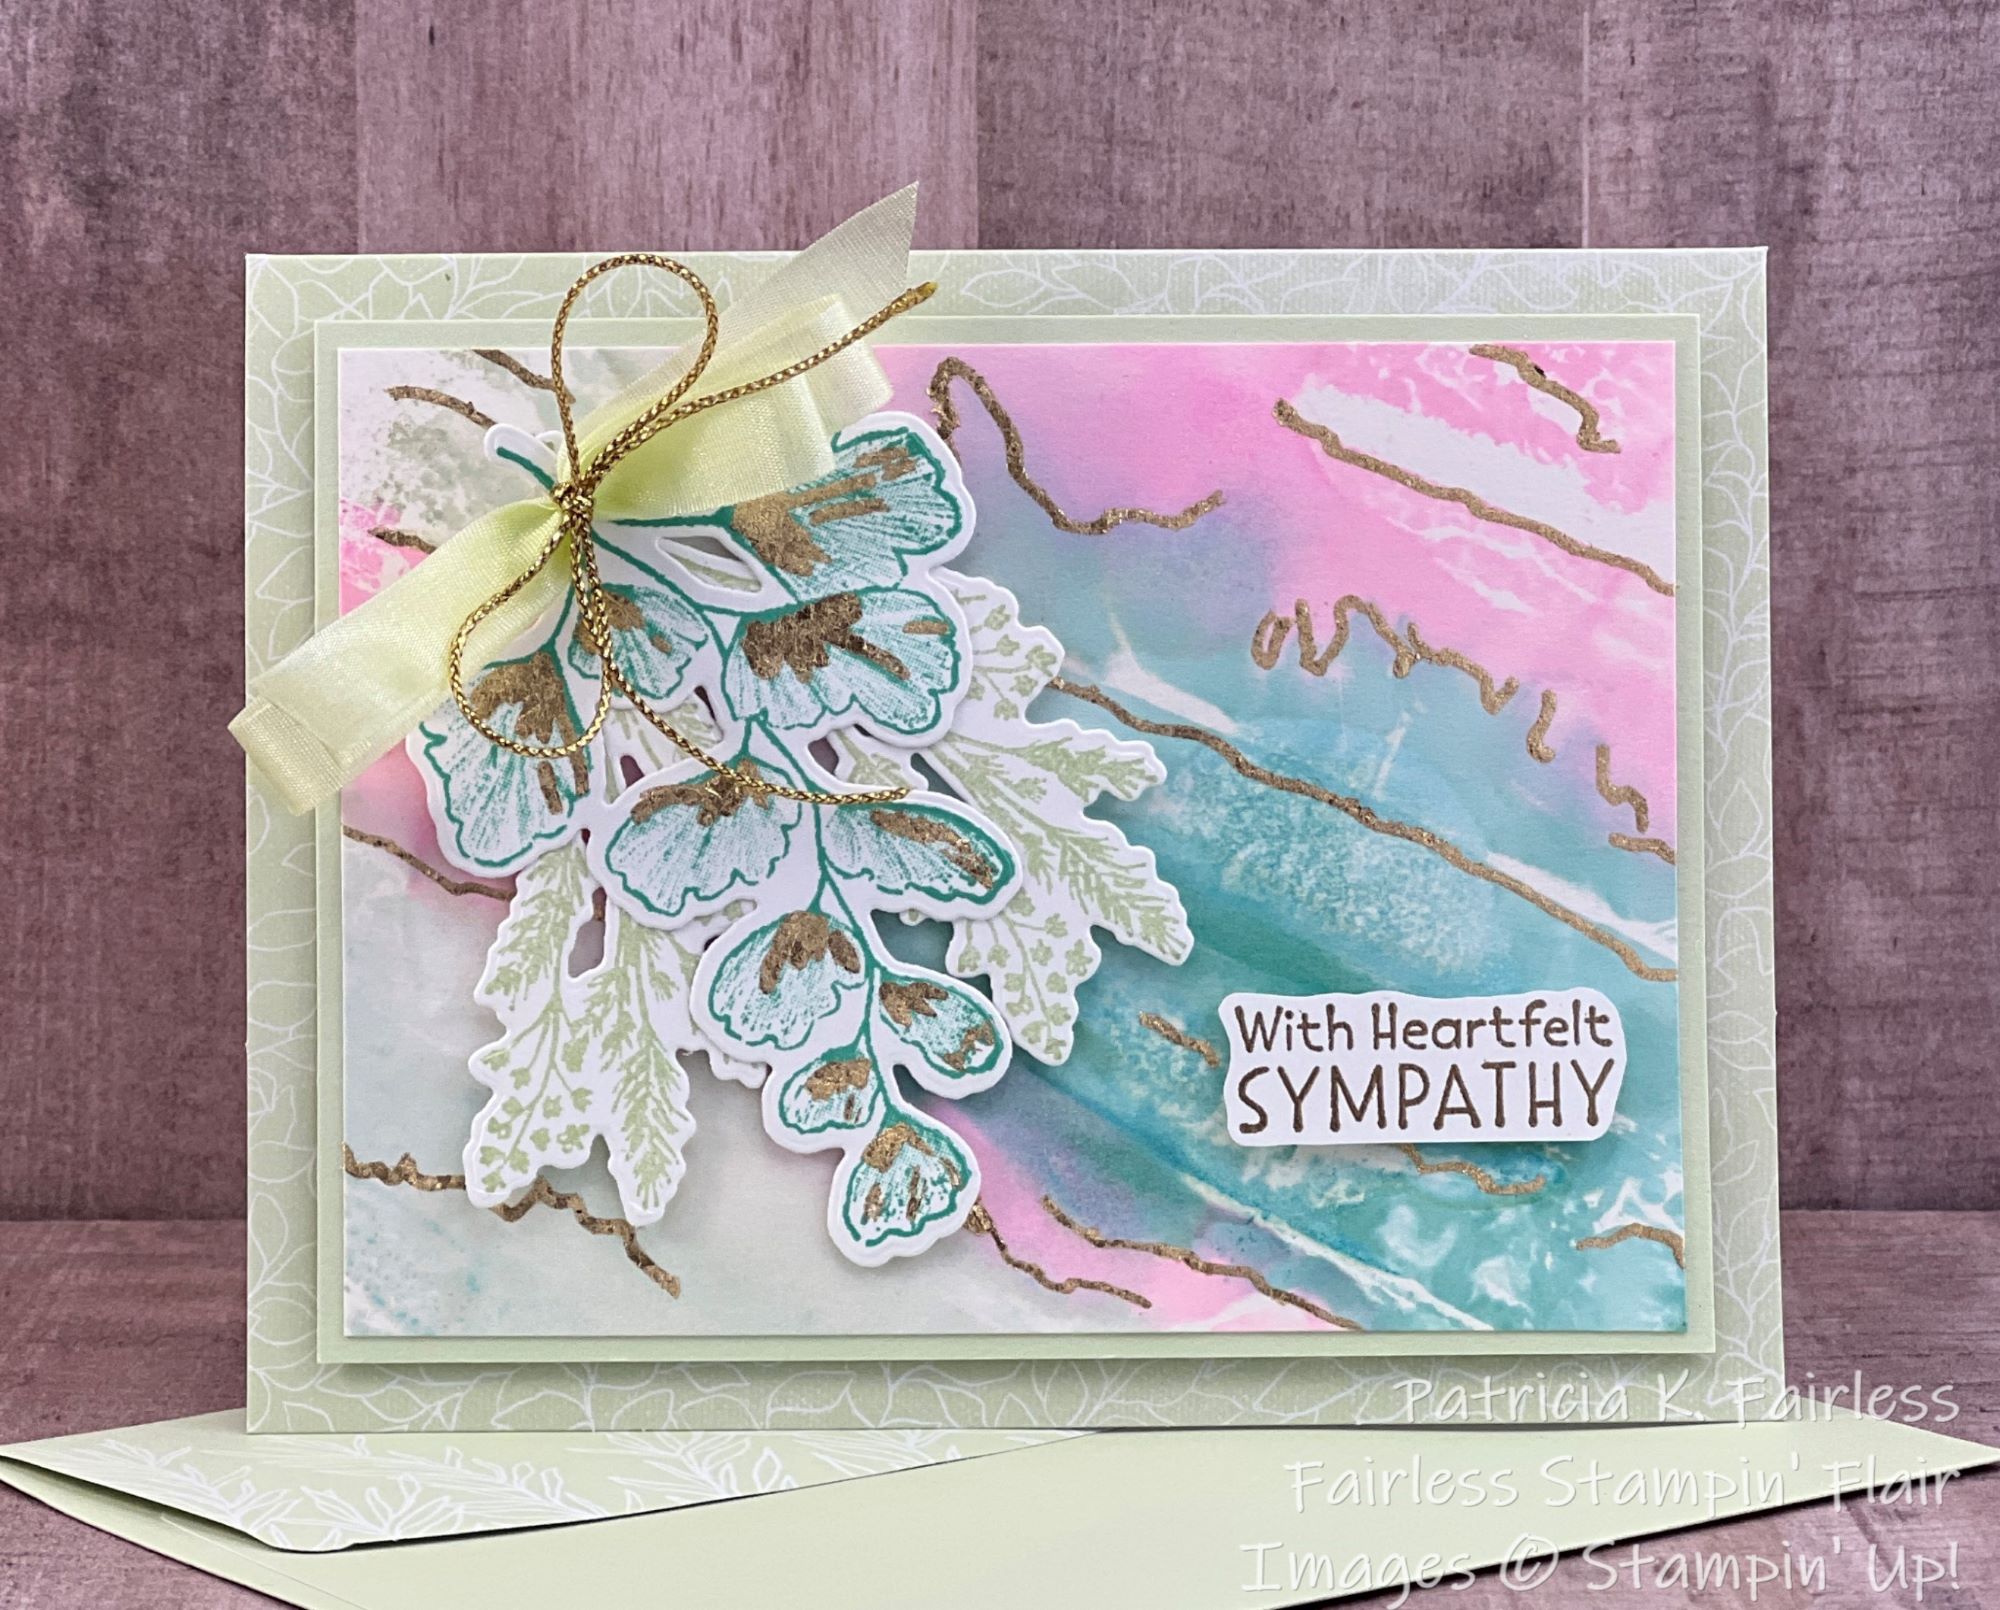

For today's card I used a card base from Pool Party & Soft Sea Foam Cards & Envelopes which was one of the FREEBIES from the last Sale-A-Bration.  I could just have easily used Soft Seafoam Cardstock, but since I had them, I thought I may as well use them.

The background was made with Polished Pink, Coastal Cabana and Soft Seafoam ink using the Plastic Wrap Water Coloring Technique that Kathi Ondus demonstrated recently on our Connect to Create YouTube Collaboration.  If you missed the video, check it out.  This technique makes beautiful backgrounds.


After creating the Plastic Wrap background, I added some lines of glided leafing to give it a little sparkle.  

There are many ways to apply Gilded Leafing to your cards and I demonstrated three ways in a Connect to Create video on November 9. For this card, I used the Fine Tip Glue Pen method which was the 2nd method shown in the video. If you missed the video, you can watch it below or access it at this link.


The large Coastal Cabana Leaf on the card front also uses Method 2 to apply some Gilding Leafing accents to the leaves.


The sympathy sentiment is from the Inspired Thoughts stamp set.  When I initially purchased this stamp set it was part of a bundle that included dies to create a grove of trees.  Those dies have been retired, but I was so happy when I saw that the sentiment stamp set carried over into the current Annual Catalog.  The fonts are clean and simple and there are a variety of great sentiments for various occasions.  I find myself reaching for this set often.

On today's card, I wanted to minimize the size of the sentiment so as not to cover up the pretty background, so I just fussy cut it, but for those that dislike fussy cutting, the Inspired Thoughts sentiments are sized to fit a variety of punches and dies from other sets.


The inside sentiment is also from the Inspired Thoughts stamp set.  Both sentiments are embossed with Gold Embossing Powder.

If you would like to recreate this card, I recommend watching the videos to learn the techniques, but I also have a written tutorial for you with all the dimensions and step-by-step assembly instructions.

You can find more information on the products I used by clicking on any of the products in the Product List below.  You will be taken to my on-line Stampin' Up! store where you can see all the details.

Product List

Friday, November 18, 2022

GILDED CANDY CANES

For my last Sweet Candy Cane card this week, I'm bringing out the gold -- gold Gilded Leafing that is.  If you have never tried Gilded Leafing, I encourage you to do so.


Gilded leafing sparkles and shines like no other gold medium we have.  It is different from Gold Foil, Gold Glimmer paper and Gold Embossing powder.  It's difficult to describe in words, but you can see in the photo that it has more sparkle than gold foil and gold heat embossing, but also more texture and color variation than either.  Gold Glimmer/Glitter paper may sparkle more than Gold Leafing, but the shimmer of the two is quite different.

There are different ways to apply Gilded Leafing on your card, and if you are unfamiliar with how to use it, please watch this Connect to Create video that I shared last week on my Fairless Stampin' Flair YouTube Channel.  It shows 3 different ways to adhere the Gilded Leafing.


Today's card uses the Heat & Stick Powder method.  Heat & Stick Powder works in much the same way as Heat Embossing, but the key difference is that rather than creating a shiny embossed surface, it creates a sticky surface.  As I indicated in the video, the important thing to remember when heating the Heat & Stick Powder is to make sure you DO NOT overheat it.  Once the powder melts and becomes shiny, immediately move on!  If you overheat, it loses its stickiness. 


The background behind the candy canes was made with a die from Labels Aglow Dies.  I layered the Basic White background behind the candy canes over Red Glimmer Paper, and it not only provides a pretty sparkly red border, but it glitters through each of those tiny die cut holes created by the Labels Aglow Die.  The Red Glimmer Paper scalloped mat behind the sentiment was punched with the Double Oval Punch.


This card is designed with a simple Front Flap Fun Fold.  It has a narrow center flap that is attached to a 5-1/2" x 4-1/4" Evening Evergreen cardstock matted with one of the DSP patterns from the Lights Aglow DSP collection.  The narrow front flap of the card is covered with another of the patterns from the same DSP collection.

To finish the focal point, I added two Open Leaf Trinkets at the left of the sentiment.

The inside of the front flap was kept very simple.


The sentiment is stamped with Real Red ink and the bottom of the Basic White cardstock was decorated with a narrow strip of Evening Evergreen cardstock behind a strip of the same Lights Aglow DSP that was used on the front of the Evening Evergreen card base.

If you would like the cutting and scoring dimensions as well as step-by-step directions on how to create this Fun Fold card, a free tutorial is available at this link.

A list of the products I used is shown below.  For more information on any of them, simply click on the item and you will be taken to my online Stampin' Up! store for all the details.


Product List
Red Glimmer Paper
Red Glimmer Paper
[121790]

Wednesday, October 12, 2022

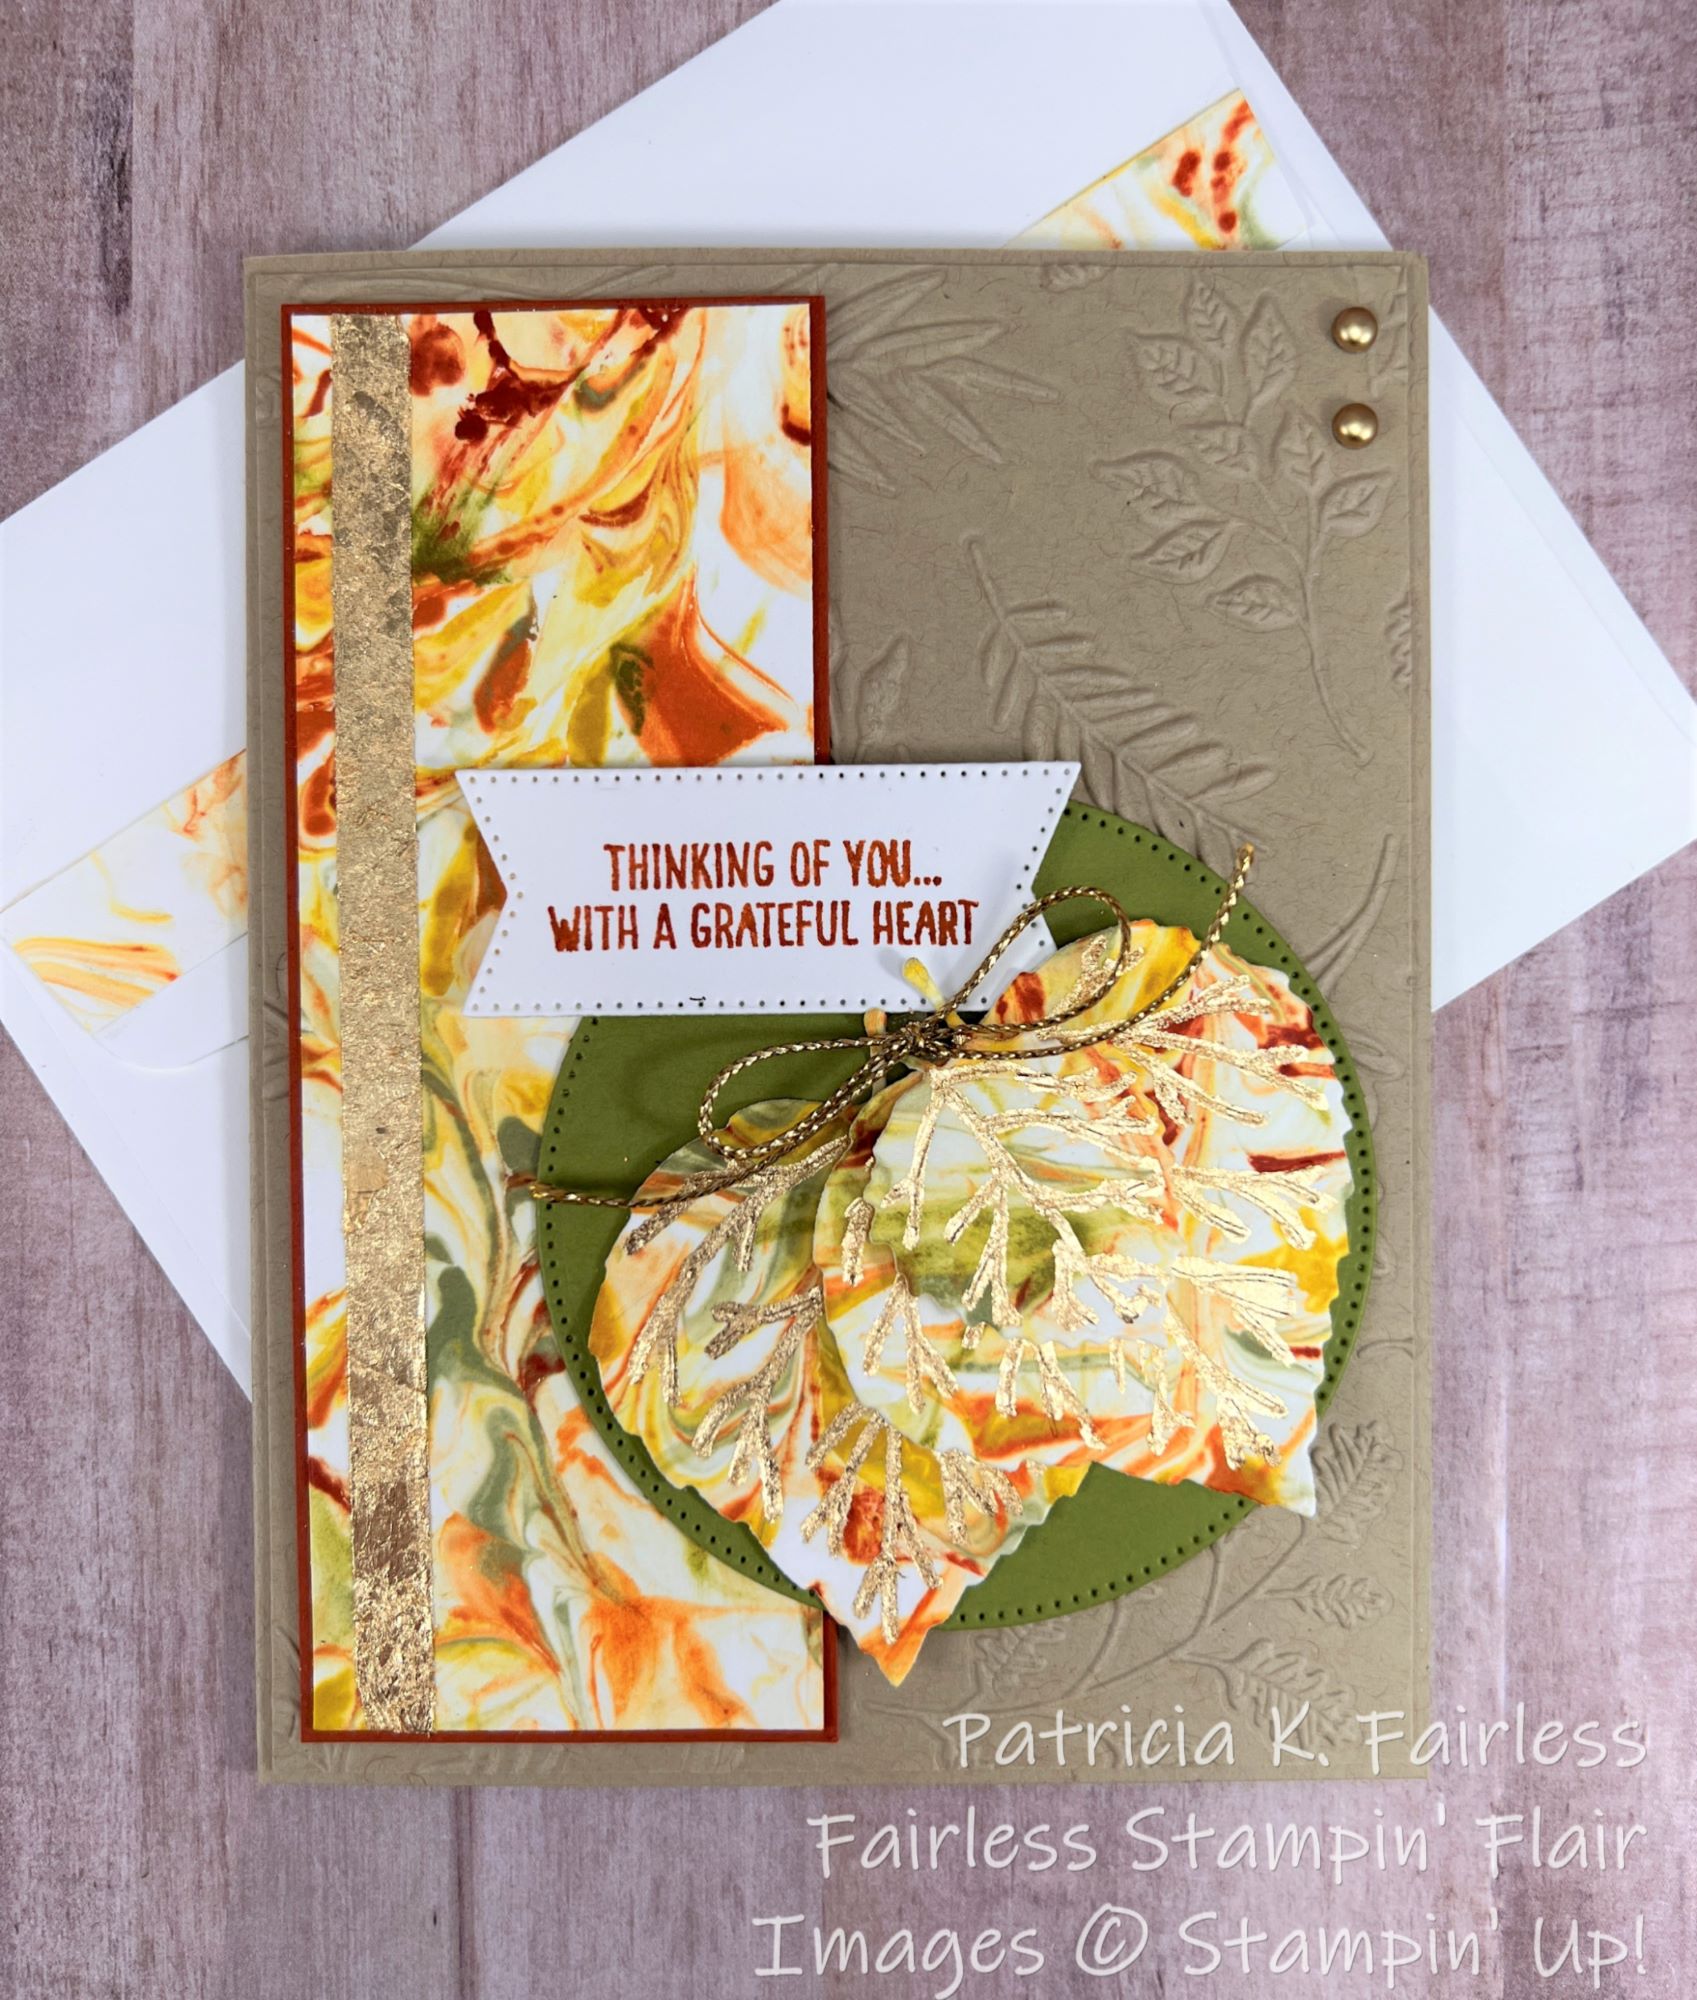
Autumnal Shaving Cream

Today's Autumn card features my favorite Technique.  It is the Shaving Cream Technique and the backgrounds that you can create with this fun technique are phenomenal!


The leaves on this card were made using die from the Aspen Trees Dies and they were die cut from Shimmery White paper that had been created using the Shaving Cream Technique.

If you are not familiar with this Technique, check out this video that I made for Connect to Create.  On the video you will see this background as well as several others I made using the technique.  You will also see the variety you can get from one "pile" of shaving cream.  It is so much fun!  I hope you will try it.


As I indicate in the video, I usually use one quarter sheet of cardstock when I use this technique.  That way I can die cut from it or cut it into pieces to use in many different ways.

For this card, I die cut the three leaves and the side panel from the same piece of completed shaving cream technique sheet.


To add a little extra bling to the shaving cream panel, I added some of our beautiful Gilded Leafing by laying a piece of Tear & Tape near the left edge of the panel and dipping it into a container with the gilded leafing.  This is the simplest and fastest method I have found to apply Gilded Leafing, but you can also use other methods.  On the leaves, I used a Fine Tip Glue Pen to add liquid glue to the debossed veining in the leaf die cuts and then dipped them into the Gilded Leafing.  After brushing off the excess, the Gilded Leafing remains only in the veins where the glue was applied.


The embossed Crumb Cake background was made with the Twigs & Sprigs Embossing Folder.


A Stylish Shapes Old Olive Circle die cut created a background to help set off the leaves.  After that, all that was left was assembly.

All sentiments for this card are from retired stamp sets.  When I decided on the Autumnal Theme for this week, my purpose was to get ahead on making a few Thanksgiving Cards.  I don't send a lot of Thanksgiving cards, but I always need a few.  However, when I went to get some Thanksgiving appropriate sentiments, I found that I have no current sentiments for Thanksgiving.  Thankfully, I have a large stash of retired stamp sets, so I searched those and found some that I thought worked well for Thanksgiving Cards.

As I mentioned above, whenever I make backgrounds using this Shaving Cream Technique, I always make the decorated panel larger than what I need because that gives me the opportunity for scraps that I can use to decorate the inside of the card and the envelope.  I didn't have many scraps left this time but was able to eke out a couple of narrow strips which were used for just that.  One is here on the inside of the card, and you can see a peek of the other one on the envelope flap.

What do you think?  Are you intrigued and going to give this Shaving Cream Technique a try?  I hope you will.  If you do, would you leave me a comment telling me what you think?

If you would like a FREE TUTORIAL for this card, you can download a copy by using this link.

A list of the current supplies I used is shown below.


Product List